[Carter Yagemann] found himself in a bit of a pickle. He uses his computer mostly for gaming, but would like to access it remotely from time to time to do a littler server work on the side. The problem is gaming computers eat up a lot of electrons and he didn’t want to waste them by leaving it on all the time. The obvious solution was to use the Wake on Lan function. Unfortunately, his motherboard did not support this technology.
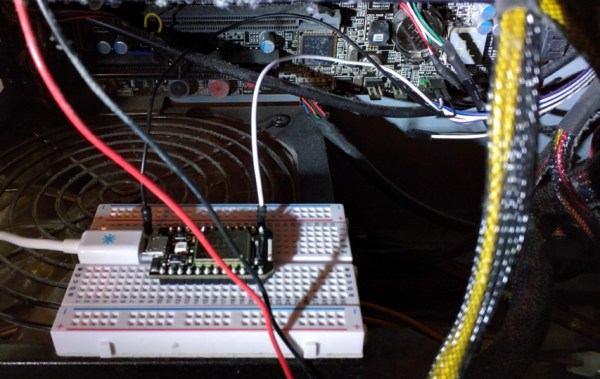
Like any good hacker would do, [Carter] used an IoT board to connect the power button of his PC to the internet. He achieved this goal with a Particle Core board. His motherboard was an ATX variety, so wiring up two of the IoT board’s I/O pins to the power on pins on the motherboard was a simple task accomplished with the help of an inline resistor.
This hack is so easy that it’s a great alternative to the blinky LED first program we all know so well. Want to get started in the hacking community? This is a great way to get going.