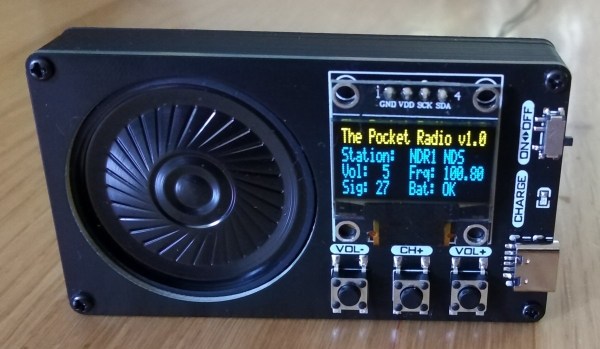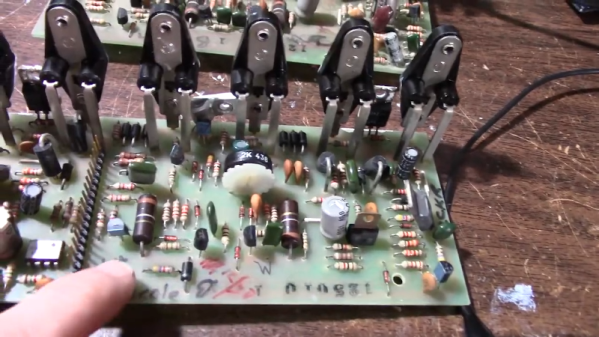
Carver is a famous name in audio equipment although they have been known to use odd names for things. For example, the 1980’s vintage M-400 magnetic field power amplifier that [JohnAudioTech] is repairing (see the two videos below). That sounds like something off a bad Star Trek remake, but, apparently, we weren’t alone in thinking that, judging by this 1982 review of the unit from a UK magazine.
Still, it is an interesting high-power amplifier and we love seeing gear of this age torn apart. The beast is rated at 201 watts — you have to wonder if the extra watt is another marketing ploy.
There were actually two units and they looked pretty good for four-decade-old boxes. One sounded pretty good outside of some noticeable buzzing. The other had something shorted inside. If you enjoy watching repair videos, you’ll appreciate this two-parter.
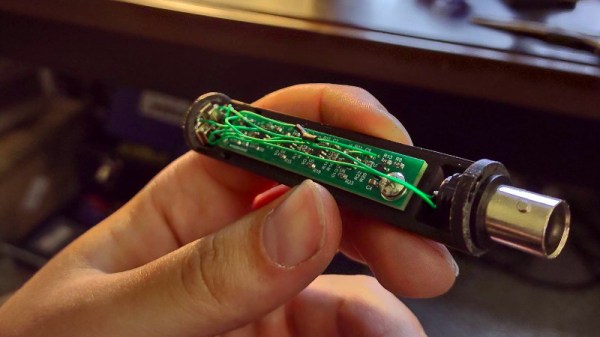
We have to admit — and it may be a personal bias — there is something more pleasing about seeing a PCB populated with a bunch of interesting-looking through-hole components. Modern boards with a sea of surface mount parts tend to look a little bland, aesthetically speaking. Of course, when it comes time to make our own boards, we are happy to use SMD and forego all that hole drilling!
We like watching computer repair videos, in particular. Or sometimes, something really exotic.
Continue reading “Carver M-400 Amplifier Repair Keeps The 1980’s Alive”