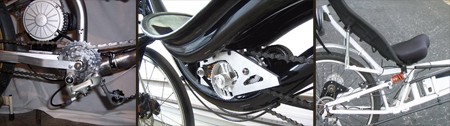
Every year, as it gets cold, many of us put our faithful two wheeled companion away for the winter. Despite that, there have been a veritable smorgasbord of bicycle related projects posted to instructables this last week. In honor of our human powered transportation, lets take a peak at a few projects.
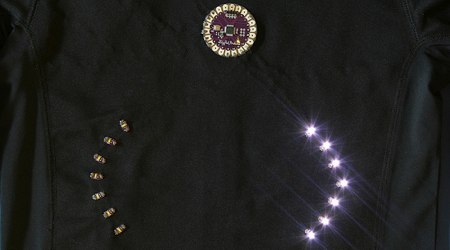
Bicycle safety is always paramount. They can be fairly difficult to see compared to a car. There are many ways to make them easier to spot, such as wrapping them in reflective material, or adding blinking tail lights. Even if people do see us, they often have no idea where we are planning on going. To remedy this, we can always add turn signals. It can also be hard to see where you are going at times. Adding a head light, or helmet light can really help. If you’re not a big fan of LEDs and want a little retro flair, you can always add an oil lamp.
For those who live in warmer climates, or just can’t give up their bicycles, you may wish to add some festive decorations. Covering your bike in Christmas lights doesn’t look too difficult, and a CFL lit wheel is a cheap way of adding some cool effects.