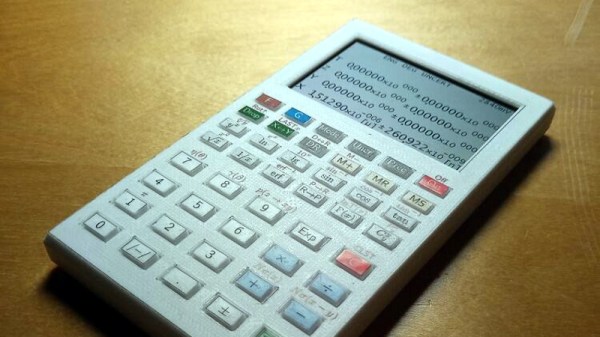
Back in the day, your choice of calculator said a lot about your chops, and nothing made a stronger statement than the legendary Hewlett-Packard Voyager series of programmable calculators. From the landscape layout to the cryptic keycaps to the Reverse Polish Notation, everything about these calculators spoke to a seriousness of purpose.
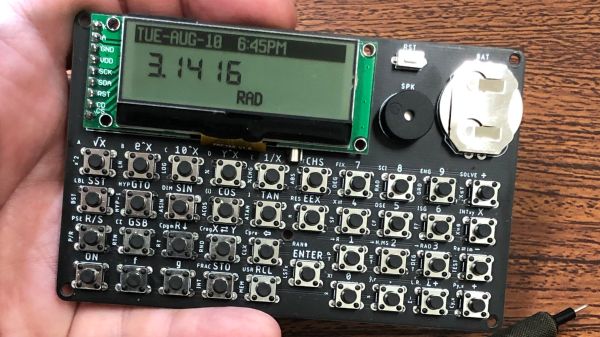
Sadly, these calculators are hard to come by at any price these days. So if you covet their unique look and feel, your best bet might be to do like [alxgarza] and build your own Voyager-series emulator. This particular build emulates the HP15C and runs on an ATMega328. Purists may object to the 192×64 LCD matrix display rather than the ten-digit seven-segment display of the original, but we don’t mind the update at all. The PCB that the emulator is built on is just about the right size, and the keyboard is built up from discrete switches that are as satisfyingly clicky as the originals. We also appreciate the use of nothing but through-hole components — it seems suitably retro. The video below shows that the calculator is perfectly usable without a case; a 3D-printed case is available, though, as is an overlay that replicates the keypad of the original.
We’ve seen emulators for other classic calculators of yore, including Sinclair, Texas Instruments, and even other HP lines. But this one has a really nice design that gets us going.
Continue reading “Calculate Like It’s 1989 With This HP15C Emulator”