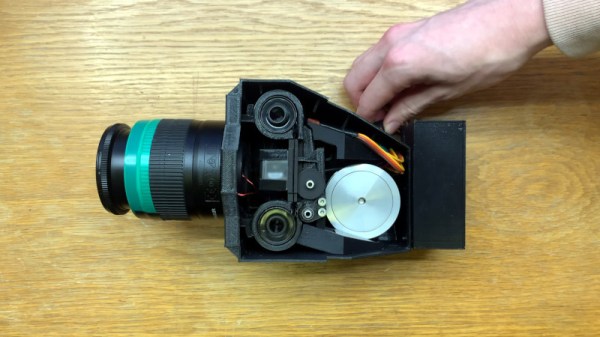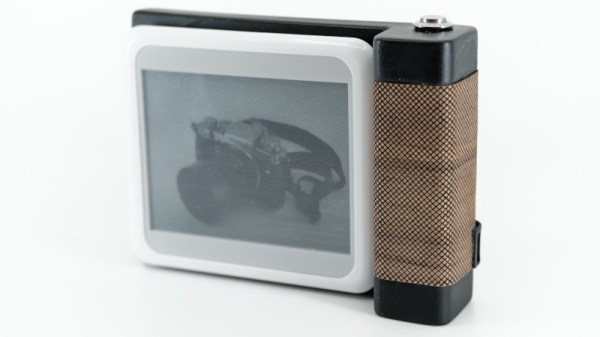
The original Polaroid cameras were a huge hit not just for their instant delivery, but for the convenient size of the permanent images they delivered. It’s something that digital cameras haven’t been able to replicate, which drew [Cameron] to produce a modern alternative. In the place of the chemical film of the original, it uses a removable e-paper display in a frame. The image is stored in the pixels of the e-paper, which can be kept as a digital version of the photograph until reattached and replaced with another freshly taken picture.
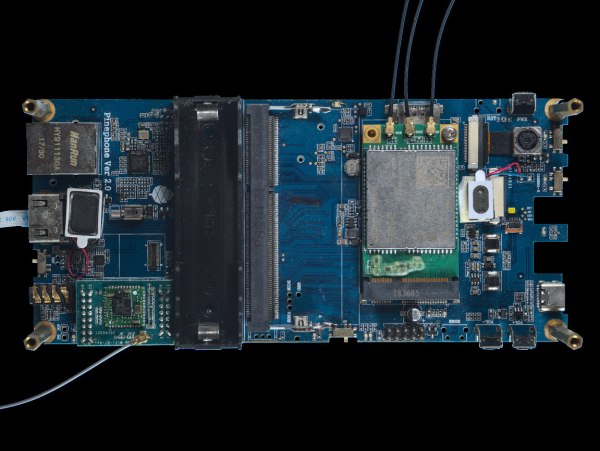
At its heart is an ESP32 with a camera, and the “film” is a Waveshare NFC e-paper module. The device is 3D printed, and manages a very creditable early-1970s aesthetic redolent of the more upmarket Polaroids of the day. Using it is as simple as pressing the button and deciding whether you like what’s on the screen. You can see it in action in the video below the break.
We like his project for its aesthetics, as well as for the very idea of using e-paper as a medium. There’s also something to be said for not having to put a Polaroid print in a clip under your armpit while it develops. Meanwhile if you do hanker for the real thing, it’s a subject we’ve looked at in the past.