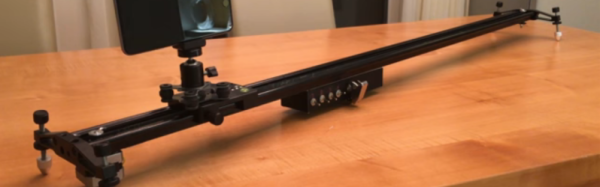
Are your arms getting tired from pushing your camera back and forth across your camera slider? That must be the case with [Max Maker], which led him to convert his manual slider into a motorized one.
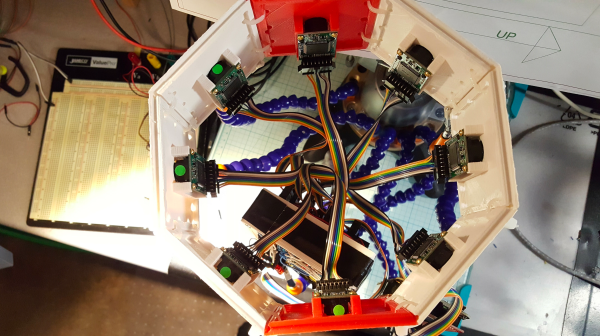
The electronics are minimal — an Arduino Micro, a few toggle switches, A4988 Stepper Driver, 12V battery pack, and the ever popular NEMA 17 stepper motor. If you’re wondering why we said ‘switches’ instead of ‘switch’, it’s because 4 of the switches are used to select a time frame. The time frame being how long it takes for the slider to move from one end to the other.
Fabrication shown off in the video below will net you a few new tricks. Our favorite is how he makes a template for the NEMA motor using masking tape. After completely covering the face of the motor with tape, he clearly marks the mounting holes and colors in the shape of the motor plate as if he were doing frottage. Then just pull the tape off as one and stick it onto the slider rack.
Not including the cost of the slider itself, the parts list came out to be around $75. Even if you don’t yet own a slider, this a great first adventure into building a CNC machine. It is one degree of freedom and the hard parts have already been taken care of by the manufacturer of the slider. Get used to using belts and programming for stepper motors and you’ll be whipping up your own 3D printer with a fancy belt scheme for the Z-axis.