Electric guitars are great, but they’re just so 20th century. You’d think decades of musicians riffing on the instrument would mean there are no hacks left in the humble axe. You’d think so, but you’d be wrong. [Michael], for one, has taken it upon himself to reinvent the electric guitar for the digital era.
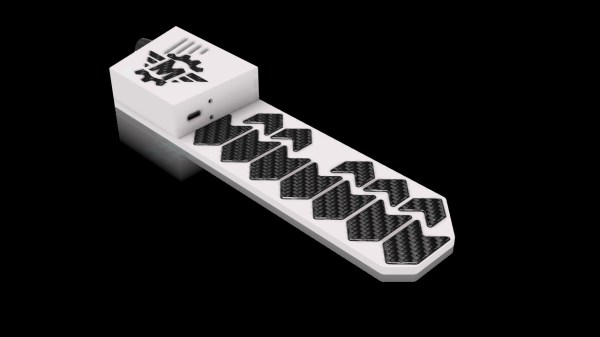
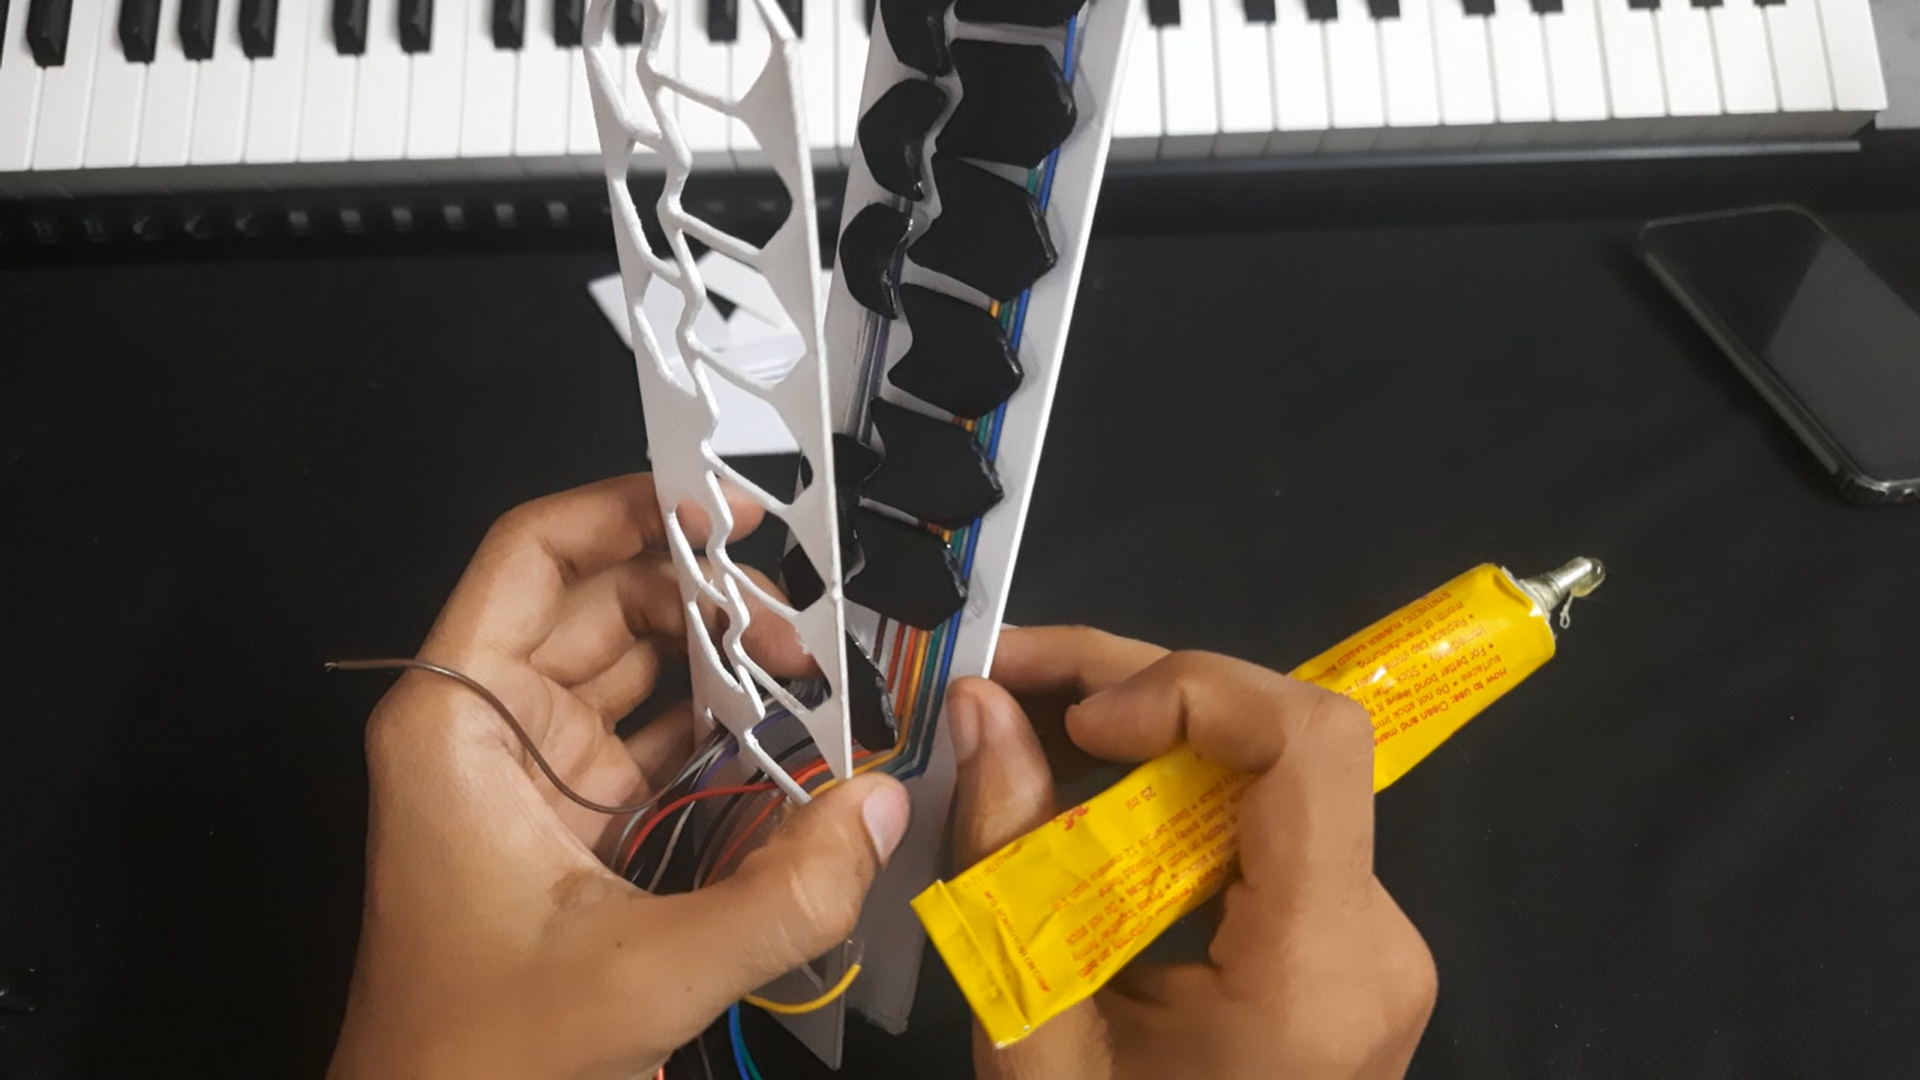
Gone are the strings, and the frets have vanished as well. The neck of this guitar is one long custom PCB, looking very sleek with black solder mask. Gold pads serve as touch sensors to give tone data over i2c (from unspecified touch sensing chips) to the Amtel Mega 32u4 at the heart of the build.
With no strings, strumming won’t work, so a laptop-style touchpad serves instead. That means every user interaction with this guitar is with capacitive touch sensors talking i2c. The X and Y coordinates of the touch, along with pressure are sent to the processor over the i2c bus, triggering an interrupt and offering quite a bit of opportunity for sound control.
Said sound control is, of course, done in MIDI. This lets the guitar control a whole variety of synths and/or software, and of course [Michael] is using more futuristic-sounding synths than a pack of guitar samples. That said, what exactly goes on with the MIDI controls is left frustratingly vague. Obviously fretting provides note selection, but does the touchpad just send a “note start” command, or are the X, Y and pressure data used in interesting ways? Is there multitouch support? The video doesn’t say.
How, exactly, the obviously-plastic body of the guitar was manufactured is also left unsaid. Is it a large resin print? SLS? It looks injection-molded, but that makes no sense for a one-off prototype. On the other hand, it looks like he’s selling these, so it may very well be an injection-molded production case we’re seeing being assembled here, and not a prototype at all.
For all the video leaves us wanting more information, we can’t help but admit the end product both looks and sounds very cool. (Skip to the 4:50 mark in the embedded video to hear it in action.) The only thing that would improve it would be a hurdy-gurdy mode. Thanks to [Michael] for the tip, and remember we want to hear tips about all the weird and wonderful hacked-together instruments you make or find on the web.
Continue reading “Digital Guitar Of The Future Has No Strings”