After seeing the TIX clock for the first time, [Gweedo Steevens] really wanted one, but wasn’t interested in paying the seemingly high asking price over at ThinkGeek. He figured it wouldn’t be too incredibly hard to build his own, so he decided to give it a shot.
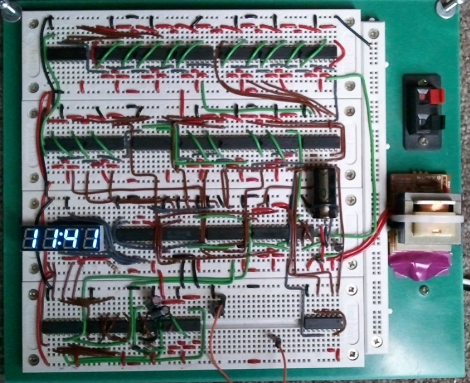
The clock relies on 27 LEDs to display the time, which were multiplexed to make the most of his ATMega16 microcontroller’s available IO pins. Once he was happy with how things functioned on breadboard, he migrated the LEDs to a piece of perf board, and etched his own PCB for the controller circuit.
He used an office overhead lighting grate to separate the LEDs, providing nice uniform light segments. He put a piece of clear perspex on the front to cover the LEDs, but later switched it out for a much darker piece, for better daylight viewing.
The finished product is fantastic, and in our opinion looks even better than the retail version – awesome job!
[via HackedGadgets]