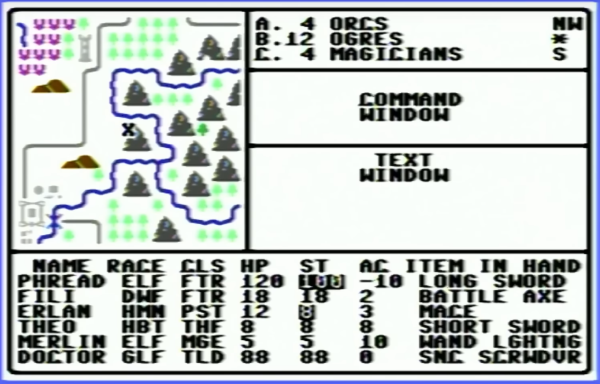
In the 1980s, [Mike] was working on his own RPG for the Commodore 64, inspired by dungeon crawlers of the era like Ultima IV and Telengard, both some of his favorites. The mechanics and gameplay were fairly revolutionary for the time, and [Mike] wanted to develop some of these ideas, especially the idea of line-of-sight, even further with his own game. But an illness, a stint in the military, and the rest of life since the 80s got in the way of finishing this project. This always nagged at him, so he finally dug out his decades-old project, dusted out his old Commodore and other antique equipment, and is hoping to finish it by 2024.
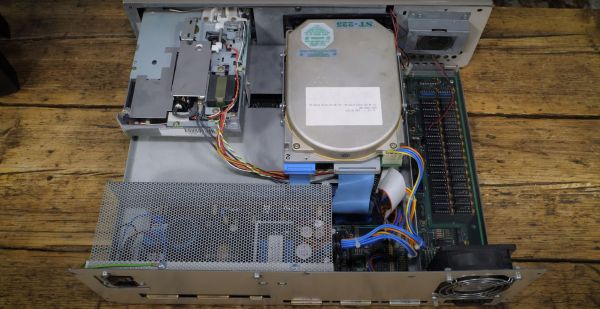
Luckily [Mike’s] younger self went to some extremes documenting the project, starting with a map he created which was inspired by Dungeons and Dragons. There are printed notes from a Commodore 64 printer, including all of the assembly instructions, augmented with his handwritten notes to explain how everything worked. He also has handwritten notes, including character set plans, disk sector use plans, menus, player commands, character stats, and equipment, all saved on paper. The early code was written using a machine language monitor since [Mike] didn’t know about the existence of assemblers at the time. Eventually, he discovered them and attempted to rebuild the code on a Commodore 128 and then an Amiga, but never got everything working together. There is some working code still on a floppy disk, but a lot of it doesn’t work together either.
While not quite finished yet, [Mike] has a well-thought-out plan for completing the build, involving aggregating all of the commented source code and doing quarterly sprints from here on out to attempt to get the project finished. We’re all excited to see how this project fares in the future. Beyond the huge scope of this pet project, we’d also suggest that this is an excellent example of thoroughly commenting one’s code to avoid having to solve mysteries or reinvent wheels when revisiting projects months (or decades) later. After all, self-documenting code doesn’t exist.
Continue reading “Well Documented Code Helps Revive Decades-Old Commodore Project” →