[Garage 54] is no stranger to vehicle-related projects of the “because why not?” variety, and their latest is using 50 cordless drills combined into a monstrous mega-motor to turn a gutted (and extended) Lada into an electric vehicle (EV).
Doing this leans on some of [Garage 54]’s earlier projects, such as replacing the aforementioned Lada’s engine block with a frame containing sixteen chainsaws. That means they don’t need to start completely from scratch, and have a frame design that can drop into the vehicle once the “engine” is constructed.
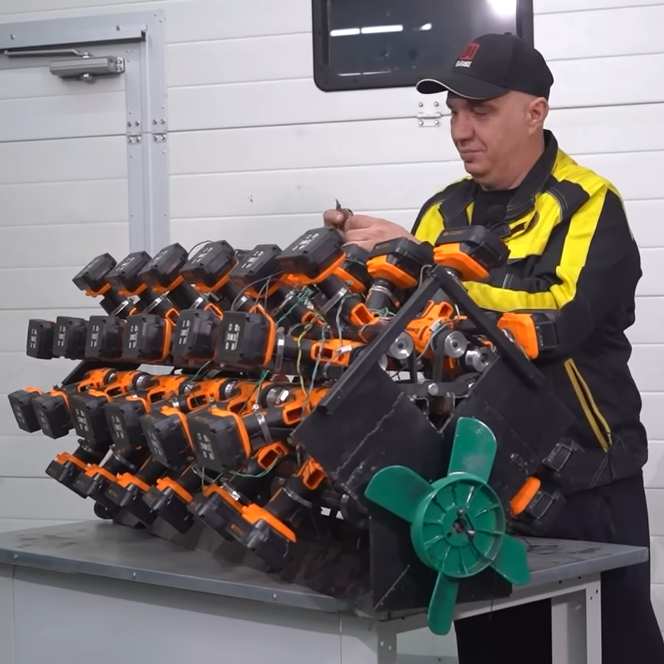
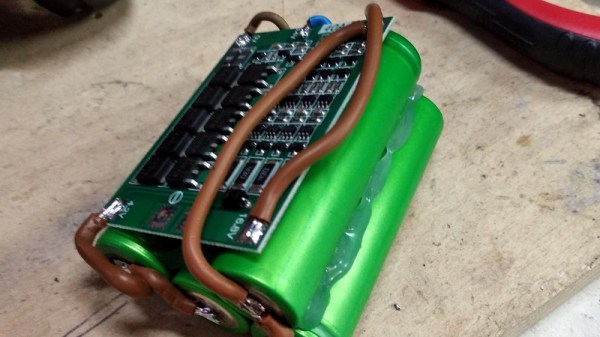
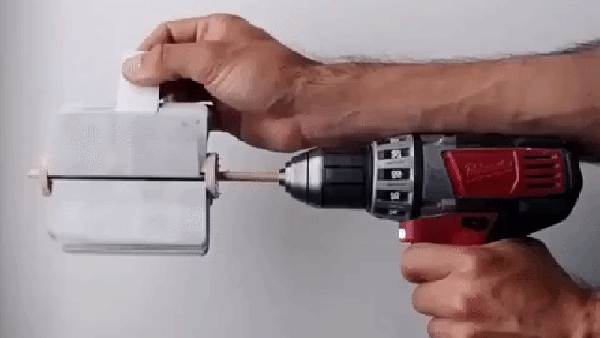
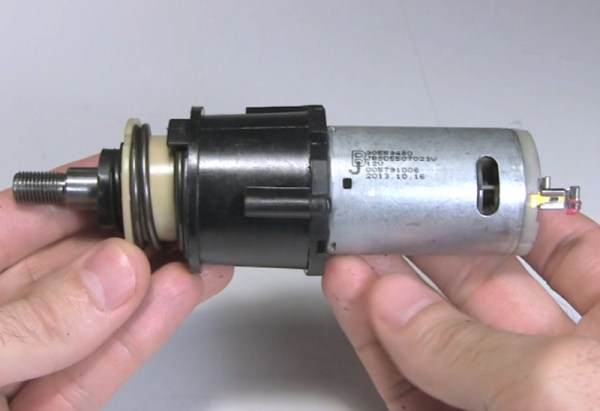
Here’s what’s in the new engine: each of the drills has its chuck replaced with an aluminum pulley, and belts connect each group of drills to an output shaft. Ideally, every drill motor would run at the same time and at exactly the same speed, but one works with what they have. [Garage 54] originally worked to synchronize the drills by interfacing to each drill’s motor control board, but eventually opted to simply bypass all controls and power each drill’s motor directly from the batteries. Initial tests are done by touching bare cable ends with a turned-away face and squinted eyes, but we expect “Just A Big Switch” to end up in the final assembly.
It looks wild and we can think of more than a few inefficiencies present in a system like this, but the output shaft does turn and torque is being transferred, so the next step is interfacing to the car’s factory gearbox.
If it powers the car in any meaningful way, that Lada might very well become the world’s most gloriously hacked-together EV. And hey, if the power output of the EV motor is disappointing, you can just make your own.
Continue reading “Turning A Lada Into An EV With 50 Cordless Drills, Because Why Not?”