Unique 3D Printer Has A Print Head With A Twist

If you’re used to thinking about 3D printing in Cartesian terms, prepare your brain for a bit of a twist with [Joshua Bird]’s 4-axis 3D printer that’s not quite like anything we’ve ever seen before.

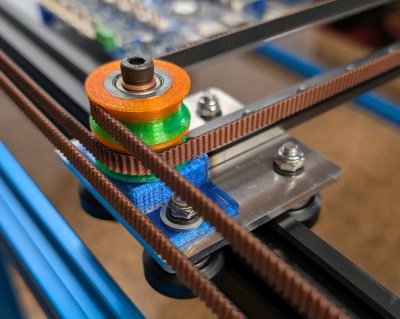
The printer uses a rotary platform as a build plate, and has a linear rail and lead screw just outside the rim of the platform that serves as the Z axis. Where things get really interesting is the assembly that rides on the Z-axis, which [Joshua] calls a “Core R-Theta” mechanism. It’s an apt description, since as in a CoreXY motion system, it uses a pair of stepper motors and a continuous timing belt to achieve two axes of movement. However, rather than two linear axes, the motors can team up to move the whole print arm in and out along the radius of the build platform while also rotating the print head through almost 90 degrees.

The kinematic possibilities with this setup are really interesting. With the print head rotated perpendicular to the bed, it acts like a simple polar printer. But tilting the head allows you to print steep overhangs with no supports. [Joshua] printed a simple propeller as a demo, with the hub printed more or less traditionally while the blades are added with the head at steeper and steeper angles. As you can imagine, slicing is a bit of a mind-bender, and there are some practical problems such as print cooling, which [Joshua] addresses by piping in compressed air. You’ll want to see this in action, so check out the video below.

This is a fantastic bit of work, and hats off to [Joshua] for working through all the complexities to bring us the first really new thing we’ve seen in 3D printing is a long time.

Continue reading “Unique 3D Printer Has A Print Head With A Twist”

Betta Aims To Bring Wire EDM To The Desktop

Just as practical nuclear fusion has been “only 20 years away” for the last 80 years or so, the promise of electrical discharge machining (EDM) in the home shop seems to always be just around the corner. It’s hard to understand why this is so — EDM is electrically and mechanically more complicated than traditional subtractive manufacturing techniques, so a plug-and-play EDM setup seems always just out of reach.

Or perhaps not, if this 3D printed 4-axis wire EDM machine catches on. It comes to us from [John] at Rack Robotics and is built around the Powercore EDM power supply that we’ve previously featured. Since wire EDM is a process that requires the workpiece to be completely immersed in a dielectric solution, the machine, dubbed “Betta,” is designed to fit inside a 10-gallon aquarium — get it?

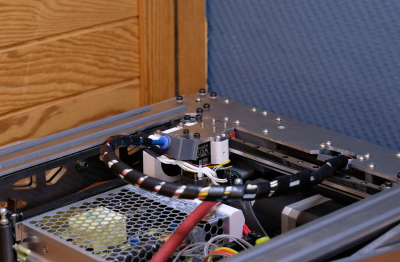
A lot of thought went into keeping costs down. for example, rather than use expensive sealed motors, [John] engineered the double CoreXY platform to keep the motors out of the water bath using long drive shafts and sealed bearings. The wire handling mechanism is also quite simple, at least compared to commercial WEDM machines, and uses standard brass EDM wire. The video below shows the machine going to town of everything from aluminum to steel, with fantastic results on thin or thick stock.

While Rack Robotics is going to be offering complete kits, they’re also planning on open-sourcing all the build files. We’re eager to see where this leads, and if people will latch onto EDM with the same gusto they did with 3D printing.

Continue reading “Betta Aims To Bring Wire EDM To The Desktop”

CoreXY On The Pi Pico

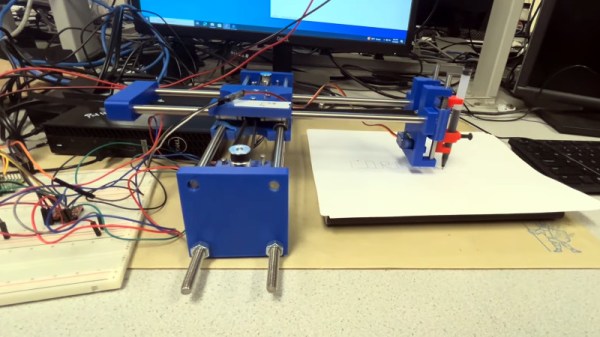
There are enough off-the-shelf CoreXY mechanisms out there that for the cost of an AliExpress order it’s possible to quickly and cheaply make yourself a plotter. But [Koushani Das], [Mahathi Andavolu] and [Dengyu Tu] are completing their project for Cornell University’s ECE 5730 course, so of course they have designed one from the ground up. Happily for us it seems to be fairly easy to replicate, so you can build one too if it takes your fancy.

The write-up makes for an interesting dive into the nitty-gritty of design, for which we hope they managed to secure a decent grade. The hardware itself seems pretty straightforward as does the pair of stepper controllers and RP2040 they use to run the thing, and their explanation of the math behind the CoreXY coordinate system is genuinely interesting for those of us who’ve never taken the time to consider it.

All the good stuff can be found in a GitHub repository if you’d like to take this further, and meanwhile they’ve also put up a demo video which you can see below the break. We like this little plotter, and we hope others will take its design and run with it.

Want more CoreXY explanation? We’re happy to oblige.

Continue reading “CoreXY On The Pi Pico”

Infinite Z-Axis Printer Aims To Print Itself Someday

“The lathe is the only machine tool that can make copies of itself,” or so the saying goes. The reality is more like, “A skilled machinist can use a lathe to make many of the parts needed to assemble another lathe,” which is still saying quite a lot by is pretty far off the implication that lathes are self-replicating machines. But what about a 3D printer? Could a printer print a copy of itself?

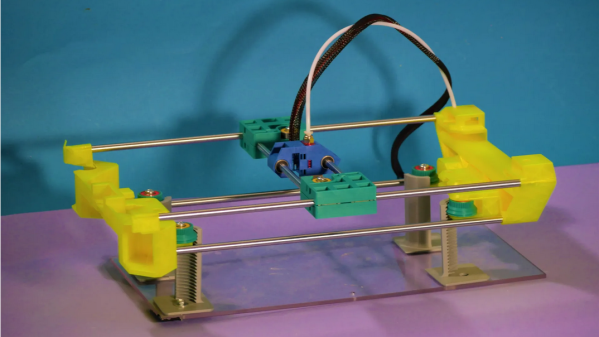
Not really, but the Infini-Z 3D printer certainly has some interesting features that us further down the road to self-replication. As the name implies, [SunShine]’s new printer is an infinite Z-axis design that essentially extrudes its own legs, progressively jacking its X- and Y-axis gantry upward. Each leg is a quarter of an internally threaded tube that engages with pinion gears to raise and lower the gantry. When it comes time to grow the legs, the print head moves into each corner of the gantry and extrudes a new section onto the top of each existing leg. The threaded leg is ready to use in minutes to raise the gantry to the next print level.

The ultimate goal of this design is to create a printer that can increase its print volume enough to print a copy of itself. At this moment it obviously can’t print a practical printer — metal parts like bearings and shafts are still needed, not to mention things like stepper motors and electronics. But [SunShine] seems to think he’ll be able to solve those problems now that the basic print volume problem has been addressed. Indeed, we’ve seen complex print-in-place designs, assembly-free compliant mechanisms, and even 3D-printed metal parts from [SunShine] before, so he seems well-positioned to move this project forward. We’re eager to see where this goes. Continue reading “Infinite Z-Axis Printer Aims To Print Itself Someday”

3D-Printed Parts Don’t Slow Down This Speedy Printer

Truth be told, we generally find speed sports to be a little boring. Whether it’s cars going around in circles for hours on end or swimmers competing to be a few milliseconds faster than everyone else, we just don’t feel the need for speed. Unless, of course, you’re talking about speedy 3D printers like “The 100”, which claims to produce high-quality prints in a tenth the time of an ordinary printer. In that case, you’ve got our full attention.

What makes [Matt the Printing Nerd]’s high-speed printer interesting isn’t the fact that it can do a “Speedboat Run” — printing a standard Benchy model — in less than six minutes. Plenty of printers can do the same thing much, much faster. The impressive part is that The 100 does it with a 3D-printed frame. In fact, most of the printer’s parts are 3d printed, a significant departure from most speed printer builds, which generally shy away from printed structural elements. [Matt]’s design also aims to keep the center of gravity of all the printer’s components within a very small area, which helps manage frame vibrations that limit print quality. The result is that the CoreXY gantry is capable of a speed of 400 mm/s and an eye-popping 100,000 mm/s² acceleration. What also sets [Matt]’s printer apart is that The 100 is designed to be a daily driver. It has a generous 165 mm x 165 mm print bed, which is far more useful than a bed that’s barely bigger than a standard Benchy.

The video below has much more details on the open-source build, plus some nice footage of some speed runs. The quality of the prints, even done at speed, is pretty impressive. Perhaps there is a point to speed sports after all.

Continue reading “3D-Printed Parts Don’t Slow Down This Speedy Printer”

The $50 Pen Plotter

[Arca] sets out to build himself a low-cost pen plotter that doesn’t require access to a 3D printer. The plotter uses a coreXY arrangement, powered by 28BYJ-48 stepper motors, which he overdrives with +12 VDC to increase the torque. Pen up and down control is done using a stepper motor salvaged from a DVD reader. The frame is constructed using PVC electrical conduit and associated fittings, and [Arca] uses the hot glue gun quite liberally. Steppers were driven by A4988 modules with heatsinks, and motion control is provided by GRBL running on an Arduino UNO.

He has a few issues with glitches on the limit switches, and is continuing to tweak the design. There is no documentation yet, but you can discern the construction easily from the video if you want to try your hand at making one of these. This is a really cool DIY plotter, and many parts you probably have laying around your parts boxes. As [Arca] says, it’s not an AxiDraw, but the results are respectable. Keep a lookout for part 2 of this project on his YouTube channel.

Continue reading “The $50 Pen Plotter”

A 3D Printer Big Enough To Print A Kayak

When one of your design goals for a 3D printer is “fits through standard doors,” you know you’re going to be able to print some pretty big stuff. And given that the TAUT ONE printer by [Nathan Brüchner] could easily be mistaken for a phone booth, we’d say it’ll be turning out some interesting prints.

The genesis for this beast of a printer came from the Before Times, with the idea of printing a kayak. [Nathan] leveraged his lowdown time to make it happen, going through three prototypes. Each featured a print bed of 1,000 mm x 550 mm with 1,100 mm of Z-height, and the overall footprint fits a standard Euro-pallet. It uses a CoreXY design to move the dual-filament hot end, which has ducting for taking cooling air from outside the cabinet. And the machine has all the bells and whistles — WiFi, an internal camera, filament sensors, and a range of environmental controls.

In a nod to making it easier to build, [Nathan] kept all the custom parts either laser cut or 3D-printed — no mill or lathe required. He also points out that he used only quality components, which shows in the price — about 3,000€. That seems like a lot to be able to print kayaks that you can buy for fraction of that amount, but we certainly appreciate the potential of this printer, and the effort that went into making it work.