Just as practical nuclear fusion has been “only 20 years away” for the last 80 years or so, the promise of electrical discharge machining (EDM) in the home shop seems to always be just around the corner. It’s hard to understand why this is so — EDM is electrically and mechanically more complicated than traditional subtractive manufacturing techniques, so a plug-and-play EDM setup seems always just out of reach.
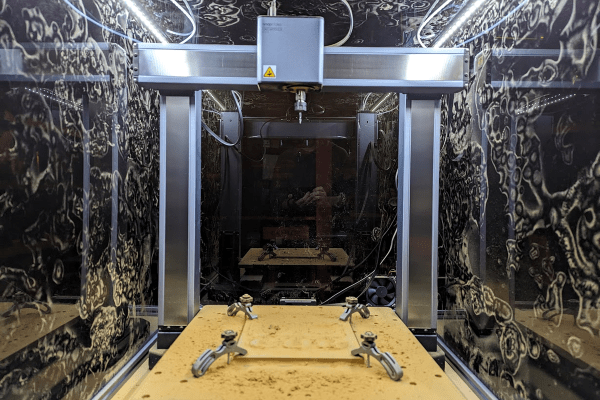
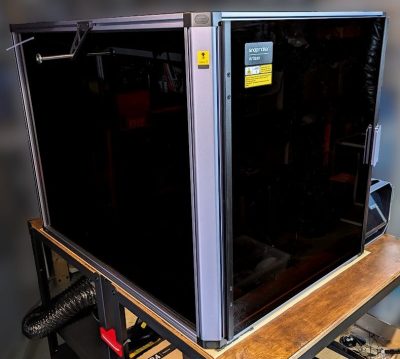
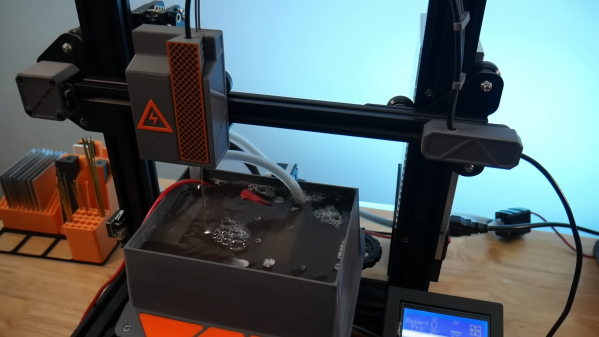
Or perhaps not, if this 3D printed 4-axis wire EDM machine catches on. It comes to us from [John] at Rack Robotics and is built around the Powercore EDM power supply that we’ve previously featured. Since wire EDM is a process that requires the workpiece to be completely immersed in a dielectric solution, the machine, dubbed “Betta,” is designed to fit inside a 10-gallon aquarium — get it?
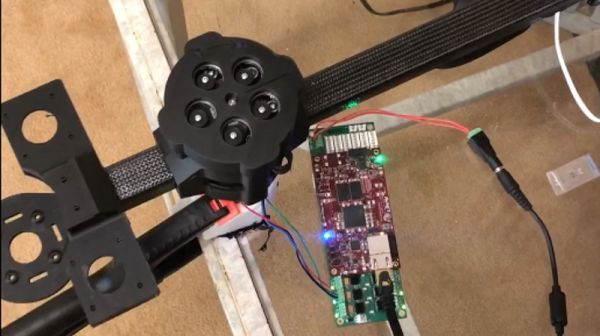
A lot of thought went into keeping costs down. for example, rather than use expensive sealed motors, [John] engineered the double CoreXY platform to keep the motors out of the water bath using long drive shafts and sealed bearings. The wire handling mechanism is also quite simple, at least compared to commercial WEDM machines, and uses standard brass EDM wire. The video below shows the machine going to town of everything from aluminum to steel, with fantastic results on thin or thick stock.
While Rack Robotics is going to be offering complete kits, they’re also planning on open-sourcing all the build files. We’re eager to see where this leads, and if people will latch onto EDM with the same gusto they did with 3D printing.
Continue reading “Betta Aims To Bring Wire EDM To The Desktop”