Hacking Film Processing With Coffee

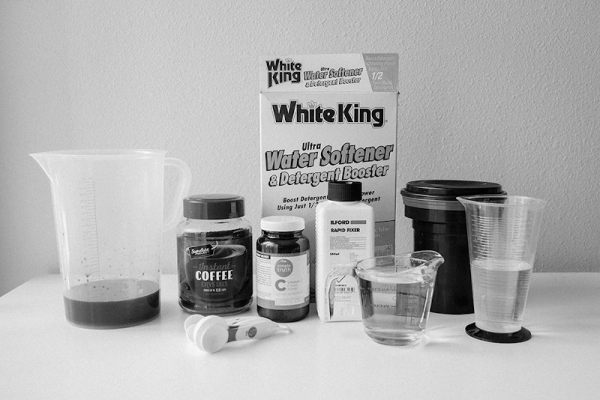
Years ago, doing your own darkroom work was the only way to really control what your pictures looked like. In those days, coffee was what kept you going while you mixed another batch of noxious chemicals in the dark and fumbled to load a tank reel by feel. But did you know that you can process black and white film with coffee? Not just coffee, of course. [Andrew Shepherd] takes us through the process using what is coyly known as Caffenol-C.

Apparently, the process is not original, but if you’ve ever wanted to do some film developing and don’t want exotic and dangerous chemicals, it might be just the ticket. The ingredients are simple: instant coffee, washing soda, water and –optionally — vitamin C powder. If nothing else, all of this is safe to pour down your drain, something you probably aren’t supposed to do with conventional developers that contain things like formaldehyde and methyl chloroform.

Continue reading “Hacking Film Processing With Coffee”

Start Printing From Film For Around £100

For the vast majority of readers, the act of taking a photograph will mean reaching for a mobile phone, or for a subset of you picking up a digital camera. A very small number of you will still use chemical film for its versatility and resolution, and we’re guessing that more would join those ranks if some of the cost barriers to doing so could be reduced.

It would be near-impossible to reduce the cost of a chemical photograph to the infinitely repeatable click of a digital camera shutter, but at least if the cost of a darkroom is intimidating then [Sroyon Mukherjee] has an interesting post over at 35mmc about how a darkroom for black-and-white printing from negatives can be equipped for less than £100 ($123). It’s a fascinating read even if your photography remains firmly in the digital, because along the way it explains some of the mysteries of the process. Few people had this type of equipment at home even in the days when most of us took our films to the drugstore, so as time passes this knowledge is concentrated among an ever narrower group.

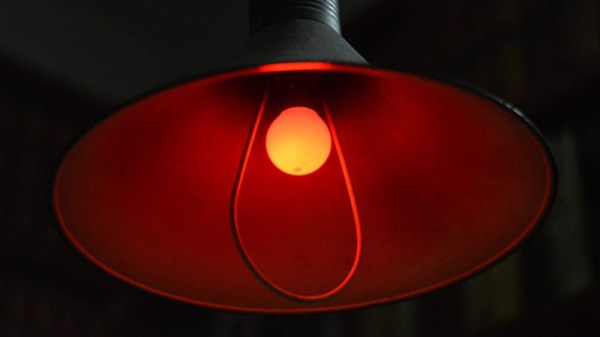
The guide is full of useful hacks. Finding a second-hand enlarger takes an element of patience, but once it has been secured there are a variety of other essential items. The red safe light can be as simple as a mobile phone flashlight with a red filter, but we learn the trick of exposing a sheet of photographic paper with a coin laid on it to check that no white light is sneaking in. One of the main points of the piece is that there is no need for a special room to make a darkroom, and we take a tour of a few photographers’ set-ups in hallways, bathrooms, and basements.

So if you spot an unloved enlarger just waiting for a hacker to pass by, this might inspire you to do something with it. He doesn’t cover the development process, but if you throw caution to the winds you could always try coffee and vitamin C.

[via Hacker News]

[Ben Krasnow] Rolls Old School Camera Out For Photolithography

In a time when cameras have been reduced to microchips, it’s ironic that the old view camera, with its bellows and black cloth draped over the viewscreen for focusing, endures as an icon for photography. Such technology appears dated and with no application in the modern world, but as [Ben Krasnow] shows us, an old view camera is just the thing when you want to make homemade microchips. (Video, embedded below.)

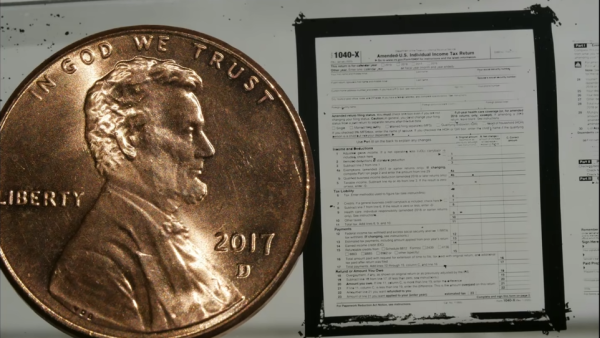
Granted, the photolithography process [Ben] demonstrates in the video below is quite a bit upstream from the creation of chips. But mastering the process on a larger scale is a step on the way. The idea is to create a high-resolution photograph of a pattern — [Ben] chose both a test pattern and, in a nod to the season, an IRS tax form — that can be used as a mask. The camera he chose is a 4×5 view camera, the kind with lens and film connected by adjustable bellows. He found that modifications were needed to keep the film fixed at the focal plane, so he added a vacuum port to the film pack to suck the film flat. Developing film has always been magical, and watching the latent images appear on the film under the red light of the darkroom really brings us back — we can practically smell the vinegary stop solution.

[Ben] also steps through the rest of the photolithography process — spin coating glass slides with photoresist, making a contact print of the negative under UV light, developing the print, and sputtering it with titanium. It’s a fascinating process, and the fact that [Ben] mentions both garage chip-maker [Sam Zeloof] and [Justin Atkin] from the Thought Emporium means that three of our favorite YouTube mad scientists are collaborating. The possibilities are endless.

Continue reading “[Ben Krasnow] Rolls Old School Camera Out For Photolithography”

Vintage Print Processor Fixed With 3D Printing

If you don’t know what a print processor is, don’t feel bad. There’s precious few people out there still running home darkrooms, and the equipment used for DIY film development is about as niche as it gets today. For those looking to put together their own darkroom in 2019, buying second hand hardware and figuring out how to fix it on your own is the name of the game, as [Austin Robert Hermann] found out when he recently purchased a Durst Printo Print Processor on eBay.
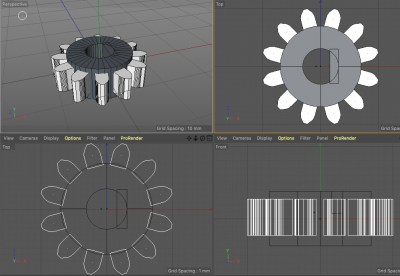
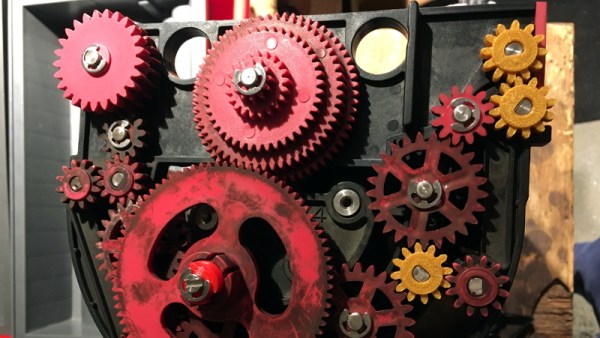
The auction said the hardware was in working order, but despite the fact that nobody would ever lie on the Internet, it ended up being in quite poor condition. Many of the gears in the machine were broken, and some were simply missing. The company no longer supports these 1990’s era machines, and the replacement parts available online were predictably expensive. [Austin] determined his best course of action was to try his hand at modeling the necessary gears and having them 3D printed; two things he had no previous experience with.

Luckily for [Austin], many of the gears in the Printo appeared to be identical. That meant he had several intact examples to base his 3D models on, and with some educated guesses, was able to determine what the missing gears would have looked like. Coming from an animation background, he ended up using Cinema 4D to model his replacement parts; which certainly wouldn’t have been our first choice, but there’s something to be said for using what you’re comfortable with. Software selection not withstanding, he was able to produce some valid STLs which he had printed locally in PLA using an online service.

Interestingly, this is a story we’ve seen play out several times already. Gears break and wear down, and for vintage hardware, that can be a serious problem. But if you’ve got a couple intact gears to go by, producing replacements even on an entry level desktop 3D printer is now a viable option to keep these classic machines running.

Tearing Down A Darkroom Relic For Buried Treasure

If your goal is to harvest unique parts from defunct devices, the further back in time you go, the better the pickings stand to be. At least that’s what [Kerry Wong] discovered during his tear-down of a darkroom color analyzer from the early 1980s.

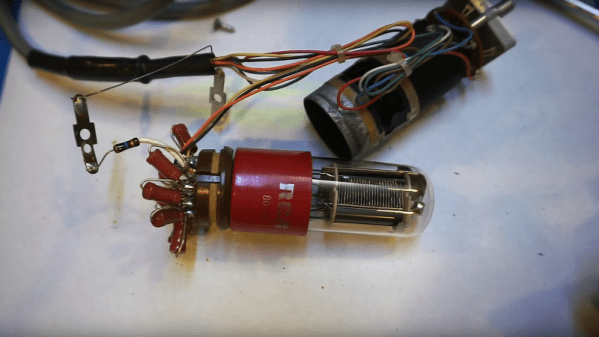
For readers whose experience with photography has been solely digital, you need to understand that there once was a time when images were made with real cameras on real film, and serious amateurs and pros had darkrooms to process the film. Black and white processing was pretty straightforward in terms of chemistry — it was just developer, stop, and fixing. Color processes were much trickier, and when it came to enlarging your film onto color photo paper, things could get really complicated. [Kerry]’s eBay find, a Besler PM1A color analyzer, was intended to help out in the color lab by balancing the mix of cyan, blue, and yellow components in the enlarger.

The instrument, which no doubt demanded a princely sum back in the day, is actually really simple, with the object of [Kerry]’s desire, a PM1A photomultiplier tube and its driver, being the only real find.  Still, it’s an interesting teardown, and we’re eager to see what [Kerry] makes of the gem. A muon detector, perhaps? An X-ray backscatter machine? Or perhaps repeating his old speed of light experiments is on the docket.

Continue reading “Tearing Down A Darkroom Relic For Buried Treasure”