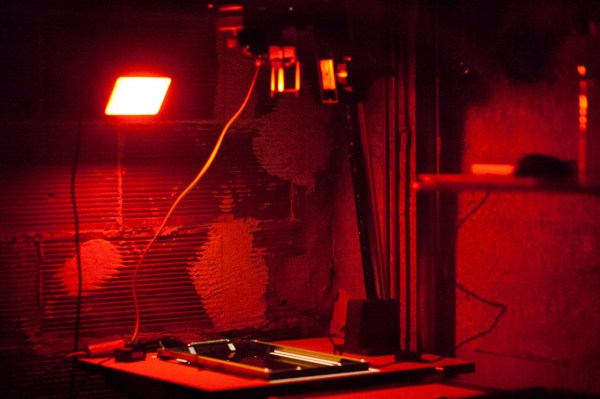
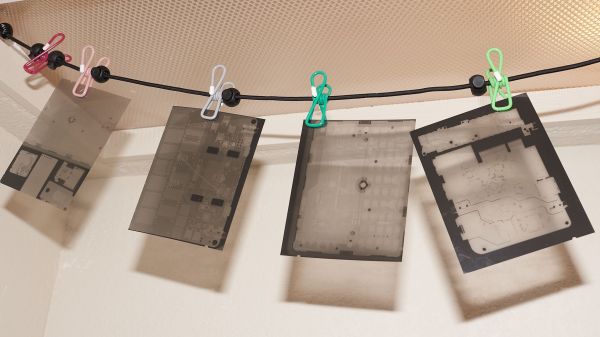
Developing your own film is an unabashedly analog process, which is one of the reasons people still gravitate towards it. After spending all day pushing buttons and looking at digital displays, spending some quiet time in the dark with pieces of paper and chemicals can be a way to decompress. But that doesn’t mean there isn’t room for a bit of modern digital convenience.
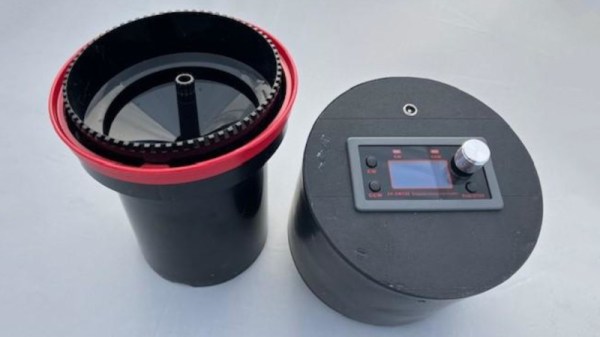
 Specifically, [John Jones] wanted a timer that offered more features than his old school analog model, so he decided to build one himself. He took the long away around to make sure the end result would be a tool he could rely on, which meant getting a custom PCB made, 3D printing a case to fit in with his existing workspace, and designing a control panel that he could operate in the dark.
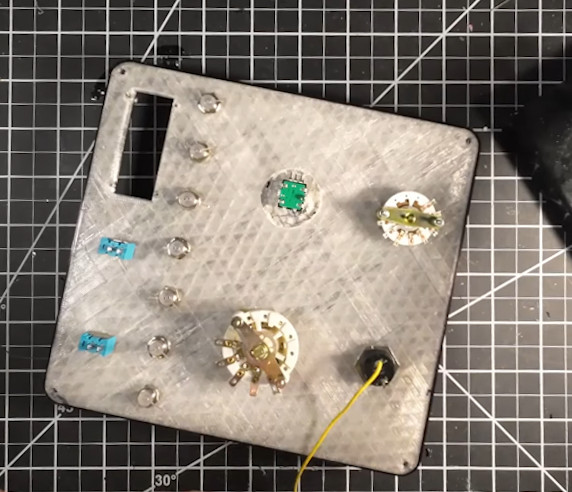
The PCB plays host to an ESP32 development board and an I/O expander that connects up to the array of LEDs, switches, and buttons on the front panel. The bottom-half of of the 3D printed enclosure is pretty simple, but the control panel is quite a piece of work.
Borrowing a trick from the flight sim community, [John] switched over to a clear filament after laying down the first few layers of the panel. This essentially created an integrated light diffuser, and with the addition of a few red LEDs, he had very slick backlit labels on his panel with relatively minimal effort.
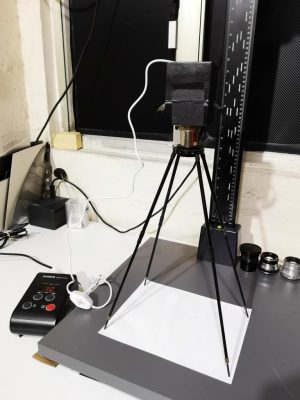
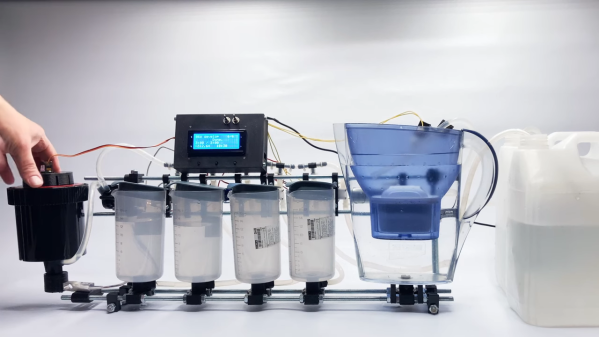
We’ve covered custom darkroom tools in the past, from this relatively simple enlarger to an automated system that will develop the film for you.
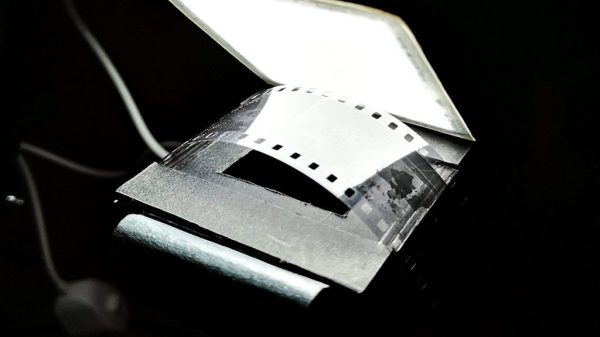
 But what’s the main difference between a screen and film? You can change the image on the LCD at will, of course. So when [Muth] was calibrating out exposures, it dawned on him that he could create a dynamic, animated version of his image and progressively expose different portions of the paper, extending the available dynamic range and providing him the ability to control the slightest nuances of the resulting image contrast.