The bulbs inside scanners (before transitioning to LED, anyway) were cold cathode fluorescent tubes that emit a fairly wide bandwidth of light. They were purpose-built to produce a very specific type and shape of light, but [Julius Curt] has taken this in a new, upcycled direction. Instead of just producing light, the light itself is also part of the aesthetic. A very cool 3D printed case houses the bulb and power supply and smartly hides the connecting wires to achieve a very clean look.
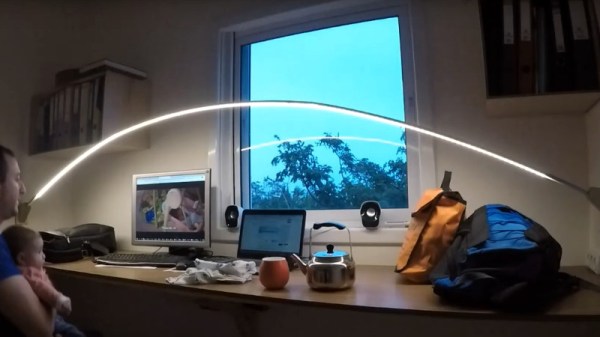
Part of the design involves adding a DC-DC converter before the lamp driver, allowing fading of the light. This isn’t anything new in lamps, but [Julius] noticed an interesting effect when dimming the vertically oriented lamp: as the power was reduced, the column of light would start to extinguish from one end, leading to an elongated teardrop-shaped light source.
This leads to a very interesting look, and the neat case design leads to an extremely unique lamp! The emitted light’s color temperature seems to vary a bit as the voltage drops, going from what appears to be a pretty cold white to a slightly warmer tone.
The design process is detailed on the project page, with a quick look at the CAD design process for the case. A neat touch was using a greeble (part of a coffee grinder) to add some different textures and break up the plastic-only look. That’s one we’ll have to note in our design books!