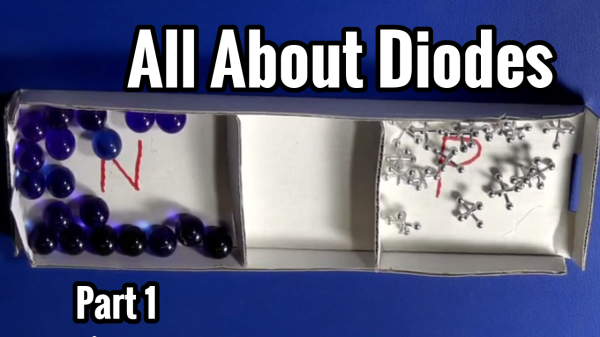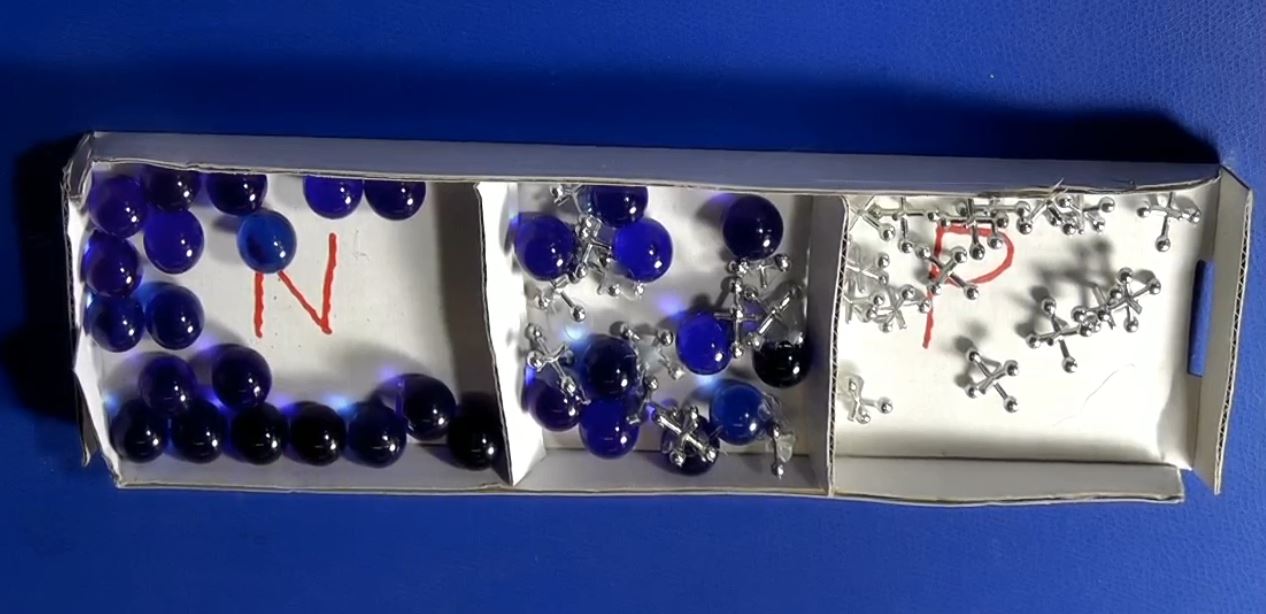
We’re all familiar with semiconductor devices, and we should remember the explanation from high-school physics classes that they contain junctions between two types of semiconductor material. “N” type which in the for-schoolchildren explanation has a surplus of electrons, and “P” type which has “Holes”, or a deficit of electrons.
Unless our careers have taken us deep into the science of the semiconductor industry though that’s probably as close as we’ve come to the semiconductors themselves. To us a diode or a transistor is a neatly packaged device with handy wires. We’ve never really seen what’s inside, let alone made any real semiconductor devices ourselves.
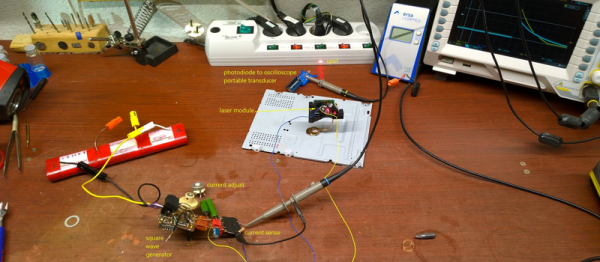
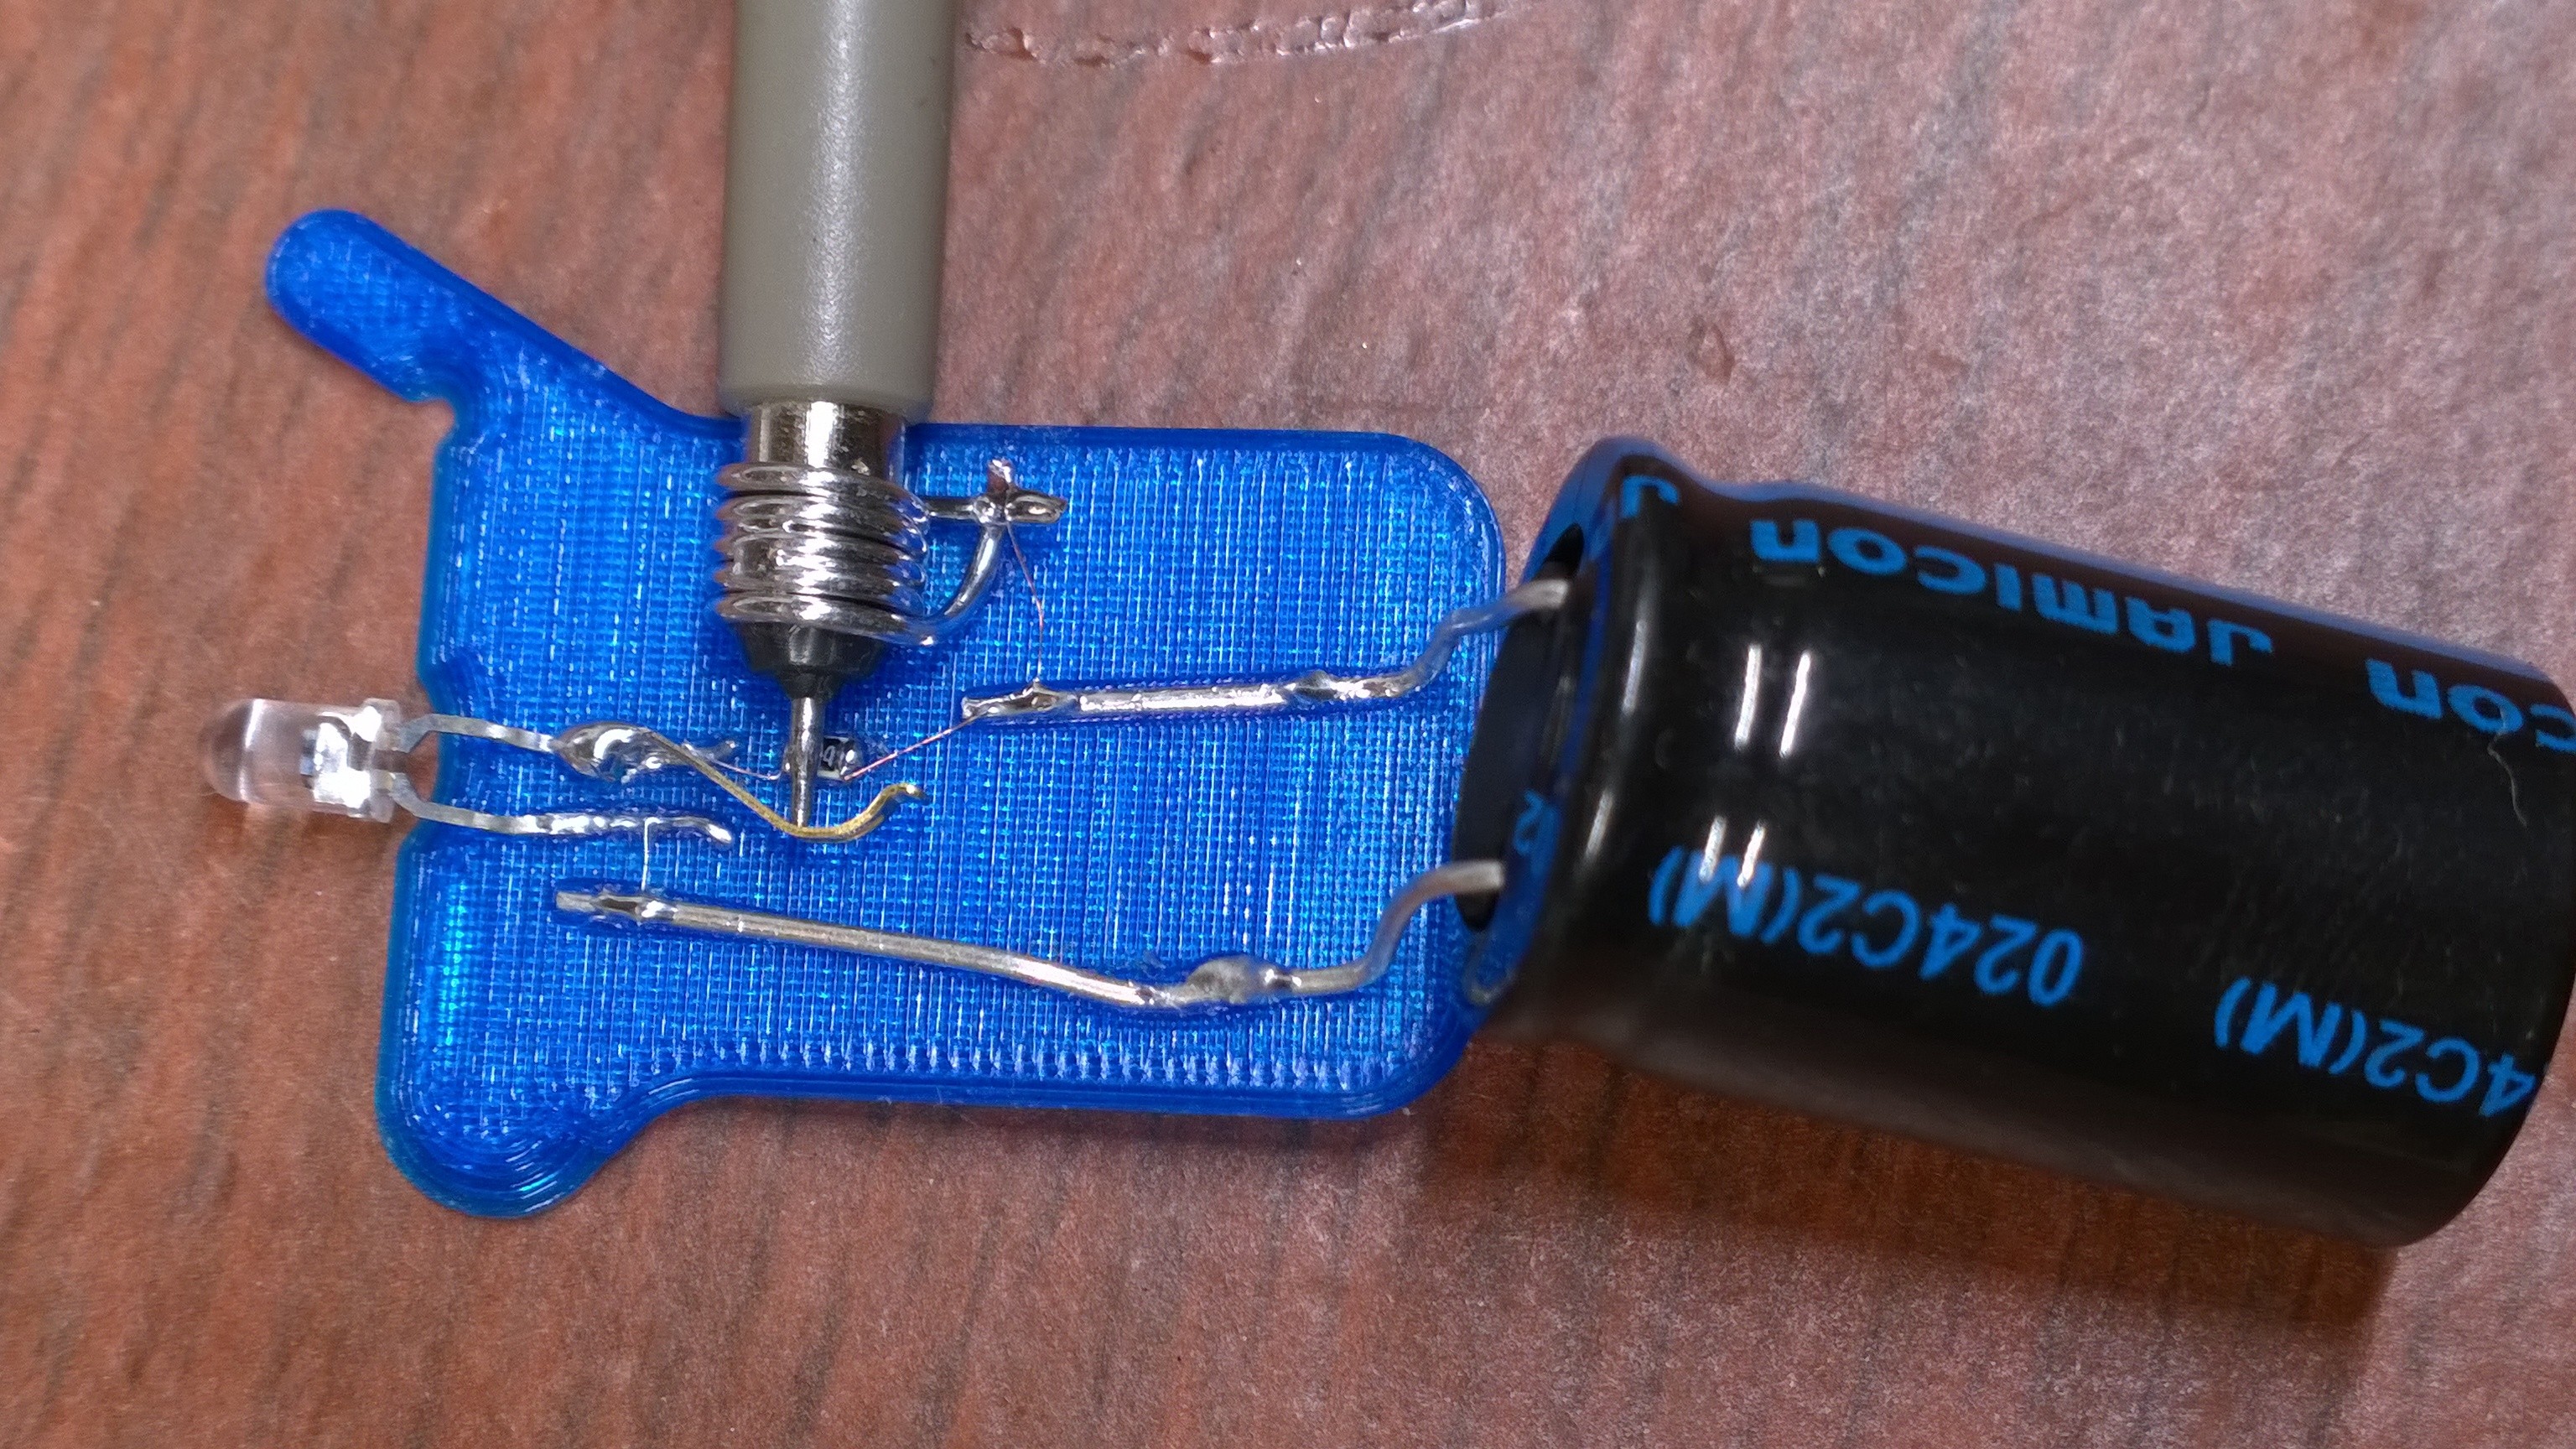
[Hales] though has other ideas. With the dream of creating a paintable semiconductor layer for ad-hoc creation of simple diodes, he’s been experimenting with oxidising copper to make a surface of cupric oxide onto which he can make a contact for a simple diode.
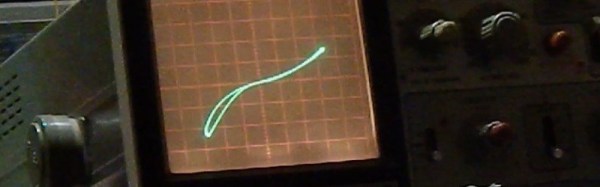
What makes his experiments particularly impressive though is not merely that he’s created a working diode, albeit one with a low reverse breakdown voltage. He’s done it not in a gleaming laboratory with a full stock of chemicals and equipment, but on his bench with a candle, and drops of water. He takes us through the whole process, with full details of his semiconductor manufacture as well as his diode test rig to trace the device’s I/V curve. Well worth a read, even if you never intend to make a diode yourself.
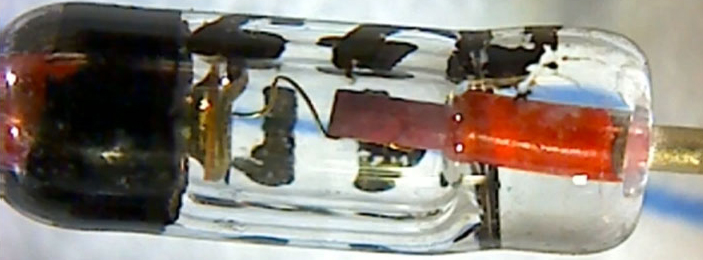
We’ve featured a cuprous oxide diode once before here at Hackaday, albeit a rather fancier device. If this article has piqued your interests about diodes, may we direct you to this informative video on the subject?
The diode looks black, leading me to believe it’s cupric oxide and not cuprous oxide. Feel free to argue that point in the comments anyway – Ed.