There’s no doubt that the RTL-SDR project has made radio hacking more accessible than ever, but there’s only so far you can go with a repurposed TV tuner. Obviously the biggest shortcoming is the fact that you can only listen to signals, and not transmit them. If you’re ready to reach out and touch someone, but don’t necessarily want to spend the money on something like the HackRF, the Evil Crow RF might be your ideal next step.
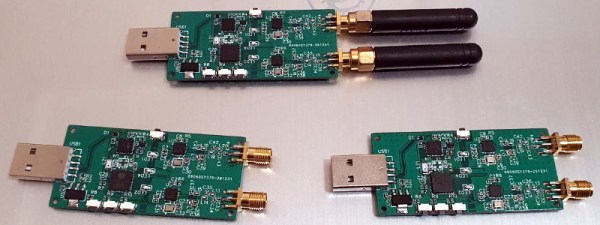
This Creative Commons licensed board combines two CC1101 radio transceivers and an ESP32 in one handy package. The radios give you access to frequencies between 300 and 928 MHz (with some gaps), and the fact that there are two of them means you can listen on one frequency while transmitting on another; opening up interesting possibilities for relaying signals. With the standard firmware you connect to a web interface running on the ESP32 to configure basic reception and transmission options, but there’s also a more advanced RFQuack firmware that allows you to control the hardware via Python running on the host computer.

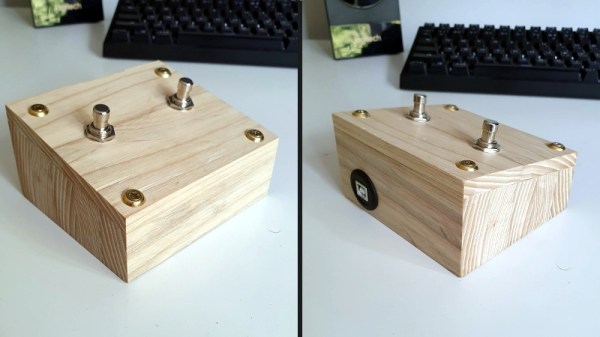
One particularly nice feature is the series of buttons located down the side of the Evil Crow RF. Since the device is compatible with the Arduino IDE, you can easily modify the firmware to assign various functions or actions to the buttons.
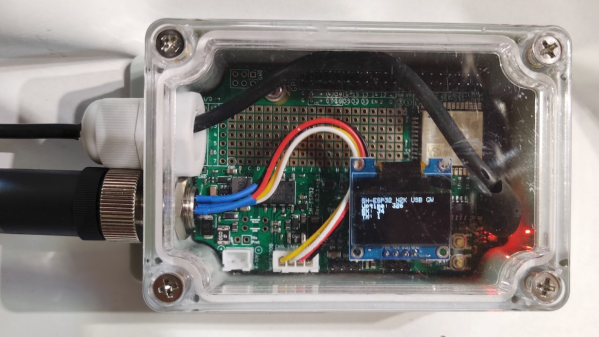
In a demonstration by lead developer [Joel Serna], the physical buttons are used to trigger a replay attack while the device is plugged into a standard USB power bank. There’s a lot of potential there for covert operation, which makes sense, as the device was designed with pentesters in mind.
As an open source project you’re free to spin up your own build of the Evil Crow RF, but those looking for a more turn-key experience can order an assembled board from AliExpress for $27 USD. This approach to hardware manufacturing seems to be getting popular among the open source crowd, with the Open-SmartWatch offering a similar option.
[Thanks to DJ Biohazard for the tip.]
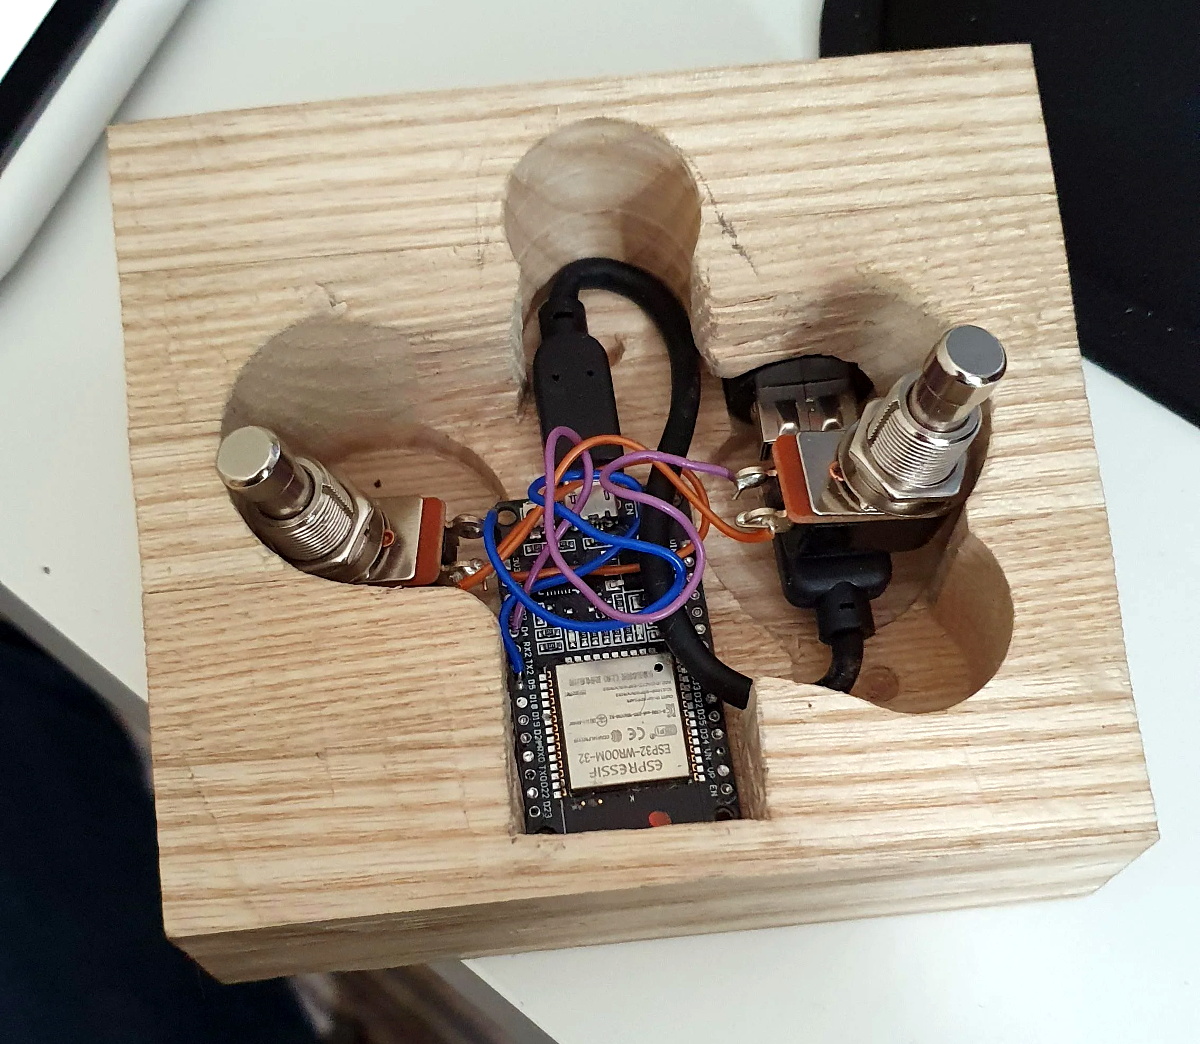
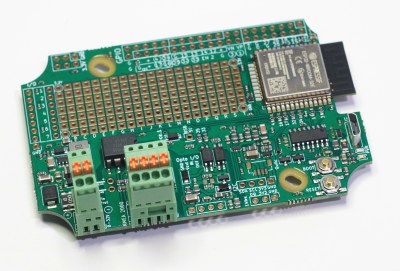 The Sailor Hat is based around a standard ESP32-WROOM-32 module. Interfaces include a CAN bus transceiver, opto-coupled input and output, I2C, 1-wire and QWIIC interfaces, USB Micro-B programming conector, plus a couple of buttons and LEDs. All of the ESP32 GPIO pins are terminated on a GPIO header, with jumper options to disable terminations to the standard interfaces and instead route them to the GPIO header as needed. Additionally, there’s a generous prototyping area to add additional hardware to the board. Hardware design files are hosted on the