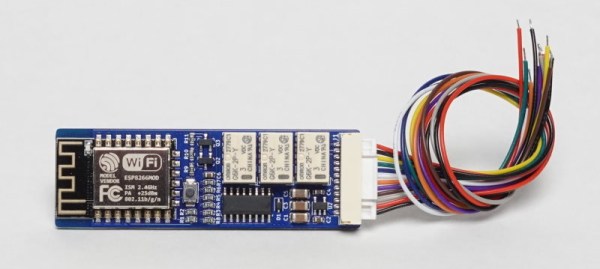
Integrating non-smart devices into your home automation system can be a cumbersome process, involving the wiring of multiple modules. However, [Pricelesstoolkit] has created the ESPClicker — a compact, ESP8266-based module that can remotely “press buttons” and simplify this process.
The ESPClicker’s core feature is its three relays that can be soldered to the button terminals of any existing “dumb” device, as [Pricelesstoolkit] demonstrated with his coffee machine in the video after the break. One of the relays can also be configured in the normally closed configuration. A compact twelve pin connector provides a removable wiring interface for the buttons, additional relays, power and even a contactless power detector that can be wrapped around an AC wire.
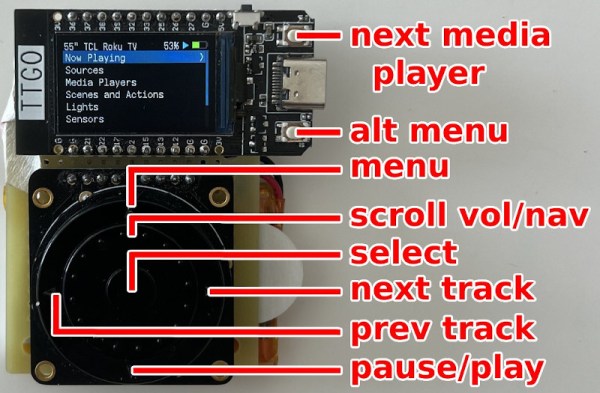
[PricelessToolkit] has done several Home Assistant related projects, and we recently featured his little Home Assistant controlled guardian bot. We’ve also seen other project that make use of ESPHome, like a iPod style scroll wheel and a LEGO train set.
Continue reading “An Elegant Solution For Smart Home Device Integration”