Low Power Challenge: Keep Plants Green And Clean With E-Paper Smart Tags

There are plenty of reasons to devote oneself to the care of houseplants — after all, a room full of bright, glossy-leaved plants can be a joy to behold, and that’s not even one of the more tangible benefits they bring. But as any green thumb knows, there’s a fine line between a healthy, vibrant plant and one that’s soon to give up the ghost.

If your thumb tends less toward green and more toward the brown and crusty side of things, something like [Jon]’s Smart Plant system might be just the thing for you. These low-power plant tags are built around increasingly ubiquitous e-Paper displays, like the kind you might find in a retail shelf price tag system. The current version of [Jon]’s tags uses a Waveshare 2.9″ tricolor display and a PCB with capacitive probes that stick into the plant’s soil. An ESP32-S lives on the top section of the PCB, along with a 1,000 mAh LiPo pack that’s charged off USB-C. The design includes an optional solar panel for keeping the battery topped off, which may or may not help depending on the plant’s place in your personal jungle.

In addition to the soil moisture sensor, the Smart Tag has an ambient temperature and humidity sensor and a light sensor — everything to keep your plant happy. The power-hungry sensors are only powered on when the Smart Tag pops out of deep sleep; this gives and estimated five to six weeks runtime between charges, without solar charging of course. The e-Paper display shows custom graphics of the plant’s current environmental state, and the same data is also available via Home Assistant thanks to the ESPHome firmware.

These are nice-looking plant tags that can really pull a lot of weight in keeping plants healthy. Check out the other offerings in our Low Power Challenge Contest, and maybe get an entry together yourself.

A Christmas-themed LEGO train engine and coal car

ESPHome Powers Festive Lego Train Set

While the basic concept of LEGO bricks might have changed little since the mid-20th century, some components such as motors and sensors are still affected by technological progress and end up obsolete and unsupported. [Travis] ran into this problem when he was building a festive train setup and realized he didn’t have the speed controller to match his train engine. Without that part, the engine would only run at full speed and derail as soon as it hit a curve. The official speed controller had been discontinued and was hard to find, so [Travis] had to resort to building his own.

The basic components needed were an H-bridge driver to operate the motor and an ESP8266 to generate PWM signals. In order to keep the bricky appearance of the train engine intact, [Travis] hollowed out a few cheap imitation LEGO bricks to house the electronics. He also cut out slots for JST connectors, which are far more convenient to work with than LEGO’s brick-style connectors.

Two imitation LEGO bricks with electronics insideThe ESP8266 runs ESPHome, which enables [Travis] to control the entire setup using Home Assistant. The train is programmed to run a few laps at the top of the hour and play choo-choo sounds from a mini MP3 player hidden in the coal car. That car also holds a standard AA battery holder to power the system, which makes it easy to swap the batteries without having to partially disassemble the train.

There are various ways to control LEGO creations using standard computer platforms: we’ve seen the ESP32 powering a LEGO tank, for instance. If you need a bit more computing power, there’s even an official LEGO Raspberry Pi HAT.

Continue reading “ESPHome Powers Festive Lego Train Set”

Scroll Through ESPHome With IPod-style Click Wheel

While you’d be hard pressed to find a Hackaday writer that feels any nostalgia for the DRM nonsense the iPod helped to introduce, we’ve got to admit that we miss that click wheel. Spinning your way through long lists was a breeze, and the tactile response made it easy to stop exactly where you wanted. These days, we’re stuck fumbling our way through touch screen interfaces that make simple tasks like seeking to a particular spot in a song or video all but impossible to do with any kind of accuracy.

If you too yearn to once again feel that subtle thumping under your thumb, then check out this project from [landonr]. Technically the handheld gadget is intended to be used as a wireless remote for a home automation system powered by ESPHome, but that’s only one possible application for this particular combination of off-the-shelf components.

If you must, there’s a version with buttons.

Building your own version of the handheld device is a simple as mounting a LILYGO ESP32 T-Display TTGO, an ANO Rotary Navigation Encoder from Adafruit, and a battery pack to a scrap of perfboard. We’d probably look into 3D printing a case to make it a bit less…pokey, but that’s up to you. The result actually bears quite a resemblance to Apple’s iconic media player, but without that pesky walled garden to hold you back.

As mentioned previously, [landonr] wrote the firmware with the intention of controlling a home automation system. So there’s a lot of stuff in there about turning on lights and such. But there are also functions for media playback that look very promising. Whatever software you end up running on it, one thing is for sure: running through the menus is going to feel like a dream.

We’ve covered several other home automation remotes over the years. This handsome wooden model kept things simple with just a few physical buttons, while this somewhat more whimsical approach repurposed Nintendo’s Zapper light gun.

Continue reading “Scroll Through ESPHome With IPod-style Click Wheel”

Water Monitor Measures The Cost Of Your Shower Thinking Time

The shower is one of the top thinking places for many of us, but can get a bit out of hand with water wastage and utility bills if you go down a deep rabbit hole. To be more mindful of his water usage in the shower, [GreatScott!] created a power sipping water monitor that lives there.

The device is built around a cheap 1/2″ brass water flow rate sensor connected to his shower hose, which outputs pulses as a small wheel passes an internal hall effect sensor. The datasheet didn’t contain any spec for pulses/volume, so [GreatScott!] had to experimentally determine this by filling a one-liter container with water and counting the pulses. He found that the pulse count per liter was dependent on the flow rate, so he narrowed down the variables and just determined the average count at his shower’s pressure and flow rate.

The sensor is connected to a battery-powered ESP8266 housed inside a sealed 3D-printed enclosure in the shower. To reduce power usage to a minimum, a flow switch was added in series with the flow meter, which only switches on the ESP8266 when water starts flowing. A latching circuit keeps the ESP powered after the water stops, giving it enough time to transmit the data before shutting down. This type of circuit is very handy for any battery-powered project connected to an external switch or sensor.

It is programmed with ESPHome and outputs the data to a local Home Assistant server, so no data is saved on someone else’s server.

Continue reading “Water Monitor Measures The Cost Of Your Shower Thinking Time”

Is This The Oldest Open Source HVAC Project In Existence?

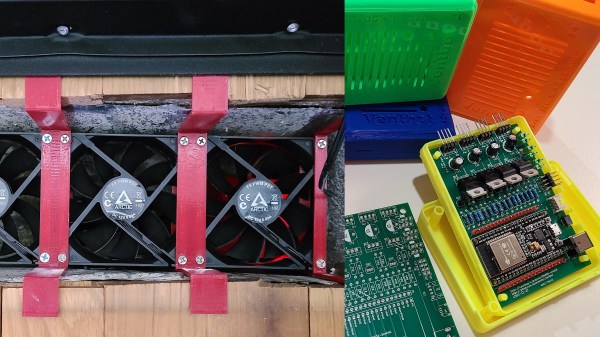
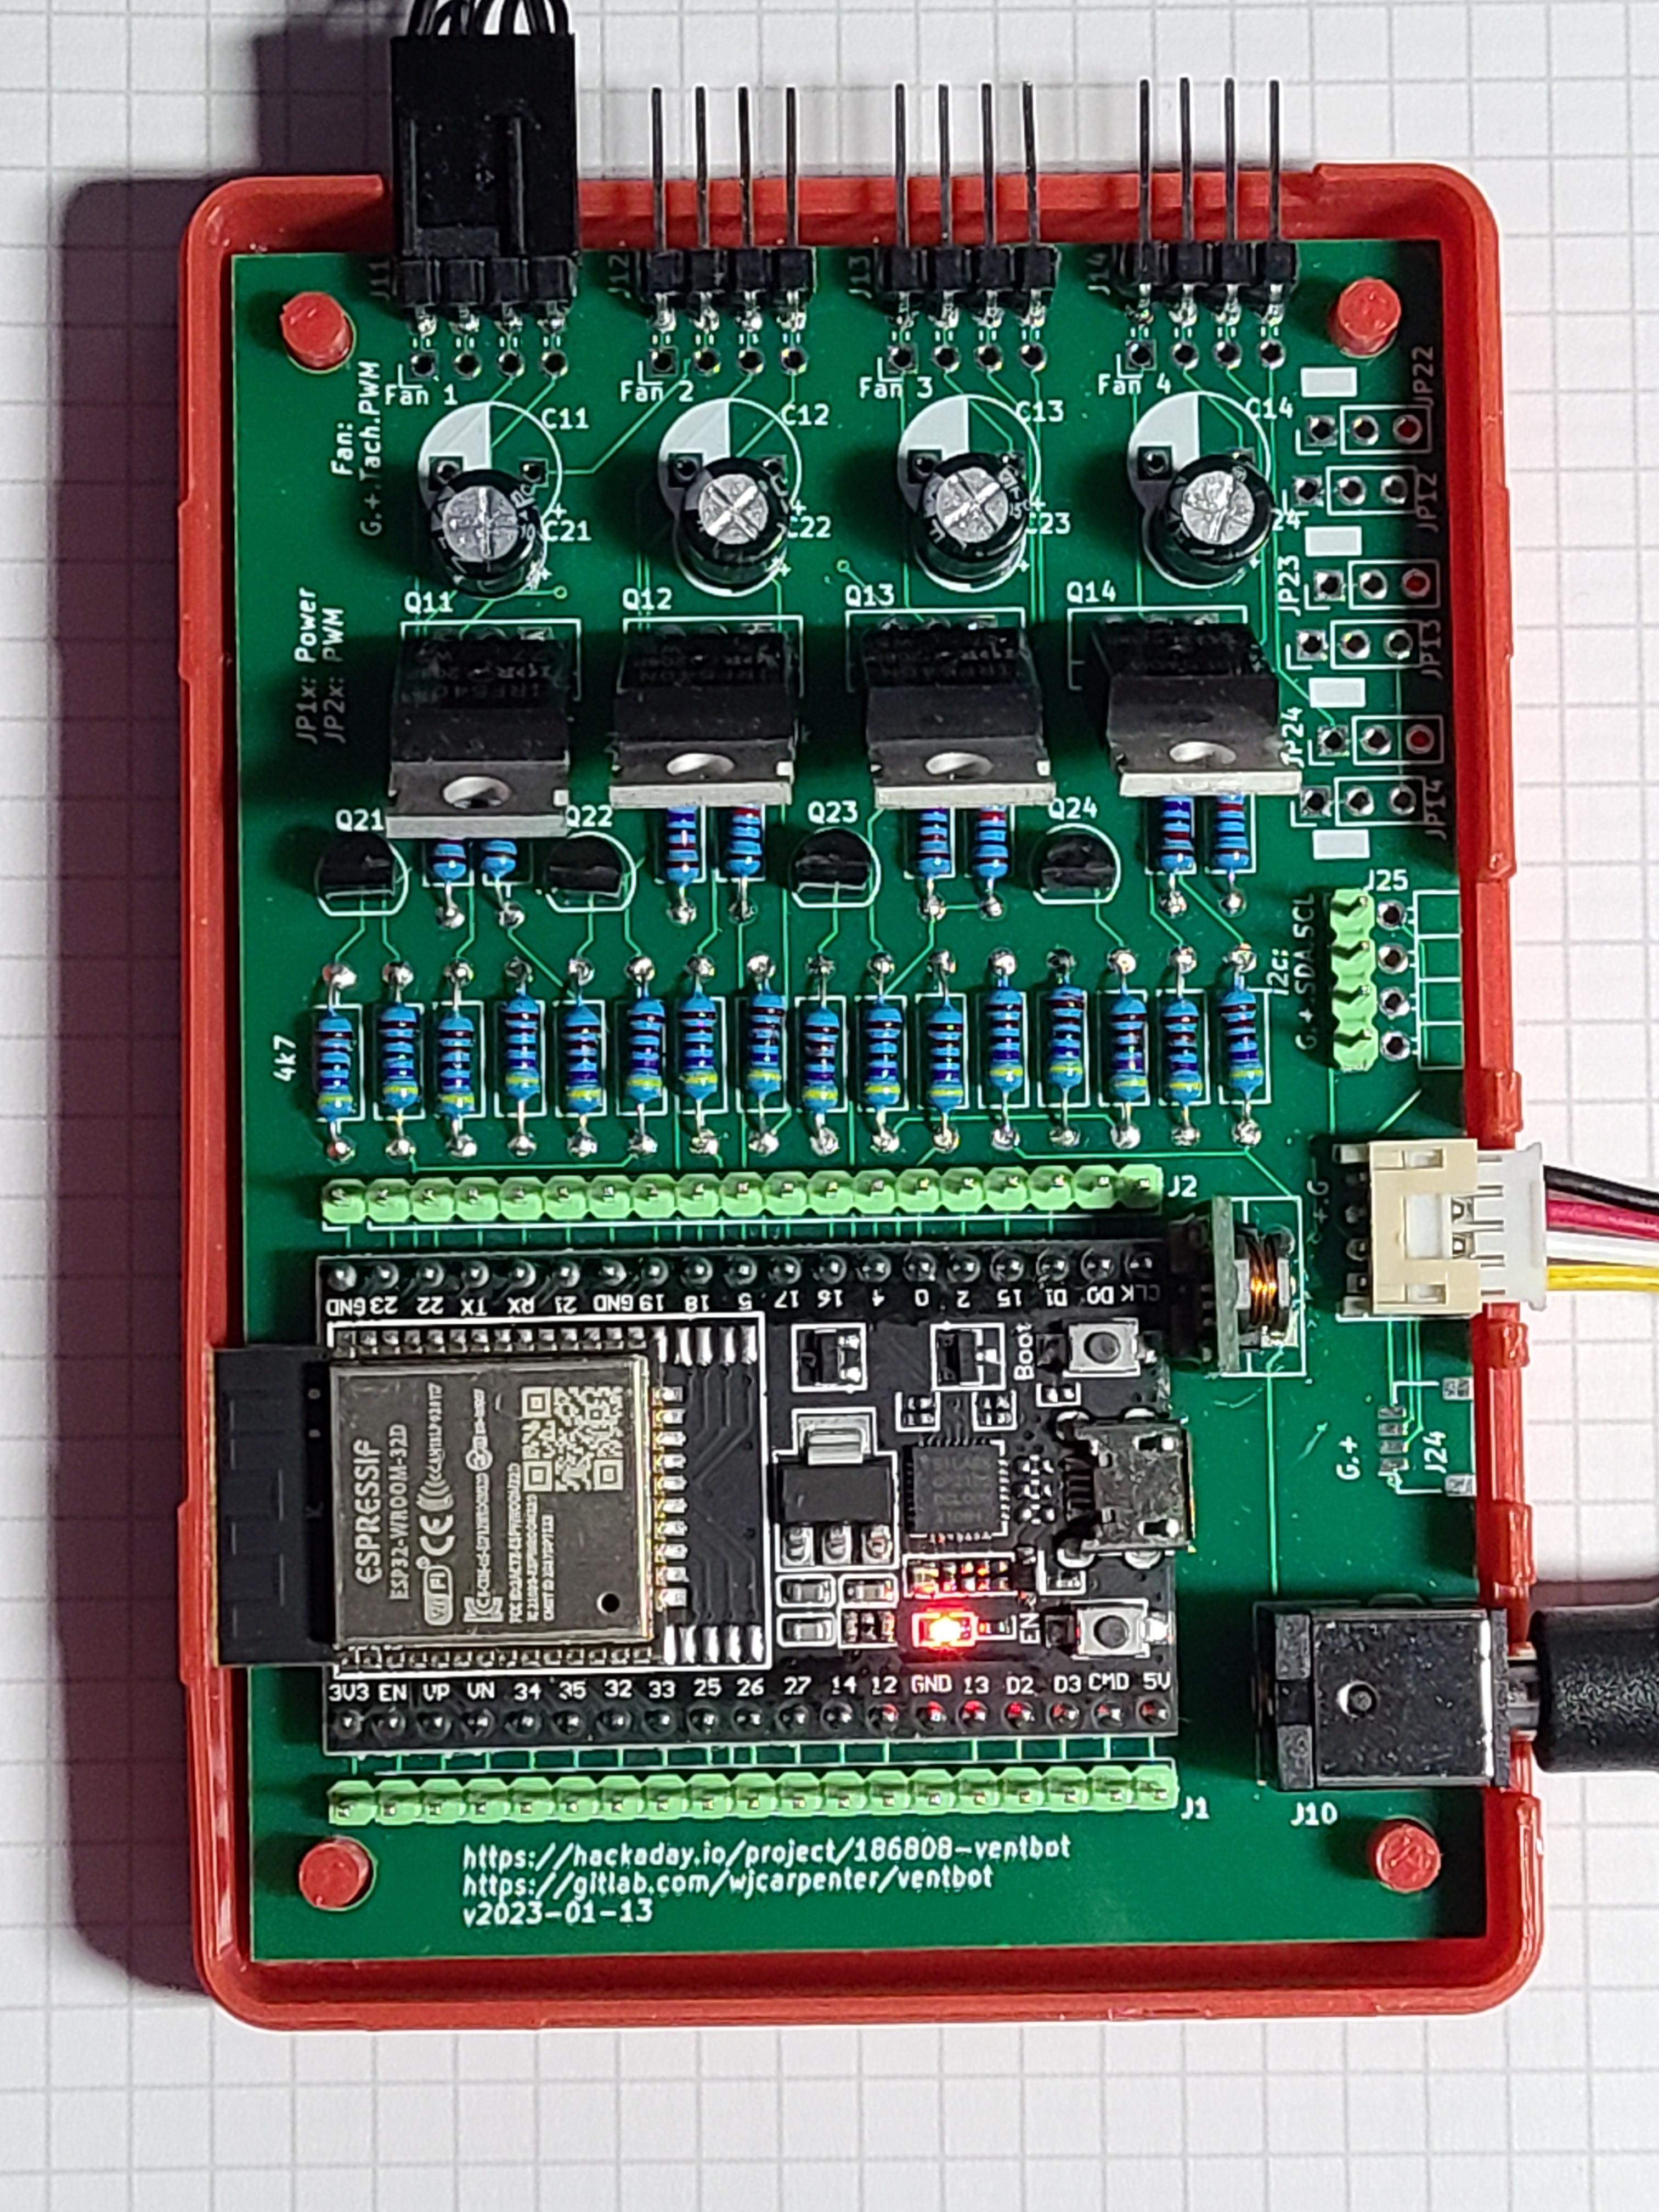
Homebrew HVAC systems are one of those projects that take such a big investment of time, effort and money that you’ve got to be a really dedicated (ideally home-owning) hacker with a wide variety of multidisciplinary skills to pull off an implementation that can work in reality. One such HVAC hacker is [Vadim Tkachenko] with his multi-zone Home Climate Control (HCC) project that we covered first back in 2007. We now have rare opportunity to look at the improvements fifteen years of part-time development can produce, when a project is used all day, all year round in their own home. At the start, things were simple, just opening and closing ventilators with none of those modern MQTT-driven cloud computing stuff. Continue reading “Is This The Oldest Open Source HVAC Project In Existence?”

ESP32 Brings Air Purifier Online With Home Assistant

A lot of hackers are rightfully concerned about the privacy issues that surround many of today’s “smart” gadgets, but it’s hard to argue that the ability to remotely control devices around your home isn’t convenient. Enter self-hosted, open source projects like Home Assistant. This provides the framework for building out a home automation system without having your soul information sold, but as you might expect, you’re going to have to put some effort in to get the most of it.

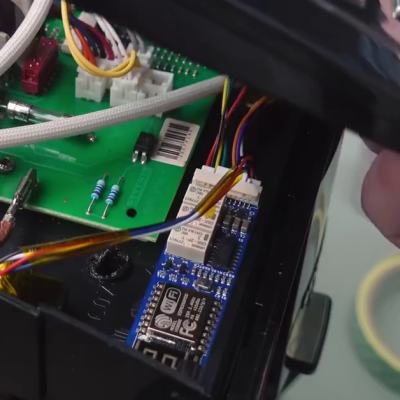
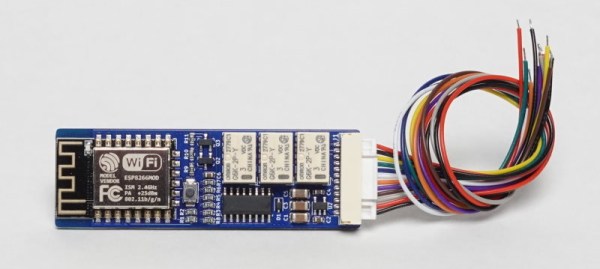
For example, take a look at this Phillips AC4014 air purifier that [Anton] connected to Home Assistant by way of an ESP32. Rather than getting too bogged down in reverse engineering the purifier’s surprisingly complex internal electronics, he took the easy way out and wired a couple of relays across the power and fan speed buttons; this allows the device to be easily controlled by the microcontroller, without impacting the functionality of the original controls.

But since those front panel controls still work, that meant [Anton] needed a way for the ESP32 to detect the device’s status and report that to Home Assistant so everything stayed in sync. So he looked around on the PCB for a trace that got powered up when the air purifier was up and running, which he connected to a pin of the microcontroller through a transistor. This let’s the firmware determine if the machine is running or not just by checking if the appropriate pin has gone high.

Speaking of the firmware, [Anton] decided to use ESPHome rather than trying to write his own code from scratch. This project allows you to rapidly add new devices to Home Assistant by providing the firmware with a relatively simple YAML configuration file, which he’s provided as an example. In fact, he’s provided quite a lot of examples with this project, down to an annotated image of the PCB that shows where to tap your wires into. He’s done quite a service for anyone who’s got this same model of air purifier.

This unit doesn’t appear to have any capability of actually checking the quality of the air in the room, but we’ve recently seen a low-cost IKEA product that can do exactly that. Even better, it can be easily modified to report its findings over the network using the ESP8266.

Fertilizing Plants With A Custom 3D-Printed Pump

For all but the most experienced gardeners and botanists, taking care of the soil around one’s plants can seem like an unsolvable mystery. Not only does soil need the correct amount of nutrients for plants to thrive, but it also needs a certain amount of moisture, correct pH, proper temperature, and a whole host of other qualities. And, since you can’t manage what you can’t measure, [Jan] created a unique setup for maintaining his plants, complete with custom nutrient pumps.

While it might seem like standard plant care on the surface, [Jan]’s project uses a peristaltic pump for the nutrient solution that is completely 3D printed with the exception of the rollers and the screws that hold the assembly together. With that out of the way, it was possible to begin adding this nutrient solution to the plants. The entire setup from the pump itself to the monitoring of the plants’ soil through an array of sensors is handled by an ESP32 running with help from ESPHome.

For anyone struggling with growing plants indoors, this project could be a great first step to improving vegetable yields or even just helping along a decorative houseplant. The real gem is the 3D printed pump, though, which may have wider applications for anyone with a 3D printer and who also needs something like an automatic coffee refilling machine.