Make Your Own Toner Transfer Paper

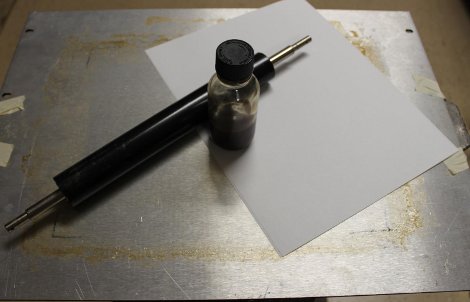
Who would have thought that some corn starch could be made into toner transfer paper? We’re not sure of the advantages (perhaps its cheaper?), but if you have a lot of time or just love to get sticky [Matthew Sager] shows the proper method for making the paper, printing, and then etching a PCB.

If you’re just getting started making PCBs, we recommend you check out these DIY circuit etching videos to get a better grasp on the printing and etching steps.

Toner Transfer Explained Step-by-step

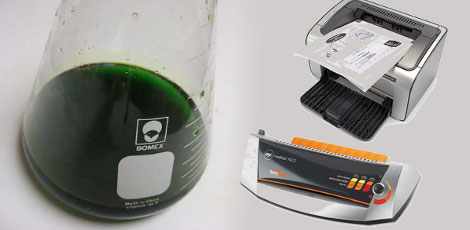
[Tanjent] send us a link to his tutorial on the toner transfer process for fabricating circuit boards. We’ve seen a lot of these in the past, but we liked how his is straight to the point while also sharing several tips and options along the way. Notably, he ”tints” the copper clad before trying to adhere the toner to it by swabbing on a bit of etchant. His reasoning for this is that the toner has more trouble sticking to the shiny copper. Just a bit of etchant will pit the surface and let the toner stick better.

He’s still using paper as a medium and not printing toner powder directly to the copper clad. His paper of choice is HP Brochure Paper while we use glossy pages from the union newspaper. But like us, he does use copper chloride as an etchant, which you can learn to make yourself. We’re still looking for a definitive solution for disposing of this chemical. We’ve been using the same batch for years and recently it’s turned cloudy with impurities. If you’ve got disposal tips let’s hear them in the comments section.

Home Fabricated Boards In Any Color

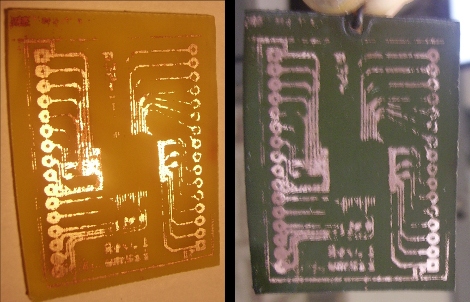
Tired of every printed circuit board you etch coming out brown? Take a page out of [Dane’s] book and dye your PCB to just about any color you want. One hour submerged in a 200 degree bath of Rit dye turned his brown FR4 substrate to the desired dark green. We give him points for being dangerous enough to use a broken bottle as a vessel, yet wearing eye protection at the same time.

We never really thought of doing this, but it’s pretty interesting that it works. We’ve stained the substrate when removing etch resist so this should have been obvious, but wasn’t.

Building A Bigger, Better Laser Engraver

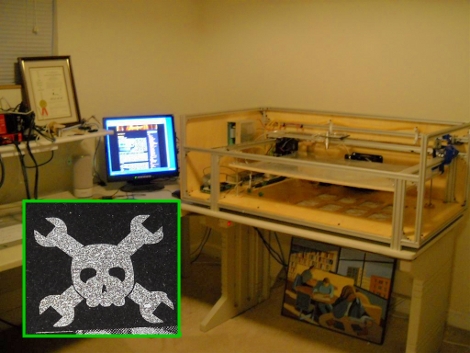
[Bart] built a giant laser etcher from scratch. One of his first test engravings included the Hackaday skull-and-wrenches on a polished granite floor tile (we love it when people do that). He used an XMOS controller and Mach3 CNC software to handle the device. With just two axes to worry about this seem like an easy project. The difficult bit is controlling, cooling, and focusing the laser.  Oh, and if you screw up, you could be blinded, burned or horribly maimed. But if you start from the beginning you’ll see that [Bart] knows what he’s doing.

CNC Circuit Board Fabrication

[Jonathan Ward’s] pcb mill is as impressive as it is inexpensive. Twenty-six plywood parts, labeled A-Z, are used to assemble the machine along with the customary precision rods, stepper motors, and router assembly. His bill of materials prices the unit at $458.18, a small price to pay in order to forgo a multi-step etching process.

His test board shows some fairly fine pitch that could turn out most home-project circuit boards. We’ve contacted [Jonathan] regarding the specifics of milling the plywood parts out of a 2 foot by 4 foot sheet of plywood. Watch for an update with any information he’s willing to share. We hope he’ll make the milling files for the plywood parts available so that you can build a copy of the device for your own use.

[Thanks Charles]

Etch Aluminum Control Panels

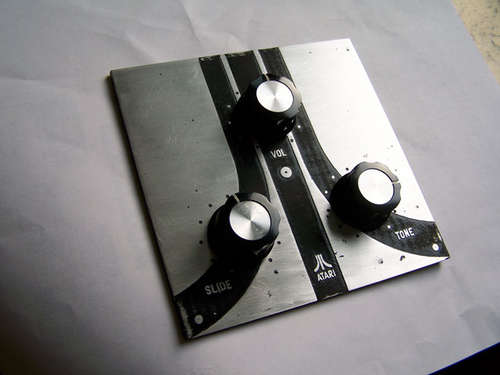
This clever Instructable demonstrates how to etch beautiful aluminum control panels for electronics projects. We like how similar this process is to DIY circuit board etching. Both abide by the same technique and use blue transfer paper. The primary difference is in the use of muriatic acid and hydrogen peroxide for etching aluminum.

PCB Toner Transfer With Dowel

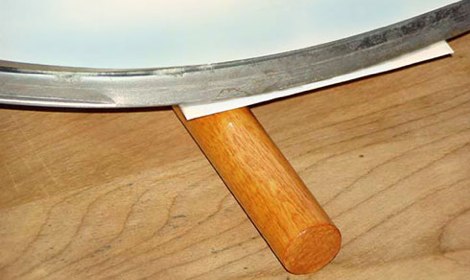
Pulsar Professional FX has a neat tip on their site for getting a really even toner transfer when making your own PCBs. First, the PCB is cut to size, and the paper is tacked to the board. Then, the PCB is placed paper up onto a dowel and rolled back and forth with the iron. Since the board bends slightly over the dowel the toner sticks evenly to the copper. After that, just remove the paper as usual and etch with your preferred method.