Spinach Photo Prints

Some people like spinach in their salads. Others would prefer it if it never gets near their fork. Still, other folks, like [Almudena Romero], use it for printing pictures, and they’re the folks we’ll focus on today.

Anthotypes are positive images made from plant dyes that fade from light exposure. Imagine you stain your shirt at a picnic and leave it in the sun with a fork covering part of the stain. When you come back, the stain not sheltered by cutlery is gone, but now you have a permanent fork shape logo made from aunt Bev’s BBQ sauce. The science behind this type of printmaking is beautifully covered in the video below the break. You see, some plant dyes are not suitable for light bleaching, and fewer still if you are not patient since stains like blueberry can take a month in the sun.
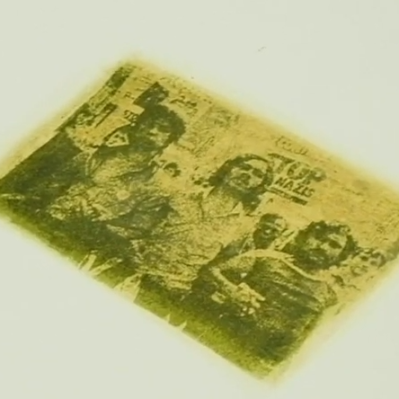
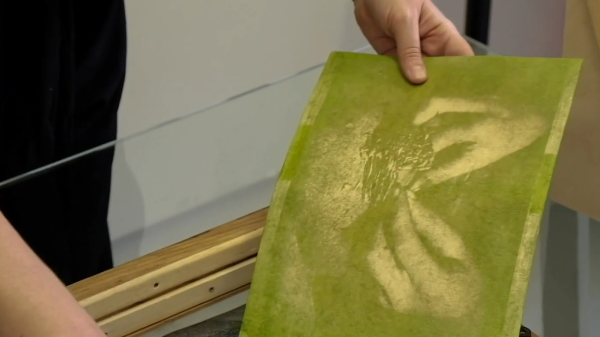
The video shows how to make your own plant dye, which has possibilities outside of anthotype printing. Since the dye fades in sunlight, it can be a temporary paint, or you could use samples all over your garden to find which parts get lots of sunlight since the most exposed swatches will be faded the most. Think of a low-tech UV meter with logging, but it runs on spinach.

If the science doesn’t intrigue you, the artistic possibilities are equally cool. All the pictures have a one-of-a-kind, wabi-sabi flare. You take your favorite photo, make it monochrome, print it on a transparent plastic sheet, and the ink will shield the dye and expose the rest. We just gave you a tip about finding the sunniest spot outdoors, so get staining.

Anthotype printing shares some similarities with etch-resist in circuit board printing processes, but maybe someone can remix spinach prints with laser exposure!

Continue reading “Spinach Photo Prints”

How About A Nice Cuppa TEA Laser?

If lasers are your hobby, you face a conundrum. There are so many off-the-shelf lasers that use so many different ways of amplifying and stimulating light that the whole thing can be downright — unstimulating. Keeping things fresh therefore requires rolling your own lasers, and these DIY nitrogen TEA and dye lasers seem like a fun way to go.

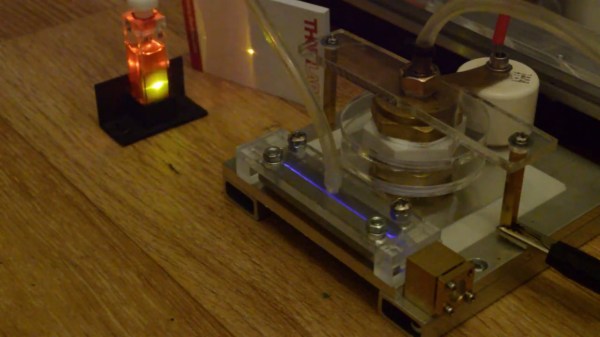
These devices are the work of [Les Wright], who takes us on a somewhat lengthy but really informative tour of transversely excited atmospheric (TEA) lasers. The idea with TEA lasers is that a gas, often carbon dioxide in commercial lasers but either air or pure nitrogen in this case, is excited by a high-voltage discharge across long parallel electrodes. TEA lasers are dead easy to make — we’ve covered them a few times — but as [Les] points out, that ease of construction leads to designs that are more ad hoc than engineered.

In the video below, [Les] presents three designs that are far more robust than the typical TEA laser. His lasers use capacitors made from aluminum foil with polyethylene sheets for dielectric, sometimes with the addition of beautiful “doorknob” ceramic caps too. A spark gap serves as a very fast switch to discharge high voltage across the laser channel, formed by two closely spaced aluminum hex bars. Both the spark gap and the laser channel can be filled with low-pressure nitrogen. [Les] demonstrates the power and the speed of his lasers, which can even excite laser emissions in a plain cuvette of rhodamine dye — no mirrors needed! Although eye protection is, of course.

These TEA lasers honestly look like a ton of fun to build and play with. You might not be laser welding or levitating stuff with them, but that’s hardly the point.

Continue reading “How About A Nice Cuppa TEA Laser?”

Turning Television Into A Simple Tapestry

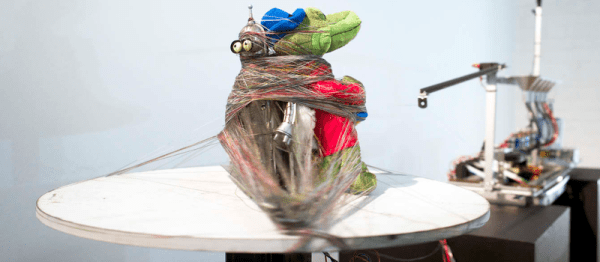
Teleknitting, the brainchild of Moscow artist [vtol], is an interesting project. On one hand, it doesn’t knit anything that is useful in a traditional sense, but on the other, it attempts the complex task of deconstructing broadcasted media into a simpler form of information transmission.

Teleknitting’s three main components are the processing and display block — made up of the antenna, Android tablet, and speaker — the dyeing machine with its ink, sponges, actuators, and Arduino Uno, and the rotating platform for the sacrificial object. A program running on the tablet analyzes the received signal and — as displayed on its screen — gradually halves the number of pixels in the image until there is only one left with a basic representation of the picture’s colour. From there, thread passes over five sponges which dye it the appropriate colour, with an armature that responds to the broadcast’s volume directing where the thread will bind the object.

Continue reading “Turning Television Into A Simple Tapestry”

Soft Robots Given Veins The Let Them Change Their Stripes

If it were alive this robot would be classified as an invertebrate. It lacks a backbone and interestingly enough, all other bones are missing as well. The Harvard researchers that developed it call it a soft robot. It’s made out of silicone and uses pathways built into the substance to move. By adding pressurized air to these pathways the appendages flex relative to each other. In fact, after the break you can see a video of a starfish-shaped soft robot picking up an egg.

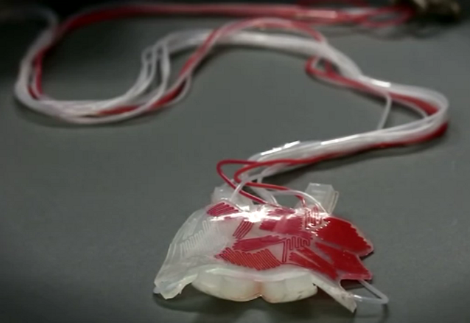
Now they’ve gone one step further. By adding another layer to the top, or even embedding it in the body, the robot gains the ability to change color. Above you can see a soft robot that started without any color (other than the translucent white of the silicone) and is now being changed to red. As the dye is injected it is propagating from the right side to the left. The team believes this could be useful in a swarm robotics situation. If you have a slew of these things searching for something in the dark they could pump glowing dye through their skin when they’ve found it. The demo can be seen after the jump.

Continue reading “Soft Robots Given Veins The Let Them Change Their Stripes”

Dye Mac Dye!

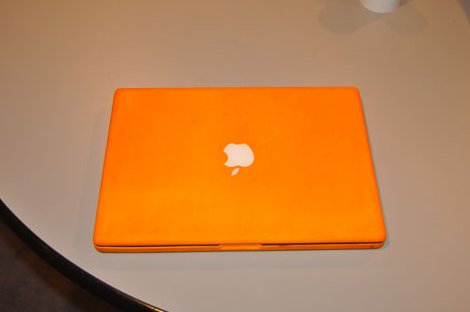
Fabric dye is one of those products where it keeps popping up for unintended uses, we have seen it coloring printed circuit boards, and now a Macintosh computer? [The Brain]’s project to add a little color to his Macbook has been done before, but he chooses to do it in a different way, which comes down to a little bit of sandpaper.

You could go ahead and dye the Macbook plastics as is, but that thick layer of glossy plastic is going to take much more time to penetrate and its going to resist taking the color, so it might end up splotchy. The simple solution to this is to just sand off the gloss, that way the color has much less of a barrier to dye the plastic. Once the protective gloss shell is sanded away and cleaned throughly, Rit brand fabric dye is added to a pan of water and set on the stove to boil.

While most of the case plastics are thick and tough enough to withstand some heat, care does need to be taken when dealing with thin soft parts like the display bezel. After about 45 min the parts are dyed and popping with super bright orange color in record time.

Home Fabricated Boards In Any Color

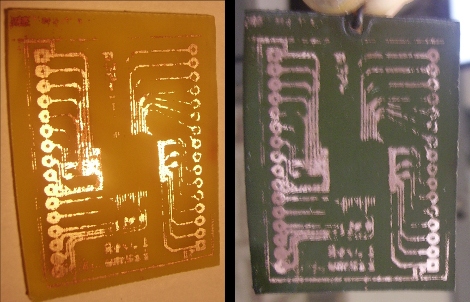
Tired of every printed circuit board you etch coming out brown? Take a page out of [Dane’s] book and dye your PCB to just about any color you want. One hour submerged in a 200 degree bath of Rit dye turned his brown FR4 substrate to the desired dark green. We give him points for being dangerous enough to use a broken bottle as a vessel, yet wearing eye protection at the same time.

We never really thought of doing this, but it’s pretty interesting that it works. We’ve stained the substrate when removing etch resist so this should have been obvious, but wasn’t.