It barely seems like it, but it’s been a week since the 2019 Hackaday Superconference wrapped up in sunny Pasadena. It was an amazing weekend, filled with fun, food, camaraderie, and hacks galore. For all who were there, it’ll likely take quite some time before spinning down to Earth again from the post-con high. For those who couldn’t make it, or for those who did but couldn’t squeeze in time for all those talks with everything else going on, luckily we’ve got a ton of content for you to review. Start on the Hackaday YouTube channel, where we’ve got videos already posted from most of the main stage talks. Can’t-miss talks include Chris Gammell’s RF deep-dive, Kelly Heaton’s natural electronic art, and Mohit Bhoite’s circuit sculpture overview. You’ll also want to watch The State of the Hackaday address by Editor-in-Chief Mike Szczys. More talks will be added as they’re edited, so watch that space for developments.
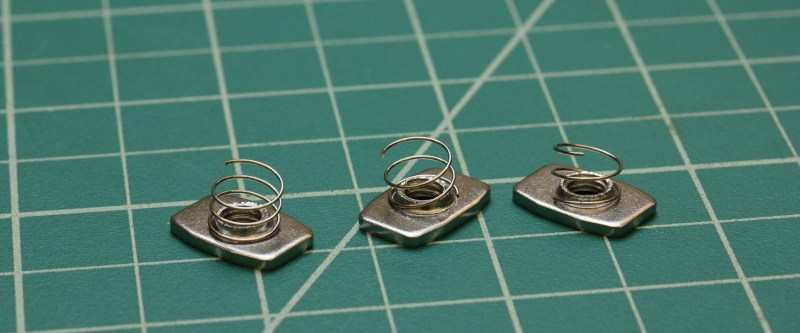
One of the talks we missed – and video of which appears not to be posted yet – was Adam Zeloof’s talk on thermodynamic design for your circuits. While we wait for that, here’s an interesting part that might prove useful for your next high-power design. It’s a Thermal Jumper Chip, which is essentially a ceramic SMD component that can conduct heat but not electricity. It’s intended to be used where a TO-220 case needs to be electrically isolated but thermally connected to a heatsink. Manufacturer TT Electronics has a whole line of the chips in various sizes and specs, plus a lot of other cool components like percussive igniters.
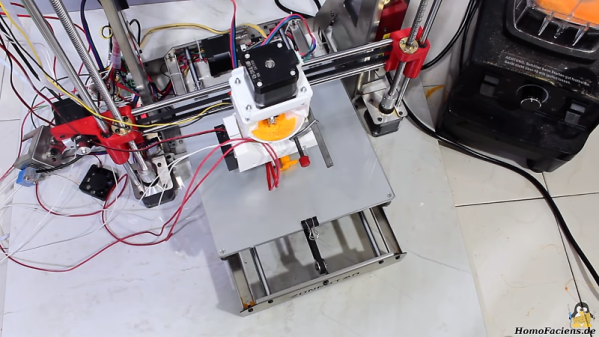
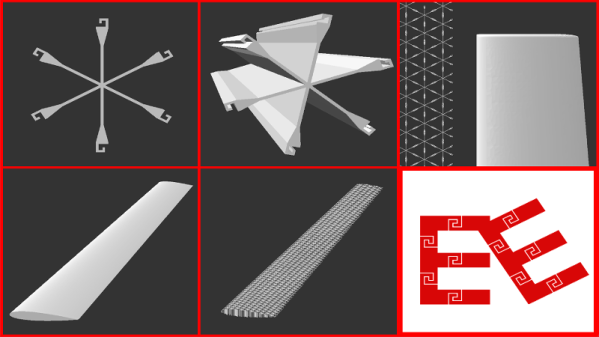
We got an interesting tip this week about a new development in the world of 3D-printing. A group from Harvard demonstrated a multinozzle extruder that can print multimaterial objects in a single pass. The work is written up in a Nature article entitled “Voxelated soft matter via multimaterial multinozzle 3D printing”, which is unfortunately paywalled, but the abstract and supplementary videos are really interesting. This appears not to be a standard hot plastic extrusion process; rather, the extruder uses elastomeric inks that cure after they’re extruded. They manage some clever tricks, including a millipede-like, vacuum-powered soft robot extruded in one pass from both soft and rigid silicone elastomers. It’s genuinely interesting stuff, and watching the multimaterial extruder head switch materials at up to 50 times per second is mesmerizing.
People really seemed to get worked up over the transit of Mercury across the face of the Sun last week, and for good reason – astronomical alignments such as these which can be seen from Earth are rare indeed, and worth taking time to see. Not everyone was in the right place at the right time with the right gear to view the transit directly, though, which is why we were glad that Justin over at The Thought Emporium did a video on leveraging online assets for space-based observations. We’ve featured a ton of hacks using SDRs and the like to intercept data from weather satellites, and while those hacks are fun and you should totally try them, Justin points out that most of these streams are readily available for free over the Internet. Clouds, lightning, forest fires and Earth changes, and yes, even the state of the Sun can all be monitored from the web.
Speaking of changes, do you know what has changed in Unix over the last 50 years? For that matter, did you know that Unix turned 50 recently? Sean Haas did after reading this article in Advent of Computing, which he shared on the tipline. The article compares a modern Debian distro to documentation from 1971 that pre-dates Unix version 1; we assume the “Dennis_v1” folder in the doc’s URL refers to none other than Dennis Ritchie himself. It turns out that Unix is remarkably well-conserved over 50 years, at least in the userspace. File system navigation and shell commands are much the same, while programming was much different. C didn’t yet exist – Dennis was busy – but there were assemblers and linkers, plus a FORTRAN compiler and an interpreter for BASIC. It’s comforting to know that if you drop into a wormhole and end up sitting in front of a PDP-11 with Three Dog Night singing “Joy to the World” on the radio in the background, you’ll at least be able to look like you belong there.
And finally, it’s nearly Sparklecon time again. Sparklecon VII will be held on January 25 and 26, 2020, at the 23b Shop hackspace in Fullerton, California. We’ve covered previous Sparkelcons and we’ve even sponsored the meetup in the past, and it looks like a blast. The organizers have put out a Call for Proposals for talks and workshops, so if you’re in the mood for some mischief, get your application going. And be quick about it – the CFP closes on December 8.