Raspberry Pi Emulates An Amiga 500 Floppy Drive

[Maurizio] loves using his Amiga 500. His classic piece of hardware has been serving him well for years, except for the floppy drive, which recently gave out on him. No problem for [Maurizio], he just cracked his case open and added a Raspberry Pi as a real-time floppy emulator. [Maurizio] didn’t want to make any permanent changes to his A500 case, and more importantly he wanted to use the Amiga’s original floppy drive interface. The latter placed some rather stringent timing requirements on his design.

The interface hardware is relatively simple. Most of the circuit is dedicated to level shifting from the 5v Amiga 500 to the 3.3V Raspberry Pi. A 74LS06 Hex inverter converts the signals to the open collector outputs the A500 requires. [Maurizio] powered his Raspberry Pi from the floppy power connector of the Amiga. His model A Raspberry Pi works fine, but a model B would pull a bit more power (700ma) than the Amiga floppy power supply is capable of providing (550ma). The user interface side of the equation is simple: Two buttons, one used to switch disks, and one to “Write to SD”. Live disk images are stored in the Raspberry Pi’s ram, so the user needs to hit the “Write to SD” button to store any changes to disk before swapping floppies.

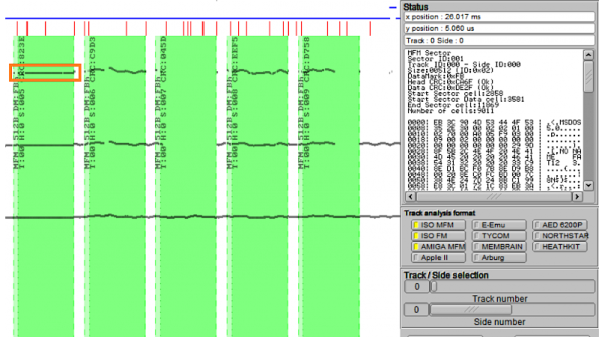
The software is perhaps the most interesting portion of this build. [Maurizio] is emulating a floppy drive in real-time – this means emulating MFM encoding in real time. Calls have to be made with a timing accuracy of 2 microseconds. The Pi’s stock Linux Operating system was just not going to cut it. [Maurizio] coded his drive emulator “bare metal”, directly accessing the Arm Processor on the Raspberry Pi. This gave him access to the entire processor, and allowed him to meet the hard timing requirements of the floppy interface.

Continue reading “Raspberry Pi Emulates An Amiga 500 Floppy Drive”

Building A Six-channel Floppy Drive Synth From Start To Finish

floppy

We’ve seen scores of floppy drives play music, but never before have we seen a project as clean as [Rupert]’s Moppyduino. It’s an Arduino-based board that controls the stepper motors in six separate floppy drives, coaxing them in to playing music from a MIDI file.

The Moppyduino is more than just a convenient way to control the stepper motors in six floppy drives. It’s also a great example of what can be done with home PCB fabrication; the entire project was designed and constructed in [Rupert]’s workshop.

After designing the circuit, [Rupert] printed it out on a laser printer onto a plastic transparency sheet. This was transferred over to a copper clad board, etched, and drilled. After assembly, [Rupert] attached a USB FTDI controller to receive data converted from MIDI data with a Java app.

The end result – housed in a custom Corian enclosure – is one of the best looking floppy drive synths we’ve ever seen. You can check out the process of building this awesome instrument after the break.

Continue reading “Building A Six-channel Floppy Drive Synth From Start To Finish”

Floppy Drive As An Audio Sampler

Here’s a floppy drive which is being used as an audio sampler. At first glance we thought this was another offering which drives the stepper motor at a specific frequency to generate that characteristic sound at a target pitch. But that’s not what’s happening at all. The floppy is actually being used as a storage device (go figure).

From what we can tell, it’s being used almost like an 8-track tape. A PWM signal is stored on one circular slice of the disk, then the head can be moved back to that same “track” to play back the wave form. The head doesn’t move during playback, but just keeps reading the same track of bits. To the right you can see an Arduino board. This allows for MIDI control of the track selection. [Alexis] shows off some keyboard control in the video after the break. There’s a buffer chip on the breadboard which allows the audio output to be quickly switched off as the floppy drive head is moved. This keeps garbage out of the sound until the new track can be read.

Continue reading “Floppy Drive As An Audio Sampler”

Hackaday Links: February 26, 2012

Wii Nunchuk controlled Monotron

Adding a bit of motion control to your music synthesizer turns out to be pretty easy. Here’s an example of a Wii Nunchuk used to control a Monotron. [Thanks John]

Hackers on the Moon and other space related goals

Yep apparently a non-government backed expedition to the moon is in the works. But you’ve got to walk before you can crawl and one of the first parts of the process is to launch a hackerspace-backed satellite network called the Hackerspace Global Grid. Check out this interview with one of the initiative’s founders [Hadez]. [Thanks MS3FGX]

Laser pointers and frosted glass

We were under the impression that a laser show required finely calibrated hardware. But [Jas Strong] proves us wrong by making pretty colors with laser pointers and slowly rotating glass. [Thanks Mike]

MSP430 Twitter Ticker

[Matt] built a Twitter ticker using the TI Launchpad. It works on an LED matrix or OLED display along with a Python script which handles the API.

Android floppy drive hack

[Pedro] shows us how he reads floppy disks with his Android tablet. The hardware includes a docking station to add a USB port to the tablet, as well as a hub and USB floppy drive. On the software side of things an Android port of DOSbox does the rest.

Tiny Atari 810 Disk Drive Upgrade

Everything gets smaller as technology improves. [Rossum] reduced the space needed for an Atari 810 disk drive by building this tiny replacement. Of course it doesn’t use floppy disks, but takes a microSD card instead. And it doesn’t stand in the place of one floppy drive, but can emulate up to eight different drives. The best part is that [Rossum] went to the trouble of designing an enclosure and having it fabricated via 3D printing in order to look just like a doll house version of the original hardware. It uses an LPC1114 ARM Cortex-M0 microprocessor to translate data transmissions to and from the Atari hardware, storing it on the 8 GB card.

As usual, you’ll soon find the schematic, board artwork, and code up on his git repository soon.