 The first generation of The Internet Of Things™ and Home Automation devices are out in the wild, and if there’s one question we can ask it’s, “why hasn’t anyone built a simple cracking device for them”. Never fear, because [texane] has your back with his cheap 433MHz OOK frame cloner.
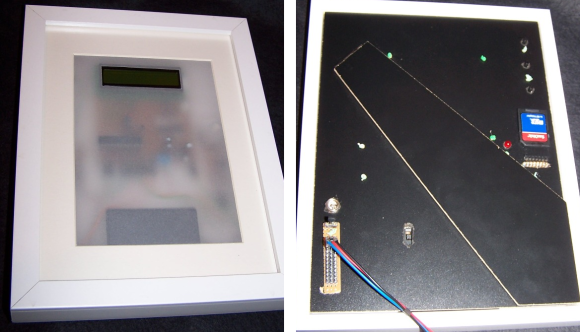
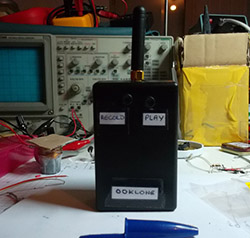
A surprising number of the IoT and Home Automation devices on the market today use 433MHz radios, and for simplicity’s sake, most of them use OOK encoding. [Texane]’s entry for THP is a simple device with two buttons: one to record OOK frames, and a second to play them back.
Yes, this project can be replicated with fancy software defined radios, but [Texane]’s OOKlone costs an order of magnitude less than the (actually very awesome) HackRF SDR. He says he can build it for less than $20, and with further refinements to the project it could serve as a record and play swiss army knife for anything around 433MHz. Video demo of the device in action below.