A few gadgets around the house make for excellent display and conversation pieces, but when an artifact from the wizarding world finds its way into a muggle household? Well, you frame it.
Okay so in reality this is really an animated picture frame with a Harry Potter theme — specifically the fabulous newspaper, The Daily Prophet, from the series of novels and movies. Conceived by [Piet Rullins Jr.] after a trip to ‘The Wizarding World of Harry Potter’ attraction at Orlando Studios, he wanted an inventive way to showcase the videos of his vacation.
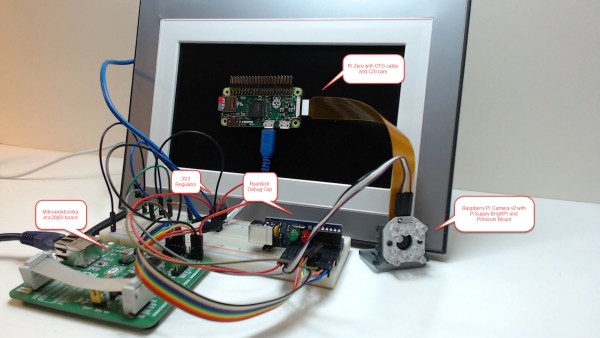
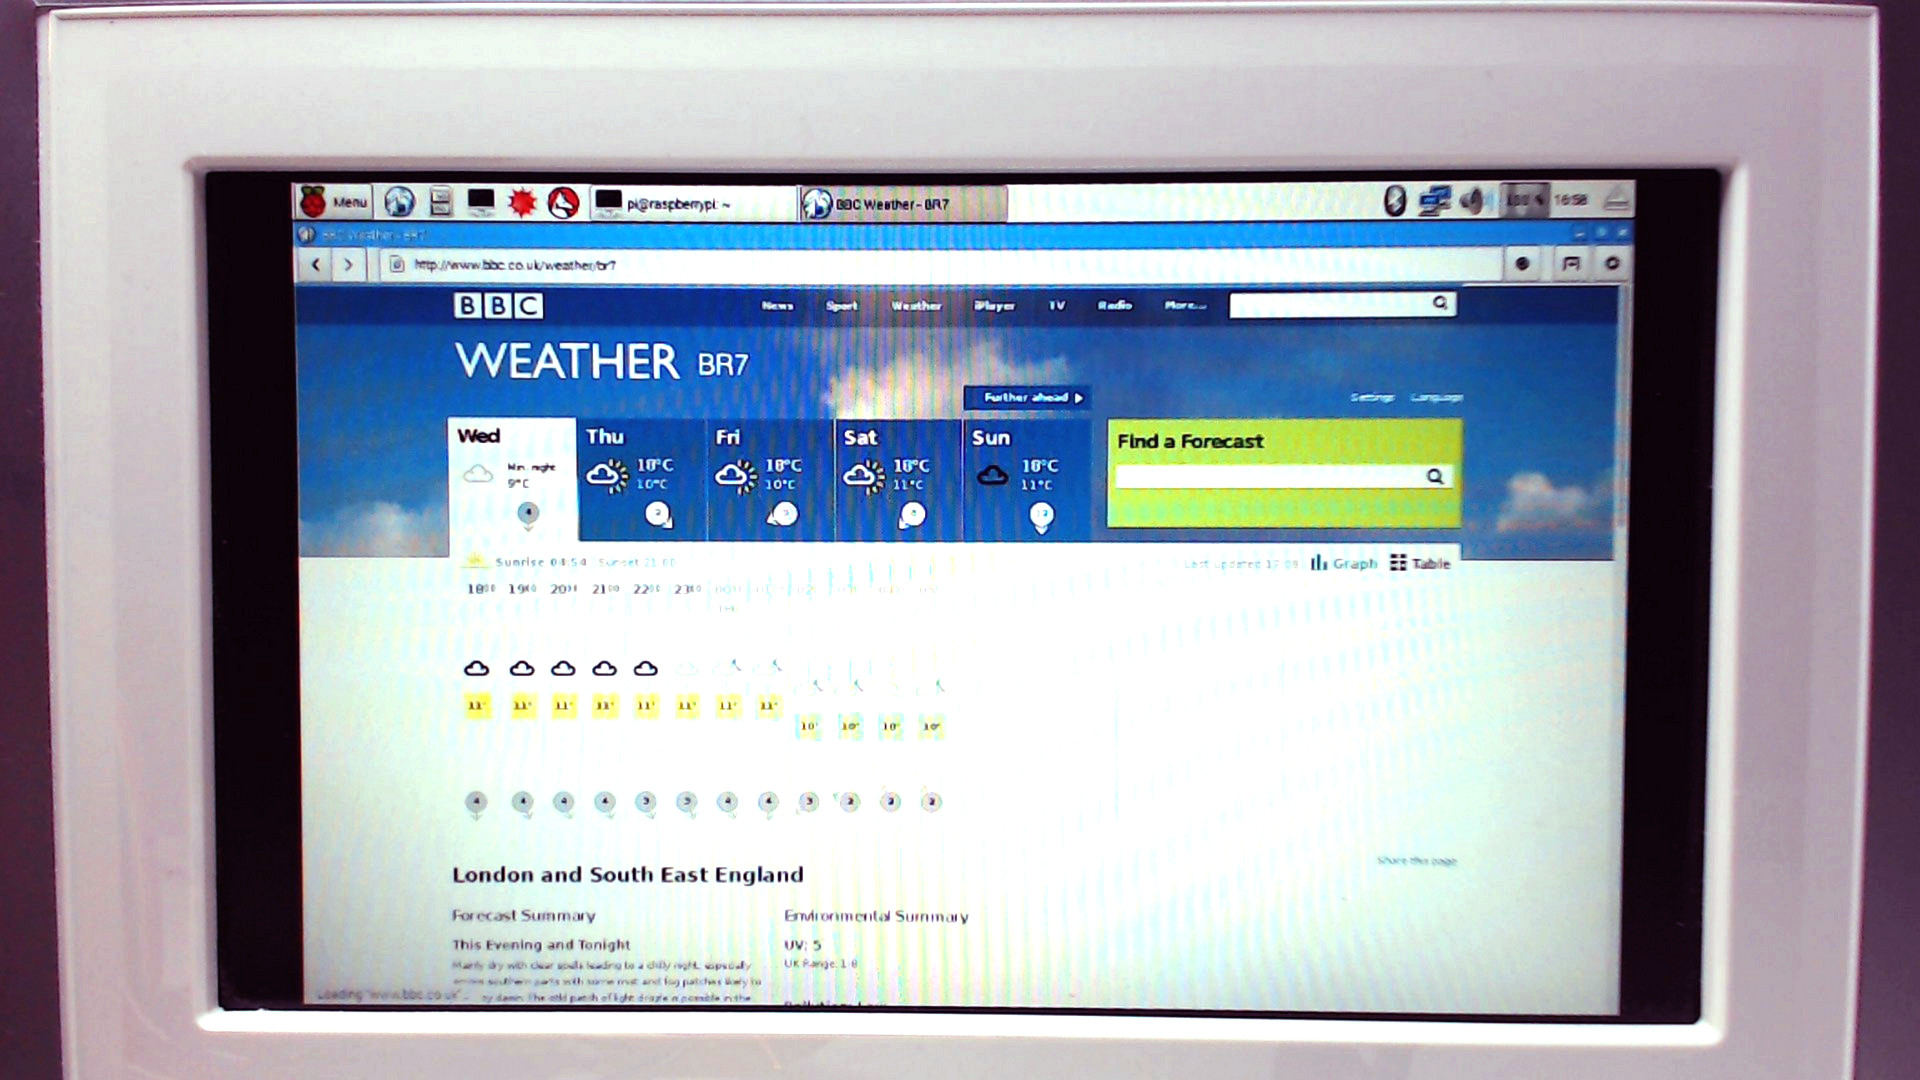
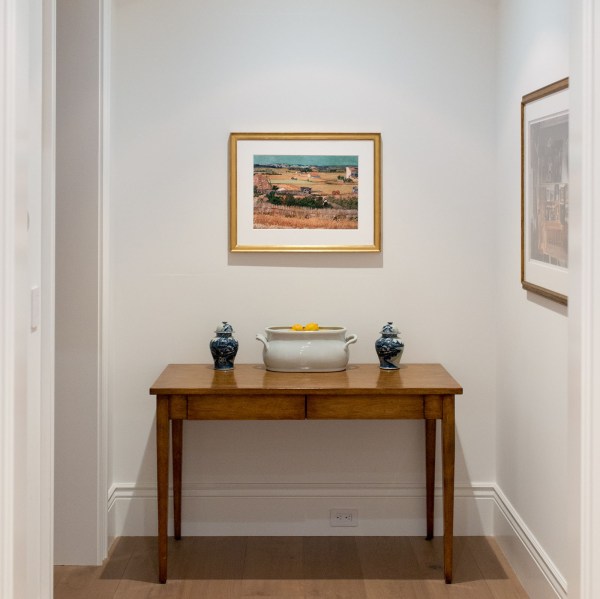
The seven inch display is secured inside a poster frame, surrounded by a customized front page of the wizard paper — weaving the tale of his trip — and controlled by a Raspberry Pi 3. When someone approaches, an Adafruit infrared sensor detects the movement and activates the display, shutting it off after five minutes in order to preserve the screen and save power. A USB power cable hidden inside the cabinet it’s mounted on adds to the effect of a magical periodical. What, did you think it was powered by magic too?
Continue reading “Daily Prophet Is A Magic Newspaper! (Kinda)”


