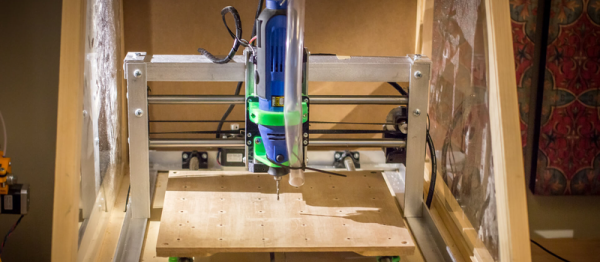
You have to be careful with CNC; it’s a slippery slope. You start off one day just trying out a 3D printer, and it’s not six months before you’re elbow deep in a discarded Xerox looking for stepper motors and precision rods. This is evident from [Dan] and his brother’s angle aluminum CNC build.
Five or six years ago they teamed up to build one of those MDF CNC routers. It was okay, but really only cut foam. So they moved on to a Rostock 3D printer. This worked much better, and for a few years it sated them. However, recently, they just weren’t getting what they needed from it. The 3D printer had taught them a lot of new things, 3D modeling, the ins of running a CNC, and a whole slew of making skills. They decided to tackle the CNC again.
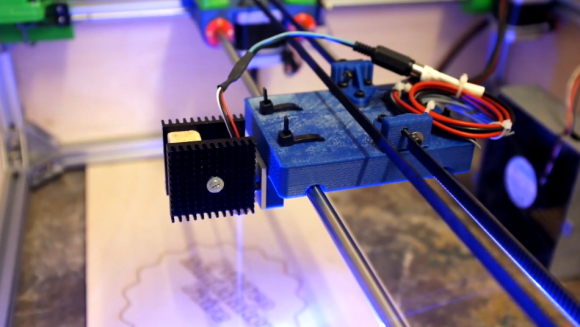
The new design is simple and cheap. The frame is angle aluminum held together with screws. The motion components are all 3D printed. The spindle is just an import rotary tool. It’s a simple design, and it should serve them well for light, low precision cuts. We suspect that it’s not the last machine the pair will build. You can see it in action in the video after the break.