Win Big Prizes With Repairs You Can Print

Another month, another contest, and this time we’re looking for the best 3D printed repairs you’ve built.

The Repairs You Can Print Contest on Hackaday.io is a challenge to show off the real reason you bought a 3D printer. We want to see replacement parts, improved functionality, or a tool or jig that made a tough repair a snap. Think of this as the opposite of printing low poly Pokemon or Fallout armor. This is a contest to demonstrate the most utilitarian uses of a 3D printer. Whether you fixed your refrigerator, luggage, jet engine, vacuum cleaner, bike headlight, or anything else, we want to see how you did it!

The top twenty projects in the Repairs You Can Print contest will be rewarded with $100 in Tindie credit. That’s a Benjamin to spend on parts, upgrades, and components to take your next project to the next level!

Students and Organizations Can Win Big

The Best Student and Best Organization will win a Prusa i3 MK3!

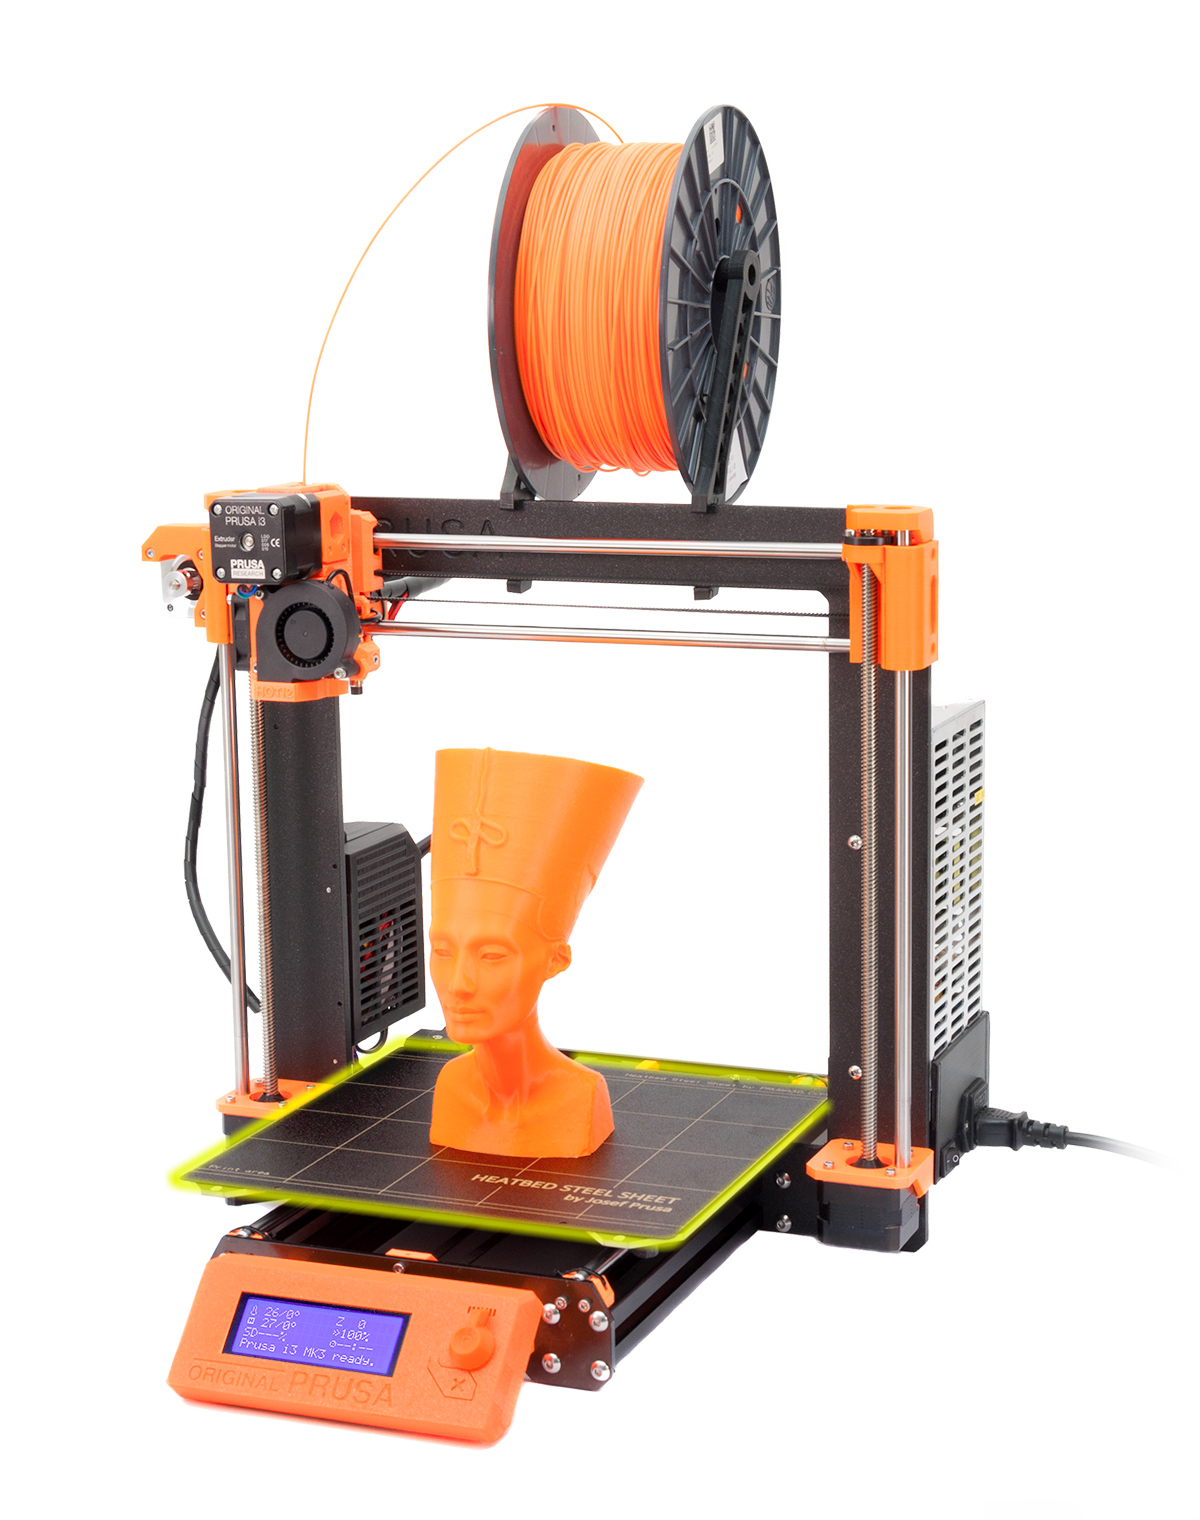
This contest is open to everyone, but we’re also looking for the best projects to come from students and hackerspaces. We’ll be giving away two amazing 3D printers to the best Student entry and best Organization entry. These two top projects will be awarded an Original Prusa i3 MK3 with the Quad Material upgrade kit. This is one of the finest 3D printers you can buy right now, and we’re giving these away to the best student, hackerspaces, robotics club, or tool lending library.

If you have a project in mind, head on over to Hackaday.io and create a project demonstrating your 3D printed repair!

What is This Contest All About?

This contest is all about Repairs You Can Print, but what does that actually mean? Instead of printing Pokemon or plastic baubles on your desktop CNC machine, we’re looking for replacement parts. We’re looking for commercial, off the shelf items that were broken, but repaired with the help of a 3D printer. Is your repair good enough to show off as part of the contest? Yes! That’s the point, we want to see the clever repair jobs that people often don’t spend much time talking about because they just work.

Need some examples? Sure thing.

A while back, [Elliot Williams], one of the fantastic Hackaday Editors, had a broken vacuum cleaner. The wheels were crap, but luckily they were designed as a single part that snaps into a swivel socket. Over six or so years, the original wheels in this vacuum gave out, but a replacement part was quickly printed and stuffed into the socket. The new wheels have been going strong for a year now. That’s an entire year of use for a vacuum for five cents worth of plastic and an hour’s worth of printing time.

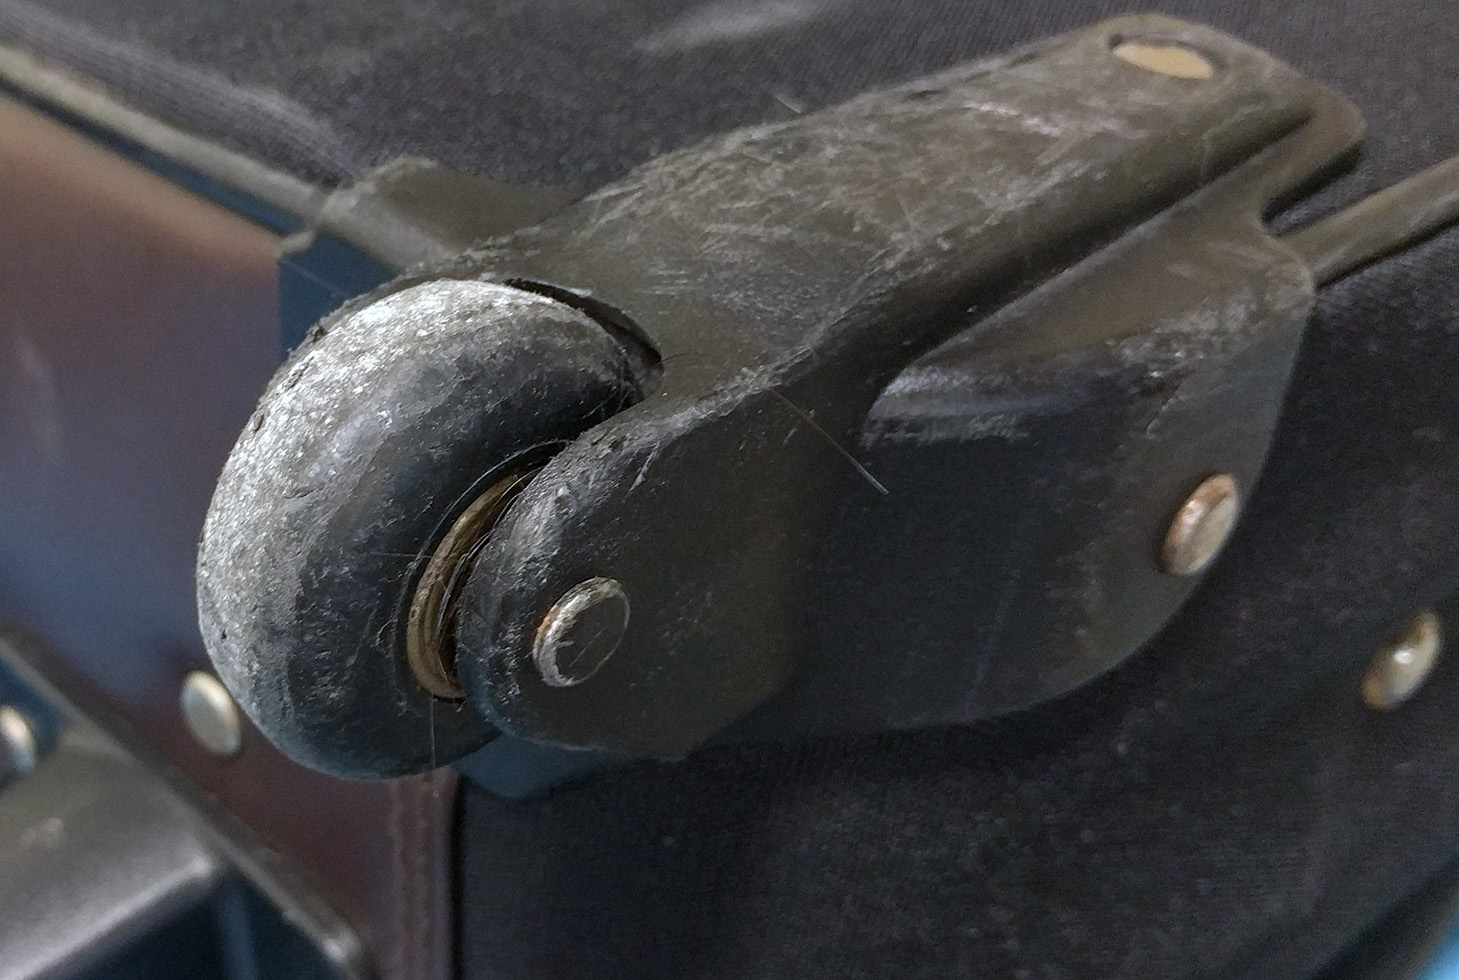
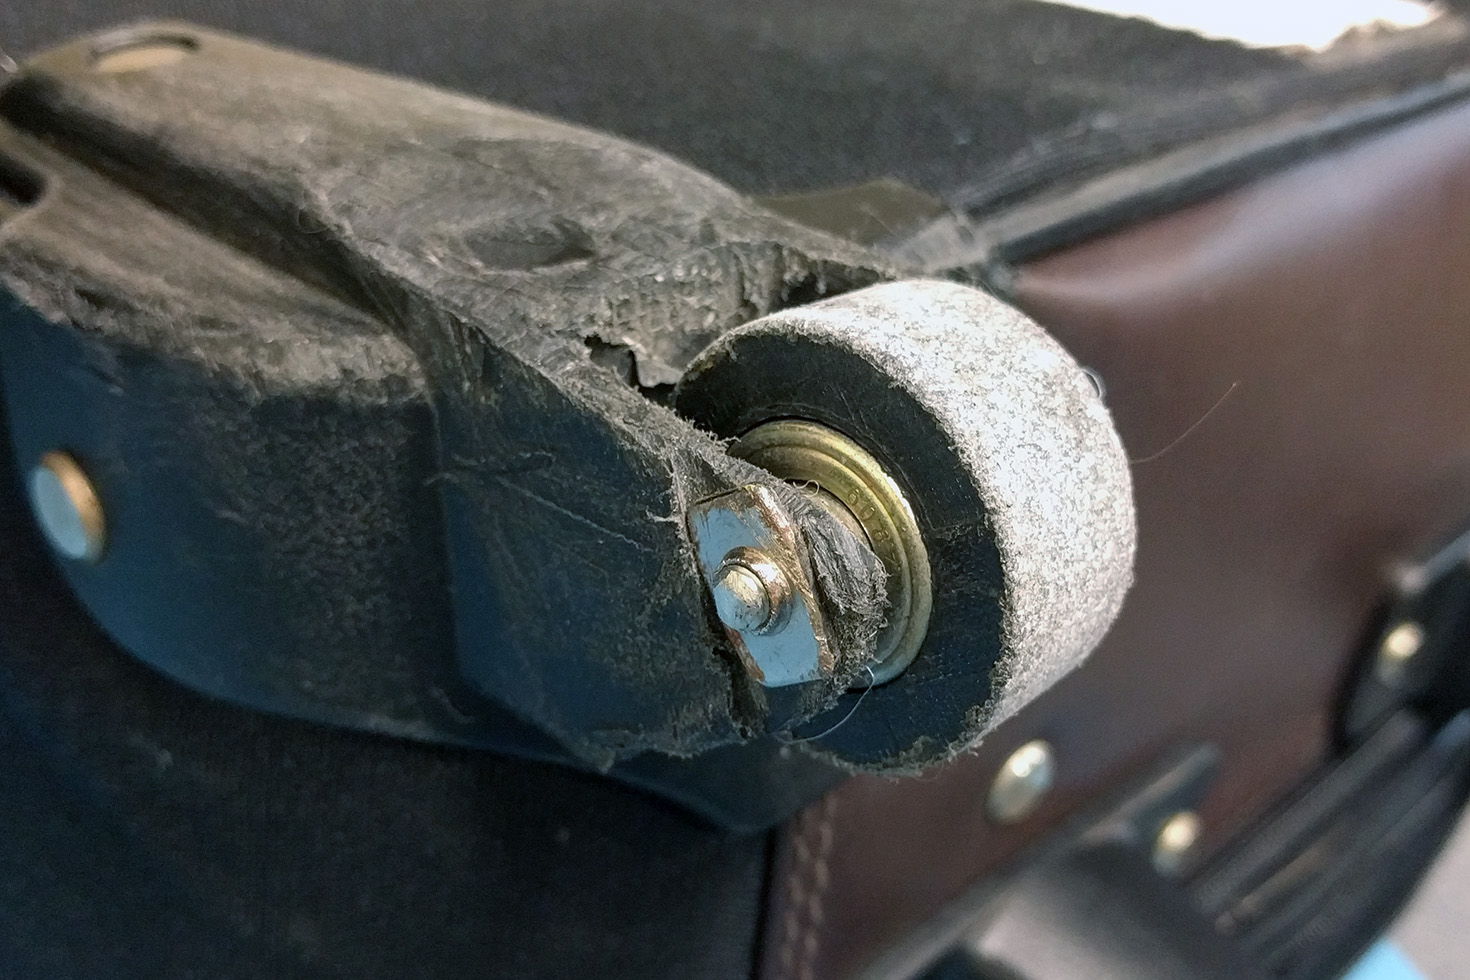
Need another example? My suitcase was apparently dragged behind a luggage cart for miles at either ORD or PHL. When it arrived on the baggage carousel, one wheel was shredded, and the wheel mount was ground down to almost the axle. The rest of the bag was still good, and I just removed the old wheel, salvaged the bearings, and printed a new wheel out of PLA. This suitcase has now traveled 60,000 miles with a 3D printed wheel, and it’s only now looking worse for wear.

How To Get In On The Action

We’re looking for the best repairs, jigs, and tools you’ve ever printed. To get started, head on over to Hackaday.io, create a new project, and document your repair. The Repairs You Can Print contest will run from Tuesday, January 16th, 2018 through 12 PM PST Tuesday, February 20th, 2018. Here’s a handy count down timer for ‘ya.

There Are 10 Kinds Of Computers In The World

There’s an old joke that there are 10 kinds of people in the world. Those who know binary, those who don’t, and those who didn’t see a base three joke coming. Perhaps [Dmitry Sokolov] heard that joke because he’s built a ternary (base 3) computer. He claims it is the first one to be built in the last 50 years. You can see a video about the device below. There’s also a video of the device with a nixie tube output.

You may not think of it often, but bit is a contraction of binary digit, so a ternary computer doesn’t have those. It has trits. The CPU operates on 3 trit words and uses nothing but multiplexers as building blocks. Instructions use 5 trits, some of which are a two-trit opcode and a 3 trit address of one of the 13 registers. The allure of using ternary, by the way, is that you can represent more numbers in fewer bits — um, trits, rather.

Continue reading “There Are 10 Kinds Of Computers In The World”

Coin Cell Challenge: Use Coin Cell, Win Prizes

Today, we’re calling all hackers to do the most with a single coin cell. It’s the Coin Cell Challenge, and we’re looking for everything from the most low-power electronics to a supernova in a button cell battery.

Electronics are sucking down fewer and fewer amps every year. Low power is the future, and we’re wondering how far we can push the capabilities of those tiny discs full of power. The Coin Cell Challenge is your chance to plumb the depths of what can be done with the humble coin cell.

This is a contest, and as with the tradition of the Open 7400 Logic Competition and the recent Flashing Light Prize, we want to see what the community can come up with. The idea is simple: do something cool with a single coin cell and you’ll secure your fifteen minutes of fame and win a prize.

Three Challenges

To kick this contest off, we’re opening up three challenges to all contenders to the world heavyweight champion of button cell exploits. The first, the Lifetime Award, will go to whoever can run something interesting the longest amount of time on a coin cell. The Supernova Award is the opposite – what is the most exciting thing you can do with a button cell battery, lifetime be damned? The Heavy Lifting Award will go to the project that is the most unbelievable. If you think you can’t do that with a coin cell battery — lifting a piano or starting a car, for example — odds are you probably can. We want to see it.

Prizes and Rules

All Hackaday hardware hacking challenges need prizes, and for this one, we’re rolling out the red carpet. We’re offering up cash prizes for the top coin cell hacks. There are three $500 USD cash prizes, one for each winner of the Lifetime, Supernova, and Heavy Lifting awards. We’re not stopping there, because the top twenty builds overall will each receive $100 in Tindie credit, where the winners can cash in on some artisanal electronics sold by the people who design them.

What do you have to do to get in on this action? First, you need to build something. This something must be powered by nothing more than a single coin cell battery and must include some type of electronics. We also want this to be Open Source, and you’ll need to start a project on hackaday.io. The full rules are available over here, but don’t wait — the deadline for entry is January 8th, 2018.

We’re excited to see what the community comes up with, and who will find a production coin cell that’s the size of a dinner plate. This is going to be a great contest with overheating coin cells and tiny bits of metal flying across the room. This is going to be a contest filled with blinkies and wireless devices that run for far, far too long. Someone is going to misread the rules and tape together a meter tall pile of coin cells. It’s going to be awesome, so start your project now.

Real-Life Electronic Neurons

All the kids down at Stanford are talking about neural nets. Whether this is due to the actual utility of neural nets or because all those kids were born after AI’s last death in the mid-80s is anyone’s guess, but there is one significant drawback to this tiny subset of machine intelligence: it’s a complete abstraction. Nothing called a ‘neural net’ is actually like a nervous system, there are no dendrites or axions and you can’t learn how to do logic by connecting neurons together.

NeruroBytes is not a strange platform for neural nets. It’s physical neurons, rendered in PCBs and Molex connectors. Now, finally, it’s a Kickstarter project, and one of the more exciting educational electronic projects we’ve ever seen.

Regular Hackaday readers should be very familiar with NeuroBytes. It began as a project for the Hackaday Prize all the way back in 2015. There, it was recognized as a finalist for the Best Product, Since then, the team behind NeuroBytes have received an NHS grant, they’re certified Open Source Hardware through OSHWA, and there are now enough NeuroBytes to recreate the connectome of a flatworm. It’s doubtful the team actually has enough patience to recreate the brain of even the simplest organism, but is already an impressive feat.

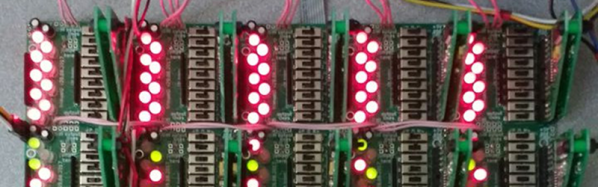
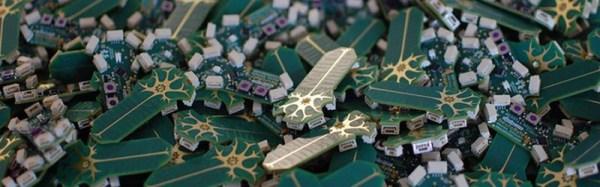
The highlights of the NeuroBytes Kickstarter include seven different types of neurons for different sensory systems, kits to test the patellar reflex, and what is probably most interesting to the Hackaday crowd, a Braitenberg Vehicle chassis, meant to test the ideas set forth in Valentino Braitenberg’s book, Vehicles: Experiments in Synthetic Psychology. If that book doesn’t sound familiar, BEAM robots probably do; that’s where the idea for BEAM robots came from.

It’s been a long, long journey for [Zach] and the other creators of NeuroBytes to get to this point. It’s great that this project is now finally in the wild, and we can’t wait to see what comes of it. Hopefully a full flatworm connectome.

Hack Together A Whack-A-Mole In A Box!

Here’s a project that you can throw together in an afternoon, provided you have the parts on hand, and is certain to entertain. Hackaday.io user [SunFounder] walks us through the process of transforming a humble cardboard box into a whack-a-mole game might be just the ticket to pound out some stress or captivate any children in the vicinity.

A multi-control board and nine arcade buttons are the critical pieces of hardware here, with wires and a USB cable rounding out  the rest of the electronics. Separate the button core from the upper shell, mounting the shell in the box, and connect the button core’s LED cathode to the button’s ON terminal. Repeat eight times. Solder the buttons in parallel and add some more wire to the buttons’ ON terminals to extend their reach. Repeat eight more times.

Place the finished LED+cores into the buttons and connect their ON terminals to their respective buttons on the multi control board. Now for the hard step: use a mini-USB to USB cable to connect the controller to a computer you want to use to run the game’s code in the Arduino IDE. Modify the key-mappings and away you go! Check out the build video after the break.

Continue reading “Hack Together A Whack-A-Mole In A Box!”

BrdMaker, A DIY Pick And Place Machine

A small, desktop pick and place machine has obvious applications for hackerspaces, small companies, and even home labs. However, despite multiple efforts, no one has come up with a solution that’s both better and cheaper than buying a used, obsolete pick and place machine. [Mika]’s brdMaker is yet another attempt at a desktop chipshooter, and while the prototype isn’t done yet, it’s a fantastic build that might soon be found in your local electronics lab.

The easy part of any pick and place machine is a Cartesian frame. This has been done over and over again by the 3D printing and CNC communities, and the brdMaker is no exception. [Mika]’s robot is a 600 by 600 mm CNC frame powered by NEMA 23 motors. So far, so good.

The tricky part of a pick and place machine is working with the fiddly bits. This means feeders and machine vision. There are several different options for feeders including a ‘drag’ feeder that uses the vacuum nozzle tip to move a reel of parts along, and a slightly more complicated but vastly more professional feeder. A machine needs to see the parts it’s putting down, so [Mika] is using two cameras. One of these cameras is mounted on the toolhead and looks surprisingly similar to a USB microscope. The other camera is mounted in the frame of the machine to look at the bottom of a part. This camera uses 96 LEDs to illuminate the component and find its orientation.

[Mika]’s brdMaker still has a long way to go, but there are indications the market is ready for a cheap, easy to use desktop pick and place machine. The Chipsetter, an exquisitely designed pick and place machine revealed at last year’s NY Maker Faire had an unsuccessful Kickstarter, but they’re still chugging along.

The Improved Luggable PC

There are exactly two types of personal computers available today. If you need a lot of horsepower, a powerful GPU, or a full-power CPU, you’re going to end up with a desktop. If you need something portable, you’re getting a laptop with a wimpy CPU and an underpowered GPU. Historically, there has been a third type of PC, the luggable. The luggable is a desktop PC crammed into a case that makes it slightly more portable than a desktop and a monitor.  You cannot buy a luggable PC case right now. They simply do not exist as a commercial product you can shove your own hardware into. This is a form factor an entire industry forgot.

Now there’s a DIY luggable PC. This project from [Roger] packs a standard ATX motherboard, a full-size GPU, a full-size power supply, and everything else that makes a desktop PC powerful into a case that can be stored in an overhead bin.

[Roger] has been working on this project for a while, and it was featured on Hackaday back when it looked like a RepRap Mendel. There have been some significant improvements over the earlier iterations of this project, including a very, very cool hinge mechanism that allows the display to fold in when the computer isn’t being used. It’s a mechanical wonder that prevents scratches. Neat. The rest of the case is constructed out of 2020 aluminum extrusion, and about a one kilogram spool of filament.

Since this is a portable case, there are a few compromises. There are no 5.25″ bays, no 3.5″ bays, and few 2.5″ bays. M.2 SSDs and USB-powered CD drives exist, so this isn’t a big deal.

This is a truly fantastic case in a form factor you can’t buy anywhere else. If you have a spare monitor and a bit of extrusion sitting around, this is one to build yourself.