Update: Battlezone On Vector Display Step-by-Step

When we ran the story of Battlezone played on tube displays earlier this week there were immediately questions about recreating the hack. At the time the software wasn’t available, and there is also a bit of hardware hacking necessary to get the audio working. You asked and [Eric] from Tubetime delivered. He’s posted a pair of articles that show how to get an STM32F4 Discovery board to play the classic game, along with instructions to build the firmware.

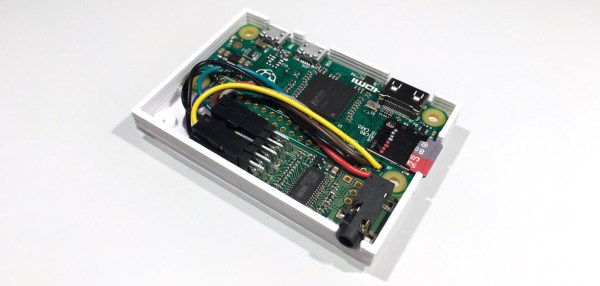
The hardware hack in this case is untangling the pinout used on the discovery board. It seems that one of the lines needed to get sound working for this hack is tied to one of the two DACs. If you read the original coverage you’ll remember that both of the DACs are used to drive X and Y on the vector display. The image above shows a cut trace on the bottom of the board. You’ll then need to route that signal to an alternate pin by soldering a jumper wire from the chip to a resistor on the board.

This (as well as one other alteration that bridges two of the chip pins) is a great example of work you should be unafraid to do on your own dev boards. We’ve had to do it with the Launchpad boards to get at the functionality we needed. We’d like to hear your own epic stories of abusing dev boards to do your bidding. Let us know in the comments.

ESP8266 As A Networked MP3 Decoder

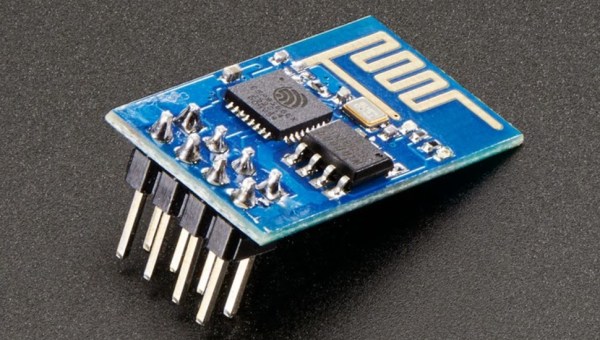
Support libraries, good application notes, and worked examples from a manufacturer can really help speed us on our way in making cool stuff with new parts. Espressif Systems has been doing a good job with their ESP8266 product (of course, it doesn’t hurt that the thing makes a sub-$5 IOT device a reality). Only recently, though, have they started publishing completed, complex application examples. This demo, a networked MP3 webradio player, just popped up in Github, written by the man better known to us as Sprite_tm. We can’t wait to see more.

The MP3 decoder itself is a port of the MAD MP3 library, adapted for smaller amounts of SRAM and ported to the ESP8266. With a couple external parts, you can make an internet-connected device that you can point to any Icecast MP3 stream, for instance, and it’ll decode and play the resulting audio.

What external parts, you ask? First is something to do the digital-to-analog conversion. The application, as written, is build for an ES9023 DAC, but basically anything that speaks I2S should be workable with only a little bit of datasheet-poking and head-scratching. Of course, you could get rid of the nice-sounding DAC chip and output 5-bit PWM directly from the ESP8266, but aside from being a nice quick demo, it’s going to sound like crap.

The other suggested external IC is an SPI RAM chip to allow for buffering of the incoming MP3 file. WiFi — and TCP networks in general — being what they are, you’re going to want to buffer the MP3 files to prevent glitching. As with the dedicated DAC, you could get away without it (and there are defines in the “playerconfig.h” file to do so) but you’ll probably regret it.

In sum, an ESP8266 chip, a cheap I2S DAC, and some external RAM and you’ve got a webradio player. OK, maybe we’d also add an amplifier chip, power supply, and a speaker. Hmmm…. and a display? Or leave it all configurable over WiFi? Point is, it’s a great worked code example, and a neat DIY device to show your friends.

The downsides? So far, only the mono version of the libMAD decoder / synth has been ported over to ESP8266. The github link is begging for a pull request, the unported code is just sitting there, and we think that someone should take up the task.

Other Resources

In our search for other code examples for the ESP8266, we stumbled on three repositories that appear to be official Espressif repositories on Github: espressif, EspressifSystems, and EspressifApp (for mobile apps that connect to the ESP8266). The official “Low Power Voltage Measurement” example looks like a great place to start, and it uses the current version of the SDK and toolchain.

There’s also an active forum, with their own community Github repository, with a few “Hello World” examples and a nice walkthrough of the toolchain.

And of course, we’ve reported on a few in the past. This application keeps track of battery levels, for instance. If you’ve got the time, have a look at all the posts tagged ESP8266 here on Hackaday.

You couldn’t possibly want more resources for getting started with your ESP8266 project. Oh wait, you want Arduino IDE support?

Thanks [Sprite_tm] for the tip.

Hackaday Prize Entry: Dr. DAC

The theme of this year’s Hackaday Prize is. ‘build something that matters.’ A noble goal, but there’s also a second prize – the Best Product prize – that is giving $100k to one lucky team who can appeal to people with open jaws and wallets. It’s a fabulous prize that also includes a six month residency at the Hackaday Design Lab, but right now there aren’t many contenders for this part of The Hackaday Prize.

[drewrisinger]’s DrDAC USB Audio DAC is one of those project that’s in the running for the Best Product prize. He’s solving the problem of terrible low-quality built-in soundcards that seem to be everywhere. Yes, it’s a simple idea, but the execution is great.

The electronics for DrDAC are pretty much what you would expect for a DIY audio sound card; A PCM2706 takes USB audio and sends it out over I2S. A PCM1794 converts the I2S to analog audio, and an OPA2836  amplifies it and sends everything out through a 1/8″ jack or a pair of RCA plugs.

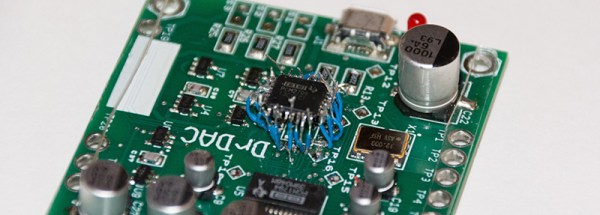
[drewrisinger] started DrDAC as a school project, and after receiving the PCBs, he noticed a problem. MultiSim’s footprint for a TQFP-32 package was too small, meaning the IC simply wouldn’t fit on the board. It was too late in the semester to order a new board, meaning some sort of rework needed to happen. [drew] fixed this problem by soldering jumper wires between the pads to the leads of the chip. Yes, it looks crazy, but apparently it works. You can check out a video of that whole process below.


The 2015 Hackaday Prize is sponsored by:

Continue reading “Hackaday Prize Entry: Dr. DAC”

DSP 01: Real, Legit Audiophile Goodness

About six months ago, we saw [tshen2]’s work on the DSP 01, a 2-input, 6-output DSP and crossover for extreme audiophiles, and we’re not talking about oxygen free rooms here. The DSP 01 turns a USB audio output into six outputs that will give you perfectly flat eq across bass, mids, and highs, integrates with a 6x100W amplifier, and compensates for room noise. There was a huge update to the project recently and [tshen] is more than happy to share the details

Getting to this phase of the project hasn’t been without its problems. To get the DSP communicating to a computer through a USB port, [tshen2] found a potential solution in the CP2114 USB to I2S Bridge. This device should function as a USB audio sink, translating digital audio into something the DSP understands. This chip did not work in [tshen]’s design. The CP2114 simply does I2S wrong; the I2S spec says the clock must be continuous. This chip implements I2S with a SPI, firmware, and a few other things, making it incompatible with to-spec I2S.

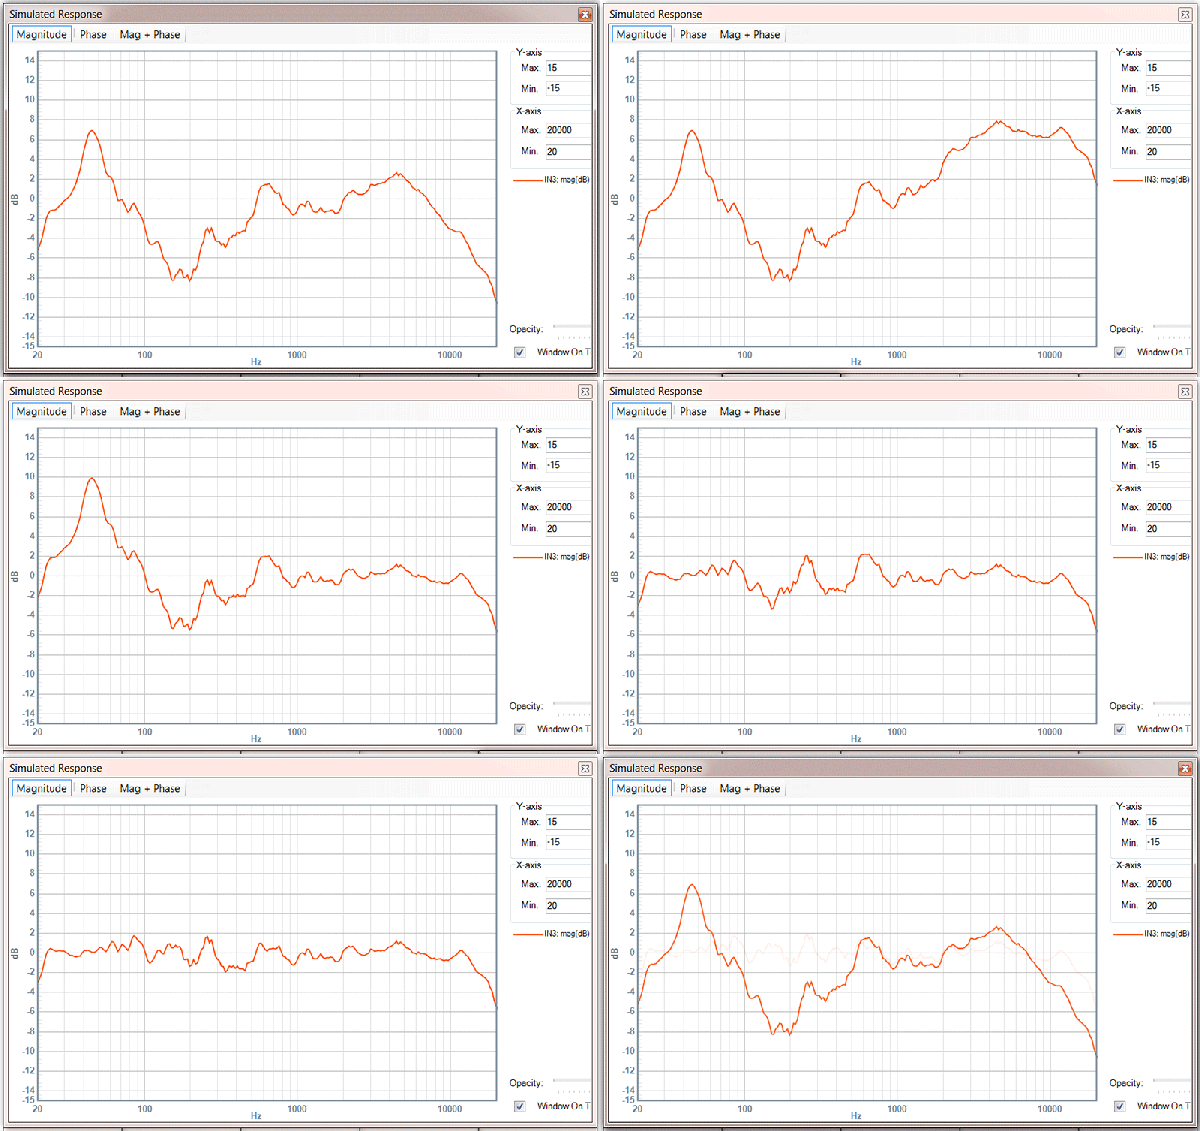
While there was some problems with getting audio in to the device, the core of the device has remained unchanged. [tshen2] is still using the Analog Devices DSP, with the interesting SigmaStudio being used to compensate for the frequency response of the room. This real, legit, science-based audiophile territory here, and an impressive development for a field that – sometimes understandably – doesn’t get the respect it deserves.

I2S Audio And SPI Display With An Ethernet Module

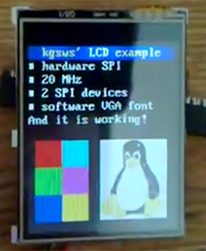
LCD[kgsws] is working on a small project that requires some audio and a display of some sort. While this project can be easily completed with a bigish microcontroller or ARM board, he’s taking a much simpler route: the entire project is built around a cheap router module, giving this project amazing expandability for a very meager price.

The router module in question is the HLK-RM04 from Hi-Link, commonly found via the usual Chinese resellers for about $25. On board this module is a UART, Ethernet, and a WiFi adapter along with a few GPIO pins for interfacing with the outside world.

[kgsws] is using the native SPI pins on this module to control the clock and data lines for the tiny LCD, with a GPIO pin toggling the chip select. I2S audio is also implemented, decoded with an 8-bit DAC, the MCP4801.

It’s an extremely inexpensive solution for putting audio and video in a project, and since this board has Ethernet, WiFi, and a few more GPIO pins, it’s can do much more than whatever [kgsws] is planning next.