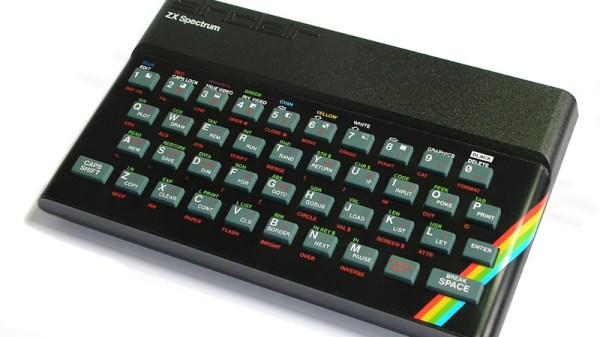
The SInclair ZX 8-bit computers of the early 1980s were masterpieces of economy, getting the most out of minimal hardware. The cassette tape interface was a one-bit port, the video was (on the first two models anyway) created by the processor itself rather than a CRT controller, and the keyboard? No fancy keyboard controllers here, just a key matrix and some diodes between a set of address lines and some data lines. The ZX80 and ZX81 were not very fast as a result of their processors being tied up with all this work, but it ensured that their retail price could break the magic £100 barrier in the British market, something of a feat in 1980.
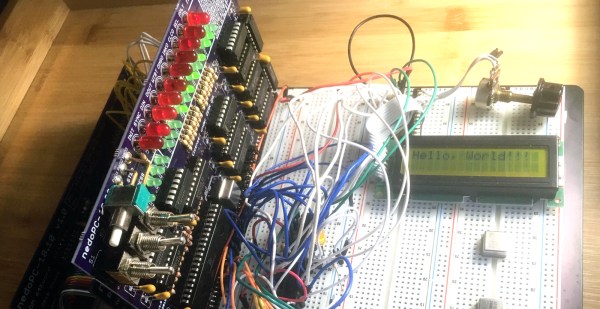
 A host of hackers still devote their time to these machines, and among them [Danjovic] has updated that ZX keyboard by producing an interface between that matrix and a PS/2 keyboard. As you might expect it uses a modern microcontroller board, in this case an Arduino Nano but it doesn’t stretch the imagination to think that a USB equipped board might perform the same task. It sits upon the relevant lines, and performs the necessary logical connection between them depending upon the serial input from an attached PS/2 keyboard. The project goes into some detail on PS/2 to ZX mappings, but perhaps of most interest is its explanation of the bus timings involved. The Arduino makes use of the ZX WAIT line to hold the Z80 and ensure that there is enough time for it to perform its task, it would be interesting to note whether or not this has a visible impact on BASIC program timing.
We are more used to seeing ZX keyboards being attached to PCs, rather than this way round.
ZX Spectrum image: Bill Bertram [CC BY-SA 2.5].
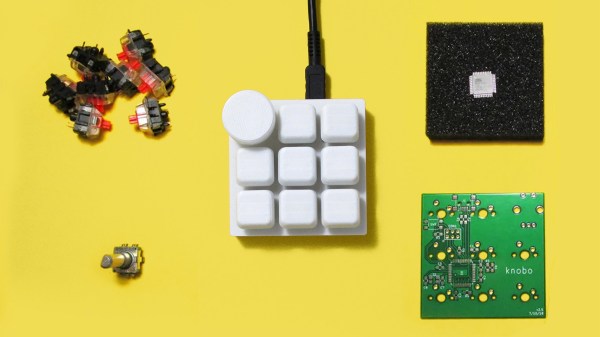


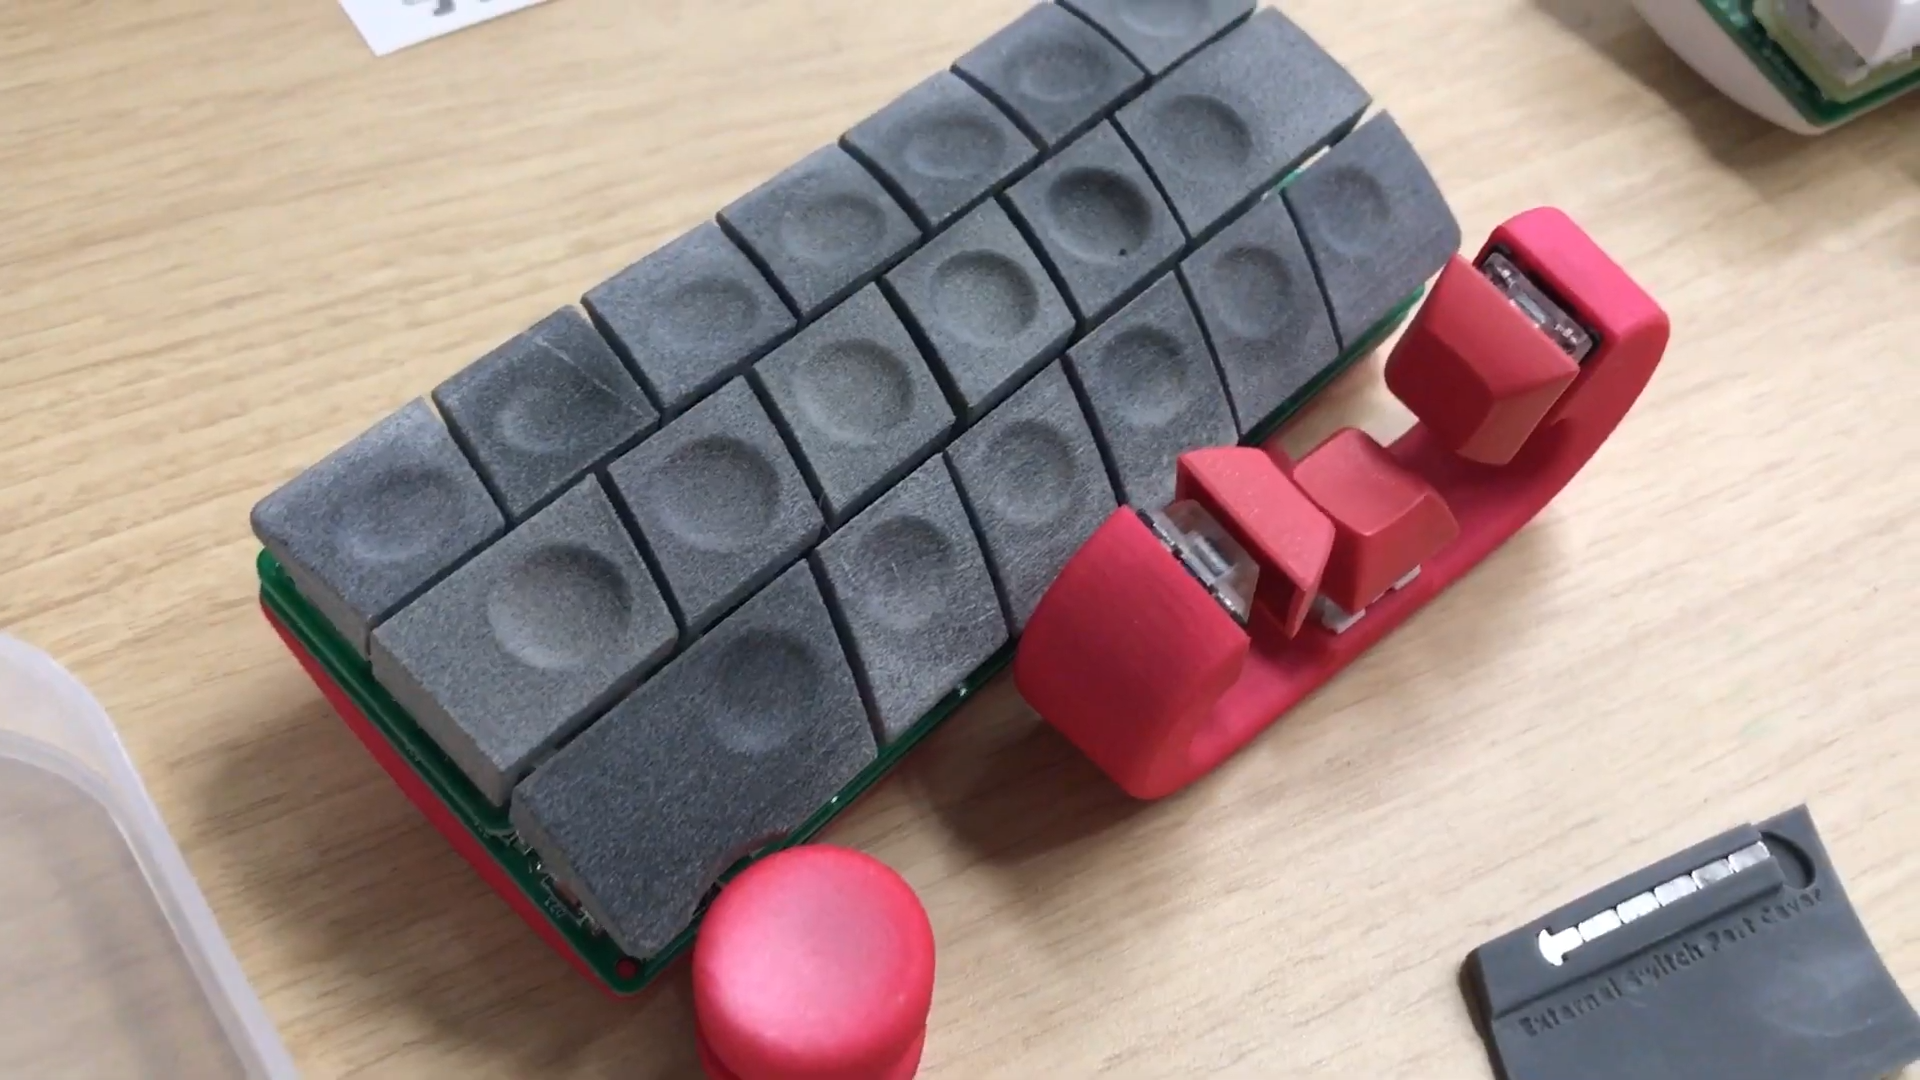
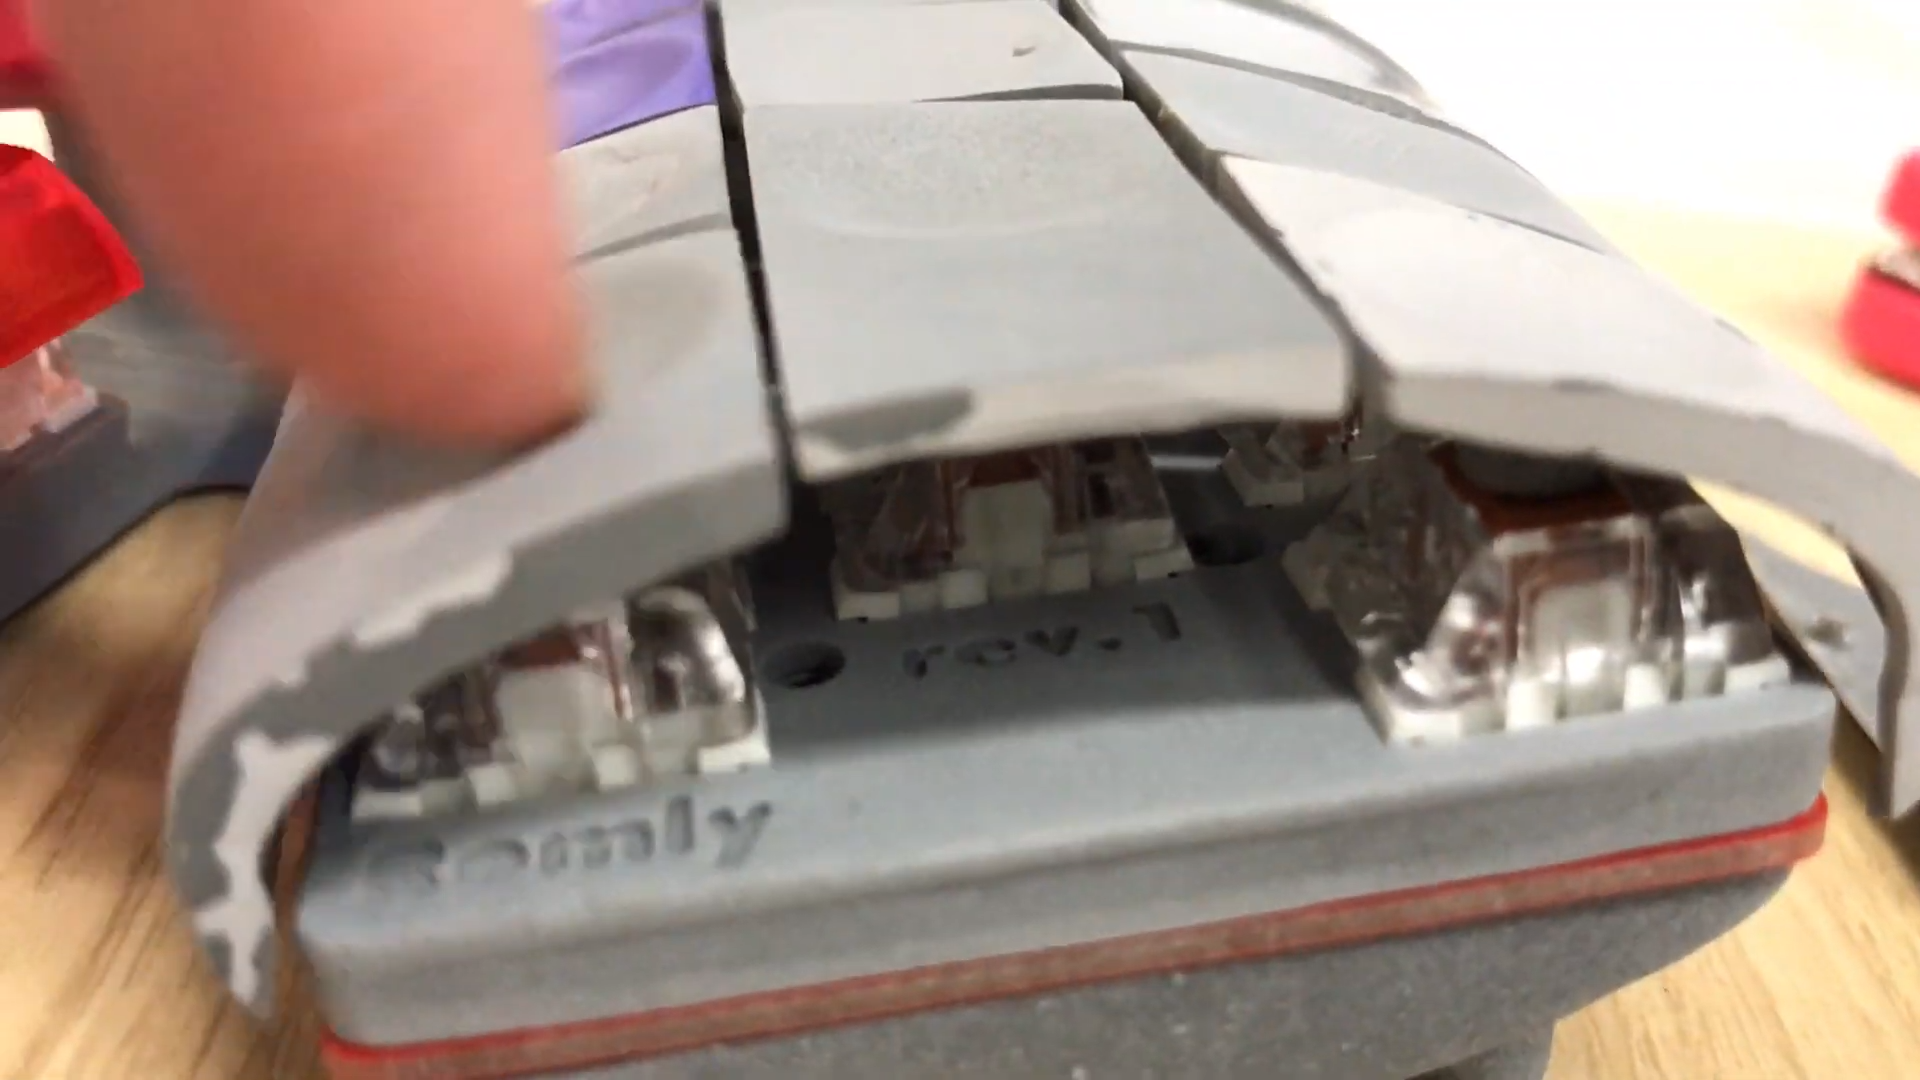 Speaking of [romly], one of their designs stands out as particularly unusual. There are a few things to note here. One is the very conspicuous
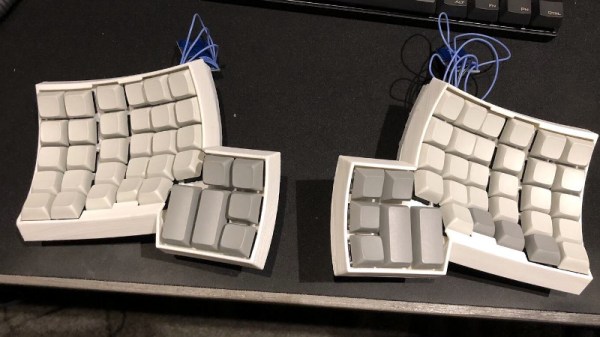
 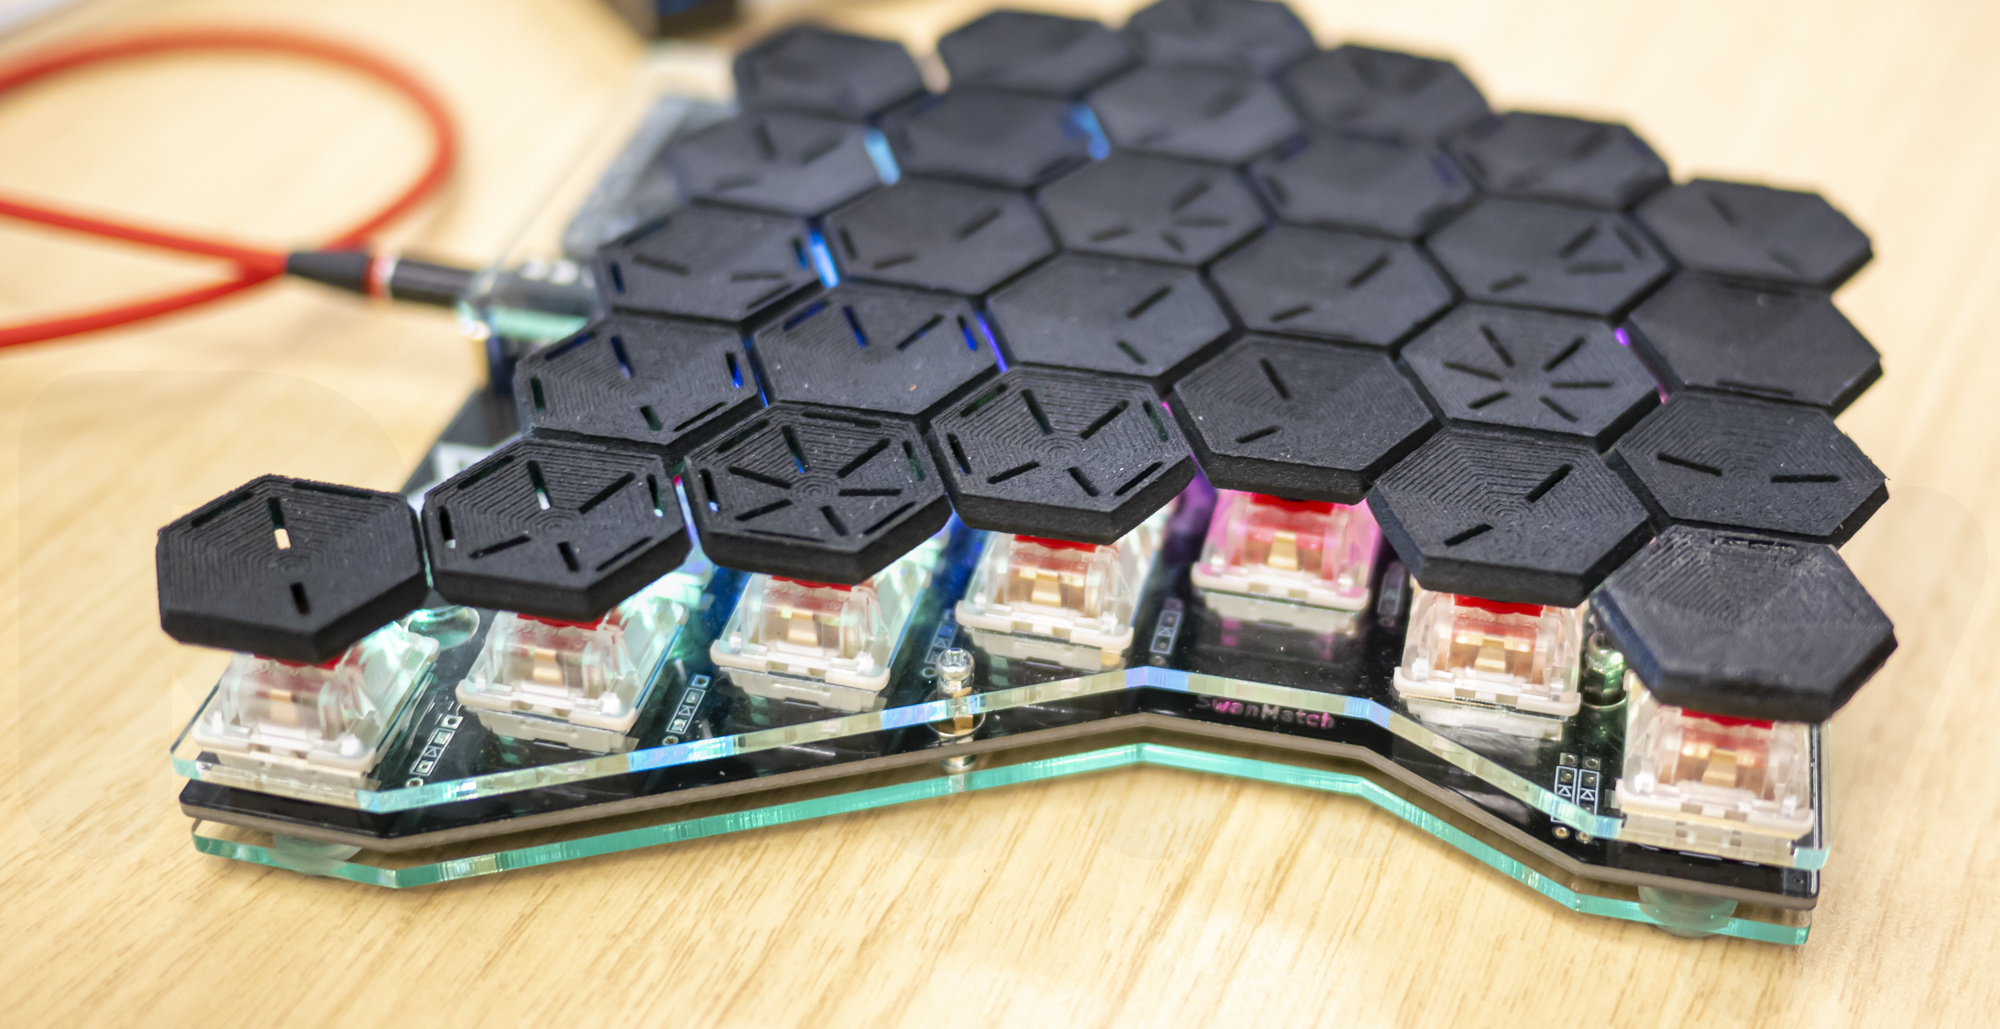 Another interesting entrant is this keyboard with unusually staggered switches and hexagonal caps (check out the individual markings!). Very broadly there are two typical keyboard layout styles; the diagonal columns of QWERTY (derived from a typewriter in the 1800’s) or the non slanted columns of an “