Preserved Lemons On A Hacker’s Budget

“If you wish to make an apple pie from scratch, you must first invent the universe.” [Carl Sagan]. If you wish to make preserved lemons the same way as [Uri Tuchman], you have to start with that mentality. Video also below. The recipe for [Uri]’s preserved lemons involves two ingredients see sea salt, and sliced lemons, but we don’t expect you came here looking for a recipe and the food is less important than the journey.

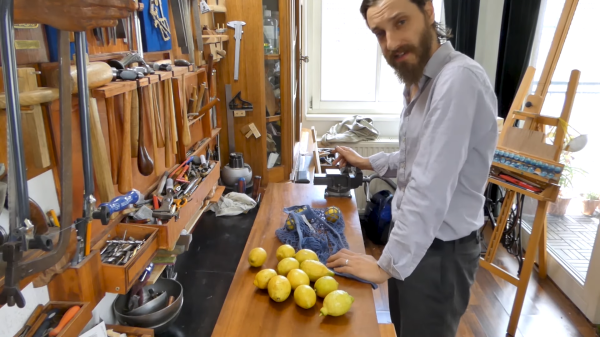
Recipes take for granted that we have all the necessary utensils on hand, but what if you are missing one? What if you are missing all of them? Life’s lemons won’t get the best of us, and if we’re utensil-poor and tool-rich we will make those lemons regret trying to take a bite out of us. The first fixture for cutting lemons is a cutting board, then a knife, and finally an airtight container. We see him make all of them from stock material by hand. Does that seem like a lot of work? You forgot that if you’re going to eat up, you’ll need a serving platter and fork. If he ever opens a restaurant, don’t expect it to be fast food.

Maybe humans will only need one tool in the kitchen someday but at least one cat receives food from a single silicone-brained tool.

Continue reading “Preserved Lemons On A Hacker’s Budget”

3D Printed Knife Sharpening Tool Makes The Job Easy

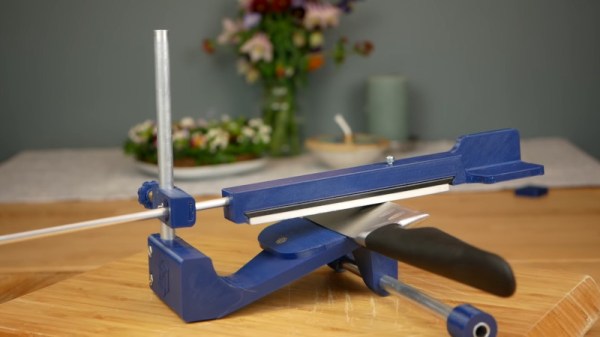
A sharp knife is a joy to use, but many of us are guilty of buying the cheapest kitchen tools available and rarely maintaining them. Keeping knives sharp is key to working with them both safely and effectively, but to sharpen by hand requires patience and skill. [CNC Kitchen] instead decided to use technology to get around the problem, designing a 3D-printed tool to make the job easy (Youtube video, embedded below).

The knife sharpener is a straightforward build, requiring a few simple 3D printed parts in combination with some nuts, bolts, and aluminum rods. It’s designed to use commonly sized whetstones, which makes procurement easy. The design has undergone refinement over the years, with [CNC Kitchen] adding pockets for the magnets and a spherical bearing which reduces slop in the movement.

[CNC Kitchen] reports that the tool works wonderfully, allowing even a novice to sharpen knives well. Parts are available on Thingiverse for those who wish to print their own. If however, you insist on doing things the old-fashioned way, you can get an electronic coach to help improve your technique. Video after the break.

Continue reading “3D Printed Knife Sharpening Tool Makes The Job Easy”

CNCing An X-Acto Knife Holder

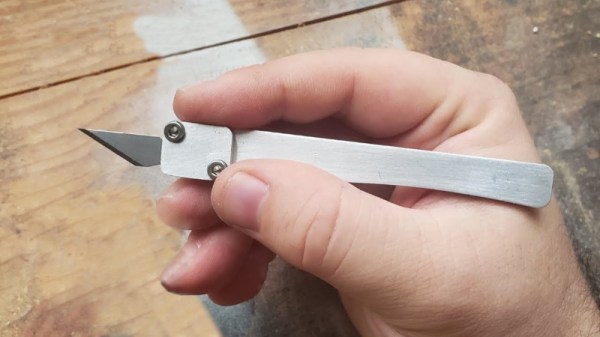
X-acto knives are popular as the scalpel of the craft world. Obviously, holders for the blades are available off-the-shelf, but you needn’t settle for store bought. [Ariel Yahni] set about making an X-acto handle of their own, and it shows just how quick and easy making your own tools can be.

The blades are first measured to determine the appropriate dimensions for the holder. With this done, the basic shape of the handle is drawn up in CAD software using simple primitive shapes and lines. Then it’s just a simple matter of jigging up a piece of aluminium stock in the CNC machine, and letting it do its thing.

The final result needs minimal finishing – primarily just an inspection of the parts, minor deburring and the drilling and tapping of the mount holes. With a couple of socket head cap screws and an X-acto blade installed, it’s ready for work.

We see a lot of interesting tool builds around these parts. You might consider making your own ultrasonic cutter if you’re regularly finishing 3D printed parts. Video after the break. Continue reading “CNCing An X-Acto Knife Holder”

Specialized Knife Sharpener From Old Airplane

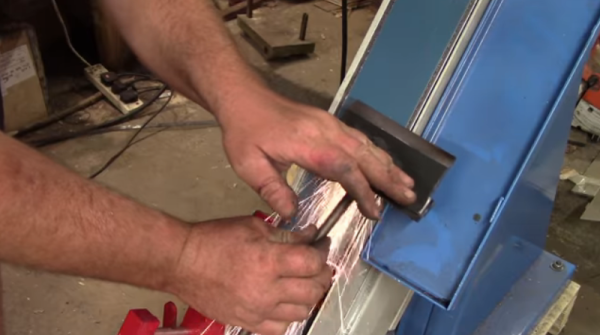
“Surely sharpening a knife can’t be that hard” one might think, as they destroy the edge on their pocket knife by flailing it wildly against a whetstone of indeterminate grain. In reality, knife sharpening is as nuanced a practice as virtually any other field, and getting a quality finish is much harder than it seems. It also gets increasingly complex with different blades, as [Turbo Conquering Mega Eagle] shows with is customized knife sharpening jig.

The hardest part in any blade sharpening is getting the proper bevel angle. A heavy angle is good for heavy-duty tools like axes, but for fine work like shaving a more sharp angle is required. Usually, a table-mounted jig is required but due to production constraints, a handheld one was used. It’s made with push rods and a cam follower from an airplane engine (parts are plentiful since this particular engine breaks all the time) and can impart very specific bevel angles on blades. For example, machetes have a heavy angle near the handle but a finer point towards the tip, and this tool helps streamline sharpening many knives quickly.

If you want to try your hand at another project that’s not as straightforward as it might seem, you might want to build a knife from scratch before you make an attempt at a sharpening tool. It’s just as nuanced a process, but with a little practice can be done with only a few tools.

Continue reading “Specialized Knife Sharpener From Old Airplane”

Dust To Dust And Jello To Jello: The Journey Of A Very Strange Knife

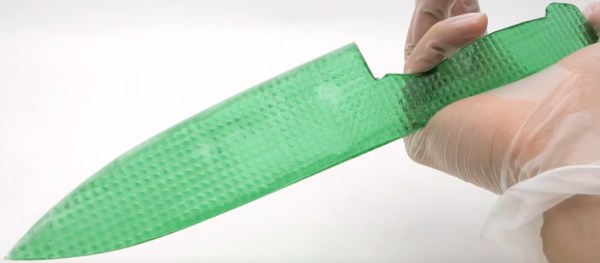
How do you feel about Jello? It’s alright tasting, but it’s much more about how jiggly it gets. Nobody — probably — would eat Jello if it was a hard candy. It would quickly become restricted to the bowl of strawberry candies that Grandma always seems to have. How do you feel about knives? We’re on Hackaday. Most everybody here has at least a couple in their toolbox. Some of them have more than a couple, including the whetstones to sharpen them. It’s safe to say they probably like the concept. Now, what if you could combine the two? Two favorites are always better than one. A Jello knife, while seemingly impossible, would be rather impressive, and [kiwami japan] does just that, as well as so much more.

He starts with a couple dozen adorable Jello snacks (Jellos?), and from the wiggliest of foundations, he builds a masterpiece. The first order of business is to eat a couple of the stragglers while he decides what to do with the rest. A bit of blue food coloring, some more gelatin, and the help of several cow shaped bowls and pitchers later, [kiwami japan] has melted the survivors down and gotten a flat sheet. Once sufficiently cooled, it makes a nice knife-shaped Jello blank.

Continue reading “Dust To Dust And Jello To Jello: The Journey Of A Very Strange Knife”

Building A Knife By Hand Is Just As Hard As You Think

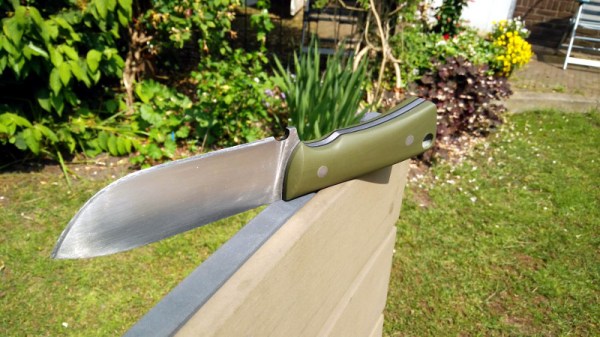
Carl Sagan once said: “If you wish to make an apple pie from scratch, you must first invent the universe.” In other words, the term “scratch” is really a relative sort of thing. Did you grow the apples? Did you plant the wheat to make the flour? Where do you keep your windmill, incidentally? With Carl’s words in mind, we suppose we can’t say that [Flannagill] truly built this incredible knife from scratch, after all, he ordered the sheet steel on Amazon. But we think it’s close enough.

He was kind enough to document the epic build in fantastic detail, including (crucially), the missteps he made along the way. While none of the mistakes were big enough to derail the project, he mentions a few instances where he wasted time and money trying to take shortcuts. Even if making your own knives at home isn’t on your short list of summer projects, we’d wager there’s something in this build log you can learn from regardless.

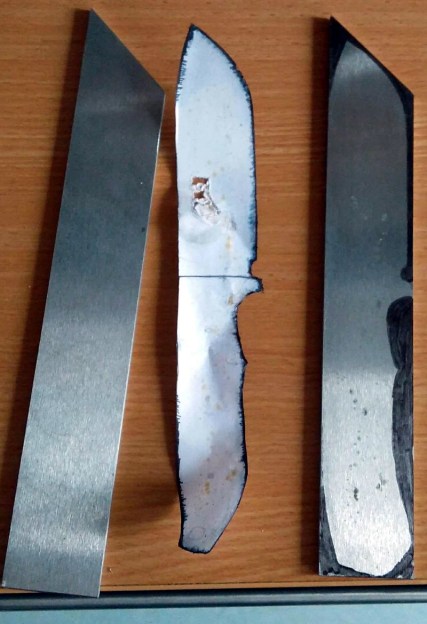
So how does one build a knife? Slowly and methodically, if what [Flannagill] has written up is any indication. It started with a sketch of the knife on a piece of paper, the outline of which was then transferred to a piece of tool steel with nothing more exotic than a permanent marker. An angle grinder was then used to follow the outline and create the rough shape of the final knife.

From there, the process is done almost entirely with hand files. Here [Flannagill] gives one of his most important pieces of advice: don’t cheap out on the tools. He bought the cheapest set of files he could, and paid the price: he says it took up to 14 hours to complete just one side of the knife. Once he switched over to higher quality files, the rest of the work went much faster.

After filing and sanding the knife blank, it went into a charcoal fire to be hardened, followed by a total of 4 hours in a 200 C (~400 F) oven to heat temper it. Finally the handle pieces (which are officially known as “scales”) were attached, and finished with considerably less labor intensive woodworking methods. The final result is a gorgeous one of a kind specimen that [Flannagill] is rightly very proud of.

If you’re worried this process looks a bit too quick and easy for you, don’t worry. You can always go the [Bil Herd] route and make a forge out of your old sink if you’d rather start your apple pie a bit closer to the tree.

Sharpening With Bluetooth

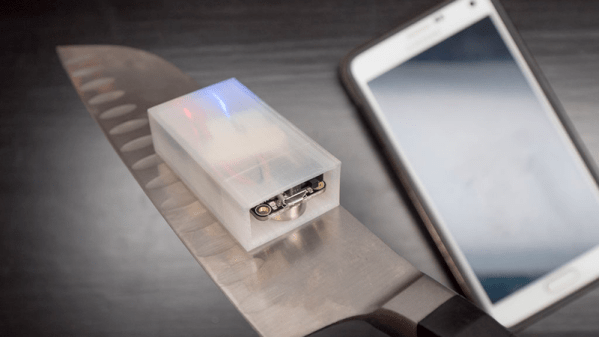
Few things are as frustrating in the kitchen as a dull knife. [Becky] and her chef friend collaborated to build a Bluetooth module to tell you when you are sharpening a knife at the optimum angle. That might sound a little specialized, but the problem boils down to one that is common enough in a lot of situations: how do you tell your exact orientation while in motion? That is, with the knife moving rapidly back and forth over the sharpening stone, how can you measure the angle of the blade reliably?

Looking for a challenge, [Becky’s] first attempt was to just use an accelerometer. It worked, but it wasn’t very precise. Her final answer turned out to be a full inertial measurement unit — the BNO055 — that combines an accelerometer, a magnetometer, and a gyroscope along with enough smarts to fuse the data into actual position data.

Continue reading “Sharpening With Bluetooth”