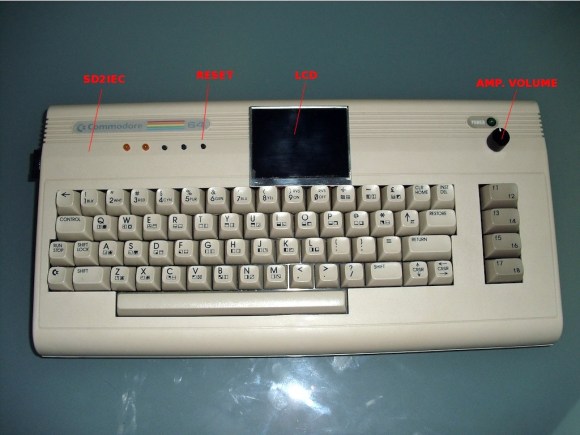
This is [Wpqrek’s] Commodore 64 modified to go on the road with him. The elderly machine has a special place in his heart as it was what he learned to code on. He performed a series of hacks which house everything necessary to use the machine inside the original case.
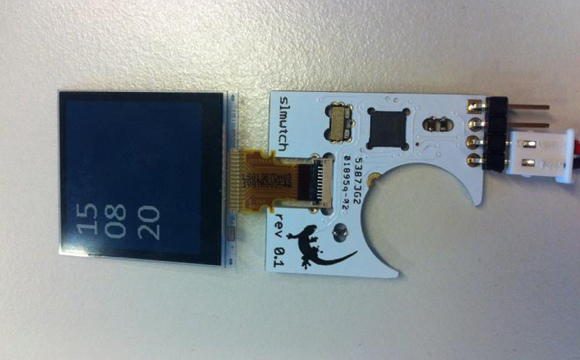
Obviously the hack that has the most effect when it comes to portability was swapping a display for the small LCD mounted above the number keys. This was a pretty simple process because the screen, originally intended for a rear view camera in a vehicle, already had a composite video input. To emulate the floppy disc drive he’s using an SD card via an sd2iec board which he laid out himself. Rounding up the alterations is a stereo SID. The second channel uses the pre-amp circuit cut from a second C64. This audio hardware will let him do cool things like playing some classic Zeppelin.
You can get a video tour of these alterations after the break.