Rear Window LED Display Gives Other Drivers A Piece Of Your Mind

rear_window_led_matrix

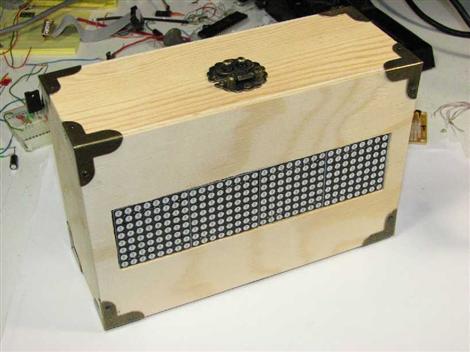
[Gagandeep] was sick and tired of discourteous drivers on the highway, so he decided that he would put together a display to let them know what he thought of their poor driving skills. He planned on putting the display up in the rear window of his car, so he had to ensure that it did not obstruct his view while driving.

He decided that an LED matrix would be the best way for displaying images and text while on the go, so he got busy constructing a 40×16 mesh grid for his rear window. Using a wooden template to get the spacing and positioning just right, he spent several days soldering the 600+ LEDs to one another. He used 74HC595 shift registers to manage the LEDs in groups of 5 columns, while an ATmega AT89C51 was tasked with generating the text and images to be displayed. All of the ICs were deadbugged in place, helping achieve [Gagandeep’s] desire of keeping his view unobstructed.

While we’re not well-versed on the legality of such a display, it looks great when animated. There are plenty of pictures of the grid in various stages of construction as well as videos of it in action in his Picasa album, so be sure to check them out. If you are looking for code or Eagle files, you can find those here.

Remote Controlled Glass Block LED Matrix

hive13_remote_controlled_led_matrix

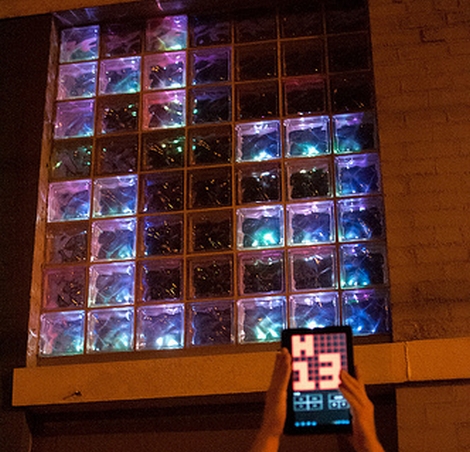
At Hive13, a Cincinnati-based hackerspace, they like to hack everything – even their bathroom. One of the bathroom’s walls faces the street, and is made up of thick glass privacy blocks. A few years ago, they thought it would be a cool idea to install an LED matrix to the back side of the glass wall to spruce things up a bit. After a couple of iterations, they finally had something they were happy to show off, but they wanted to make it even cooler.

While the the Arduino and ShiftBrite shield running the matrix could be controlled over a serial connection, they wanted to use the ProjectBlinkenlights tools to control things over the network. While that didn’t quite work out as planned, it wasn’t necessarily an exercise in futility. While Blinkenlights controls were out of the question, they were inspired to add OSC compatibility to the Processing sketch, which allows them to work the display with an app available for both Android and iOS devices.

The result is pretty slick, as you can see in the video below. Now all they need to do is get Tetris up and running!

Continue reading “Remote Controlled Glass Block LED Matrix”

Playing Snake With A TV Remote

[vinod] sent in his replica of a Snake game, the game to play on old Nokia dumb phones.

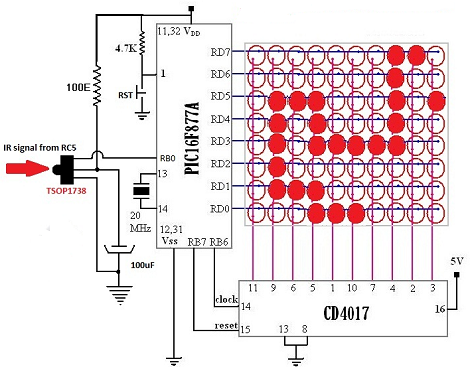
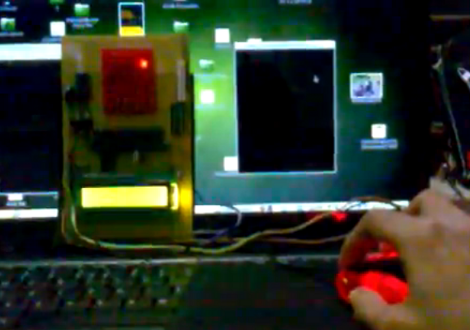
The build is based on a PIC16F877 microcontroller just like previous Snake builds we’ve seen, but [vinod] didn’t use physical buttons in his build. Instead, he used a Philips infrared TV remote to control the game. The infrared controller only takes up one pin on the microcontroller, as opposed to the 4 pins of the easiest four button setup. [vinod] also threw in a simple one-transistor level converter so Snake can be played with a PC via RS-232. With the PIC code included in the build, it’s a great build that reminds us of a more civilized age.

The video of [vinod]’s snake game in action is posted after the break, but we noticed that the snake is allowed to ‘warp around’ the sides of the LED matrix. Some people might consider that cheating but that can be fixed by changing a few lines of code.

Continue reading “Playing Snake With A TV Remote”

Google ADK Project Shows Just How Easy It Is To Use

first_adk_project

[yergacheffe] was able to get his hands on a shiny new Google ADK board about a week before it was announced at I/O, and got busy putting together a neat project to show off some of the ADK’s features. His idea was to meld together the ADK and Google’s new music service, two items he says complement each other very well.

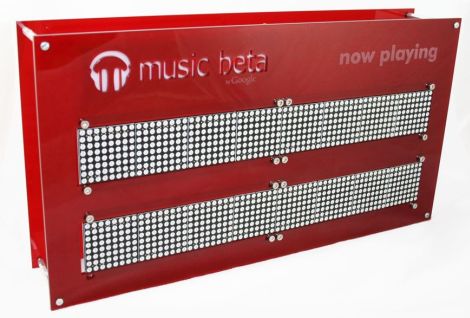
He had a handful of LED matrices left over from last year’s Maker Faire, which he decided to use as a Google music metadata display. The base of the display is made from laser-cut acrylic, with a few spare ShiftBrites lighting up the Google music beta logo.

He says it took literally just a couple lines of code to get his Android handset to talk with the display – a testament to just how easy it is to use the ADK.

Pretty much anyone can walk up, attach their phone, and see their current music track on the display with zero fuss, which you can see in the video demo below.

Continue reading “Google ADK Project Shows Just How Easy It Is To Use”

Photon Banner

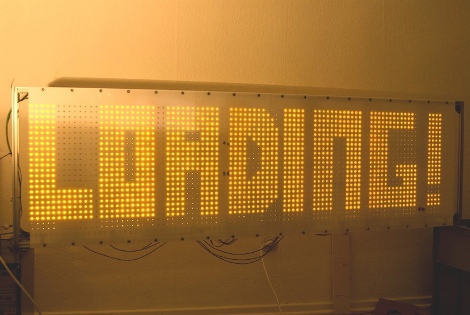
The Revision 2011 demo party that brought us” table for two” a little while ago along with some super demos for PC’s, retro, and state of the art, has also brought us the Photon Banner(google translate). The Photon Banner is a 96X24 led matrix that was made with (of course) 2304 5mm leds, and a atmega 644 clocked at 20MHz.

The end result is a 192cm X 48cm display area that uses the single micro controller, that has been beefed up with 2 megs of SPI flash memory, 6 driver boards, and took about a month just to construct. The software to drive the show took another 15 days, and it is pretty darn impressive.

The website above contains a bunch of photos, parts lists, and schematics. Before you go running off you should join us after the break for a couple of quick videos.

Continue reading “Photon Banner”

Papydoo Is Watching You!

Papydoo spends most of its time sleeping, but if startled by vibration it will wake up and stare you down with a cold and unnerving robo-gaze like you have not seen before. Or it might just do something crazy like display a scrolling Space Invaders character marquee.  That’s the thing with Papydoo, you just never know.

Vibration sensing is accomplished with a piezo element harvested from an old horn speaker that is simply sandwiched between the project enclosure and the surface it is sitting on. A MCP601 op-amp is used to amplify the weak potentials from the piezo element and feed them to the ADC of a Zilog Z8F083A microcontroller. When sufficient vibration is detected, the MCU wakes up and displays one of a number of different animations on the front panel 32X8 LED matrix. The various display modes can also be manually selected using a small button on the back of the enclosure.

Power consumption is reduced to 150uA while sleeping by only briefly waking the MCU once per second to check the current vibration level. Nearly all of this power draw can be attributed to the op-amp, and although there are much more efficient models available, sometimes the best choice is just the one you already have on hand in your parts bin. Regardless, the power consumption is low enough to run the device off of a set of AA batteries.

We could imagine that similar setup could be used for a number of different low-powered messaging applications that would only “wake up” when someone was near enough to read and interact with. Add a loud speaker and this might even make a good alarm to keep pesky coworkers out of your “cube”. What would you do with a Papydoo?

Thanks for the tip [Laurence]! If you happen to read this, we are dying to know: why “Papydoo”?

Short video after the break.

Continue reading “Papydoo Is Watching You!”

Pong Clocks Using LED Matrix Modules

We love Pong clocks because they’re showpieces. This particular offering, called the Wise Clock, is the third hardware revision of the project. The LED display is dead simple since they’re using a 32×16 bi-color module from Sure Electronics. If you don’t want to design and build your own multiplexing display this is a somewhat inexpensive and high-performance alternative.

After the break you can see that the paddle movements look very realistic. They move like a human player might, which is quite often not the case with these clocks. If you want to see how that’s done, check out the code which was originally developed by [123led] for a different project.

Continue reading “Pong Clocks Using LED Matrix Modules”