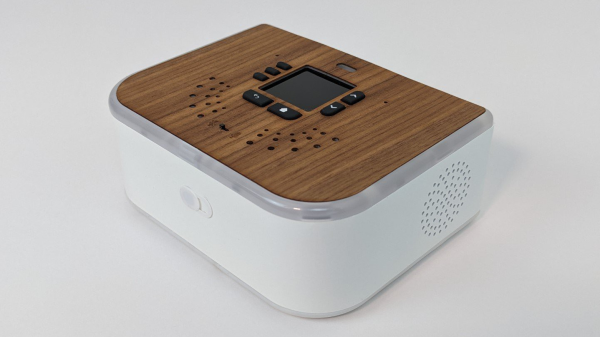
The Ubo Pod by [Mehrdad Majzoobi] is a very highly polished extension pack and enclosure for the Raspberry Pi 4, which shows you how far you can go to turn a bare PCB into something that rivals the hardware offerings from Google and others. Gadgets like the Sonos speakers and Amazon or Google’s covert listening devices (aka Echo, Alexa, or whatever they’re branded as) are fun to play with. Still, the difficulty of hacking custom applications into them and god-forbid adding one’s own extension hardware, makes them fairly closed ecosystems. Add in the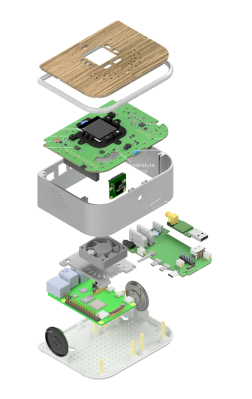 concerns of privacy and data security; they look less and less attractive the closer you look. Luckily the Raspberry Pi and its friends have improved the accessibility to the point where it’s positively easy to create whatever you want with whatever hardware you need, and to that end we think [Mehrdad] has done a splendid job.
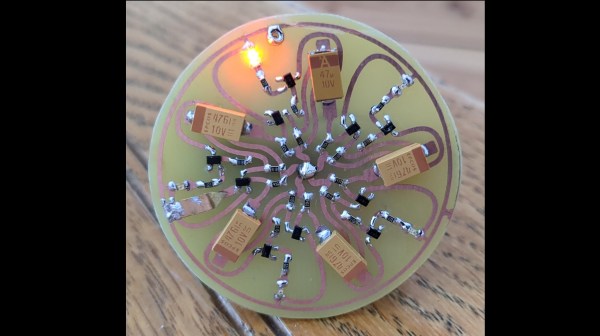
The custom top PCB sits below the wooden top surface, hosting a central LCD display with push buttons located around it. Also sitting atop are some IR transmitters and receivers as well as RGB LEDs for the ring lighting. This top PCB acts as a RPi hat, and plugs into an RPi4 below, which then attaches to a side board via some PCB-mounted connectors, matching up with the USB and audio connectors. This board seems to act purely as an interconnect and form-factor adaptor allowing interfaces to be presented more conveniently without needing wires. This makes for a very clean construction. Extensive use of resin printing is shown, with lots of nice details of how to solve problems such as LED diffusion and bleeding. Overall, a very slick and well-executed project, that is giving us a few ideas for our own projects.
This type of project is commonplace on these fair pages, like this DIY smart speaker for example. With the supply of pi being still a little difficult to deal with, could you roll your own or get an alternative? What about just using your old mobile phone?


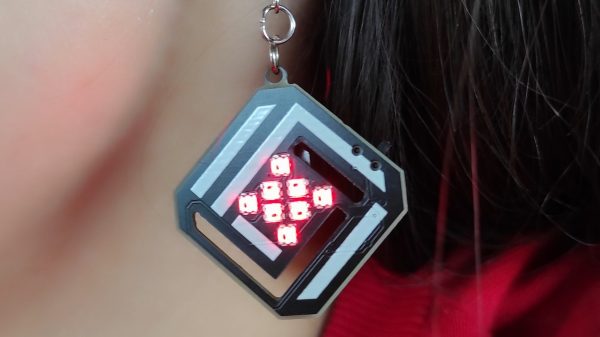
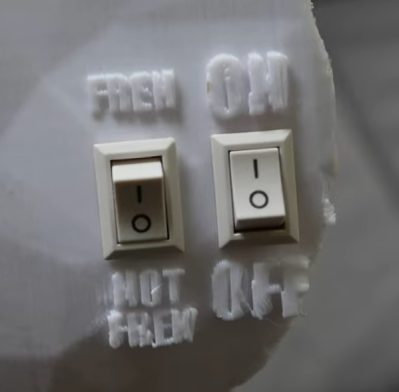 The robot face is introduced to us with a soundtrack befitting Stranger Things, or maybe Luke Million. The build was inspired by The Doorman, a creepy art piece with animatronic eyes. [Jens’] build started with a 3D model of a 3D mask, with the eyes and mouth modified to have rectangular cutouts for LED displays. The displays are run by a Raspberry Pi Pico, which generates a variety of eye and mouth animations. It uses a camera for face tracking, so the robot’s evil eyes seem to follow the viewer as they move around. In good form, the face has a simple switch—from good to evil, happy to angry. Or, as [Jens] designates the modes: “Fren” and “Not Fren.”