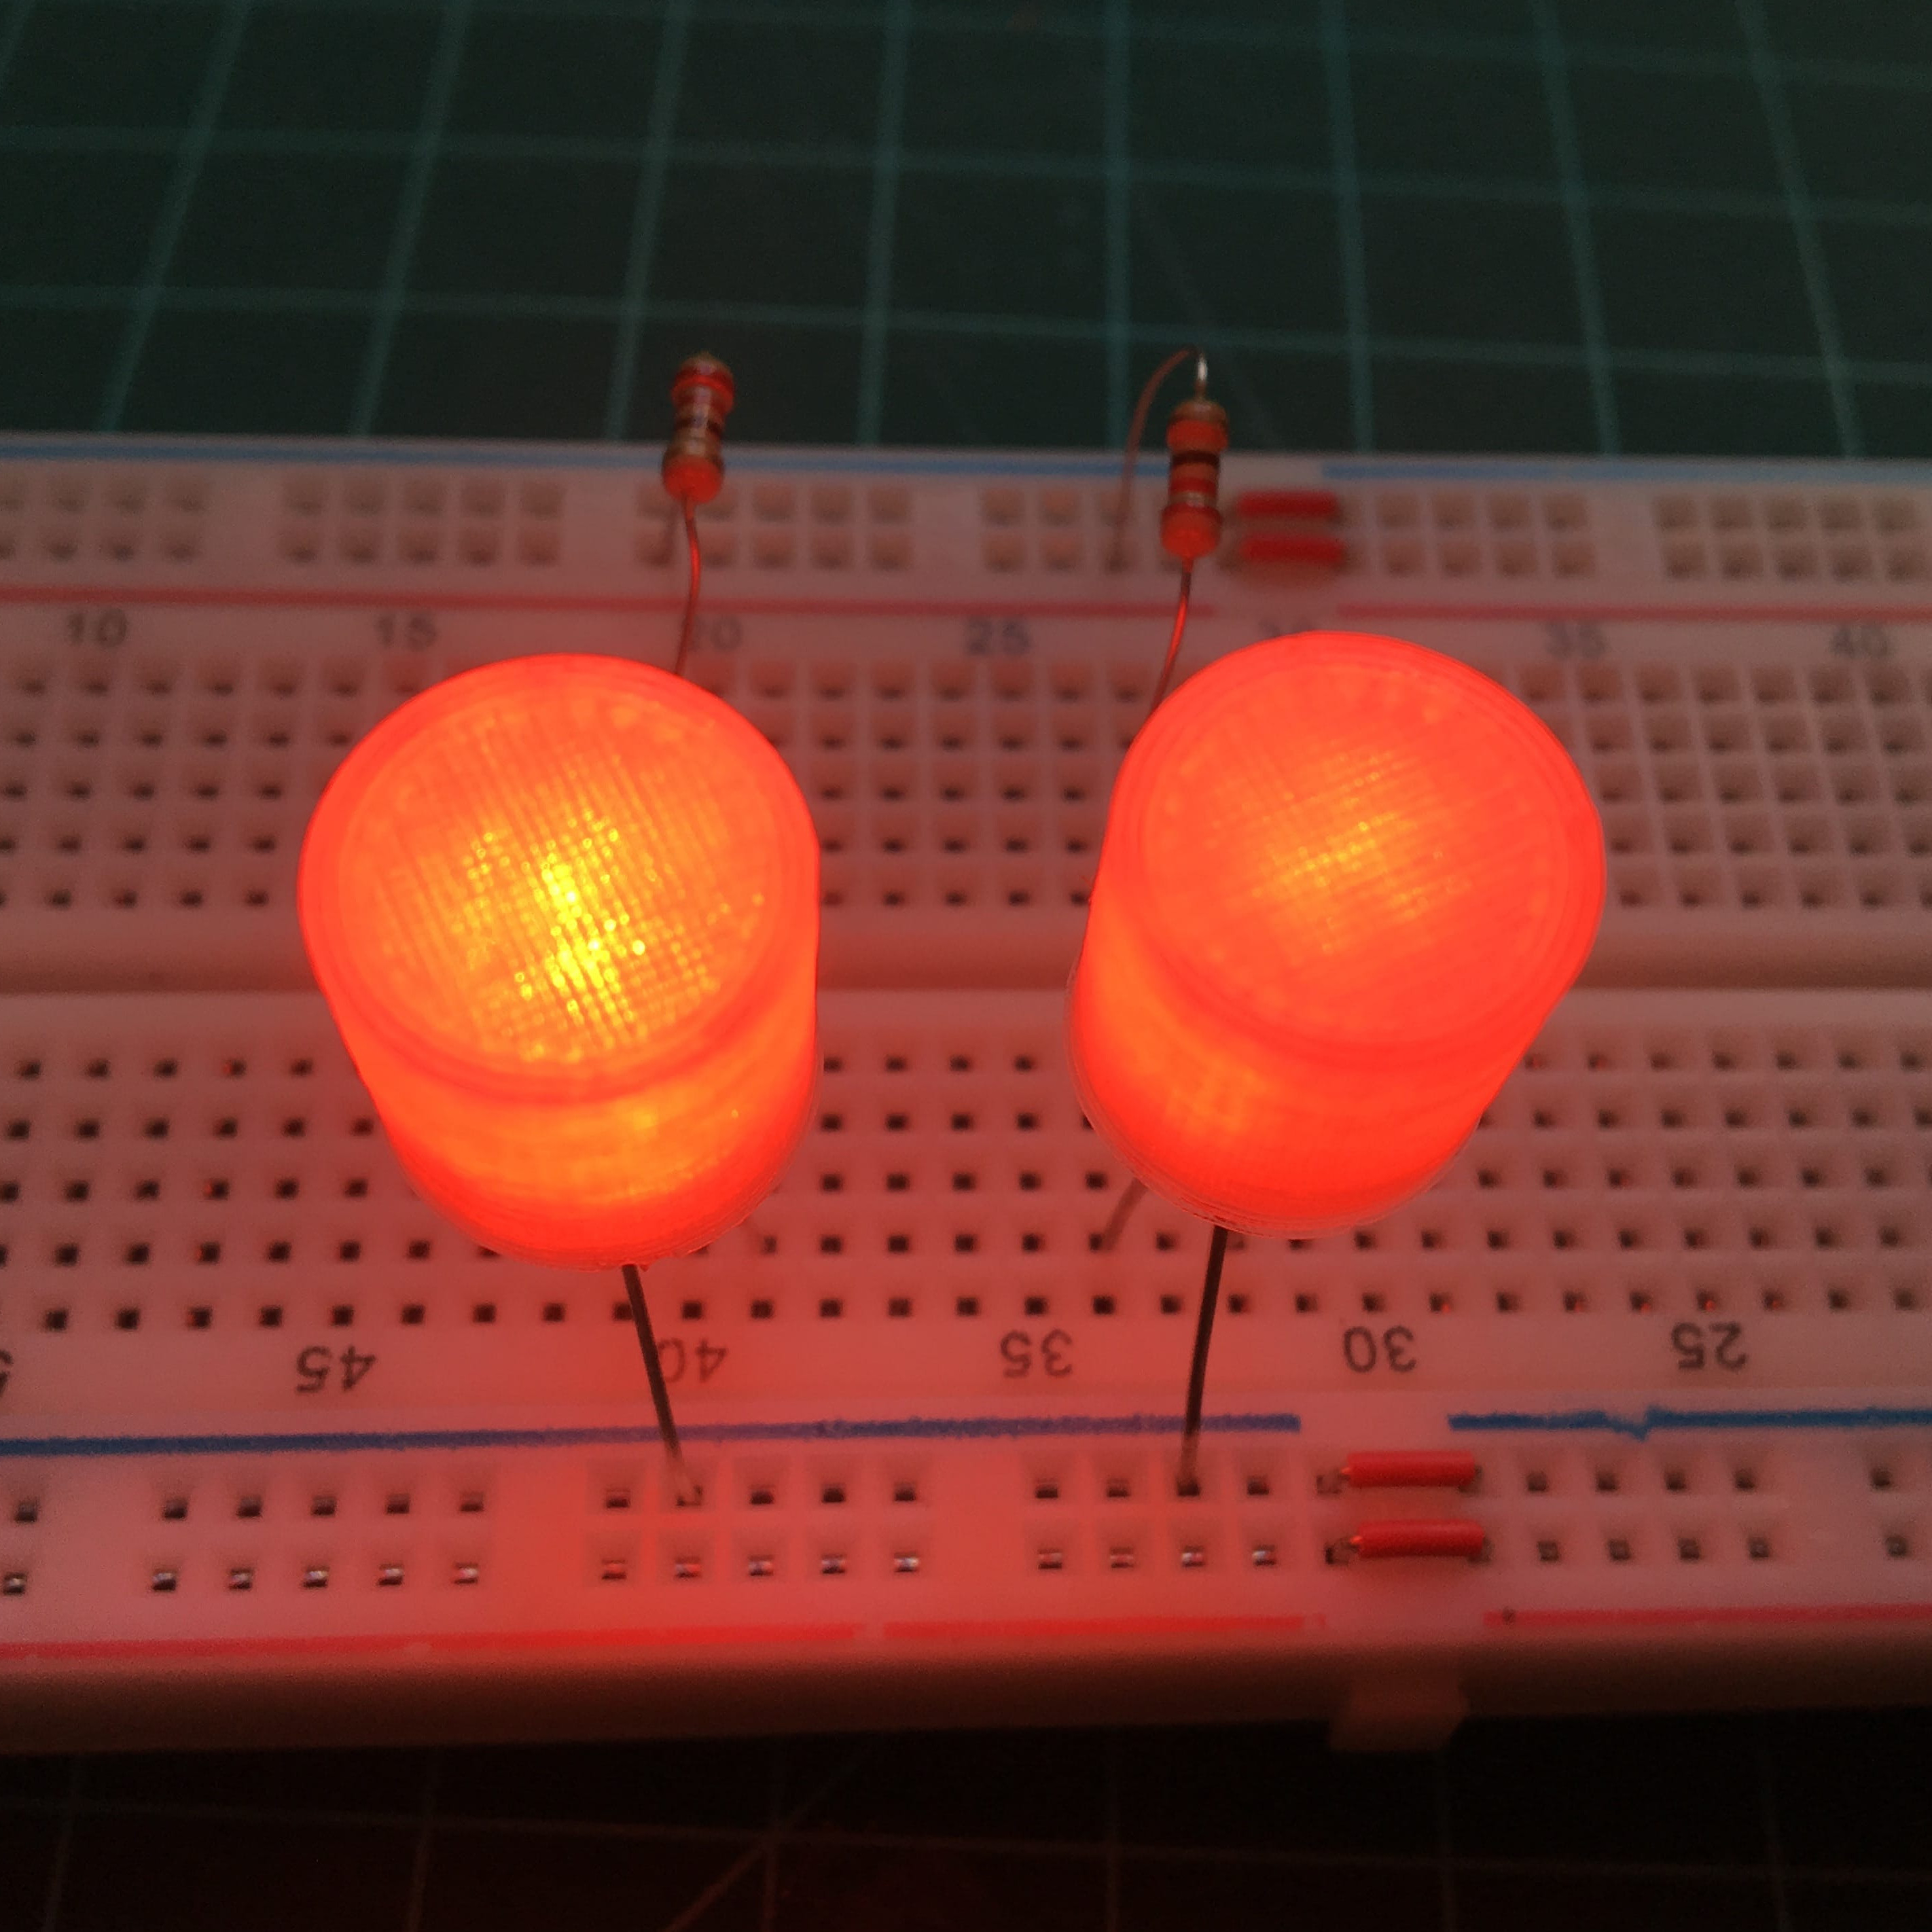
There are a number of ways to efficiently and elegantly limit an LED’s brightness, but [Tommy] found that using a light pipe or diffuser can integrate better with a device, especially when the device itself is mostly 3D printed in the first place.
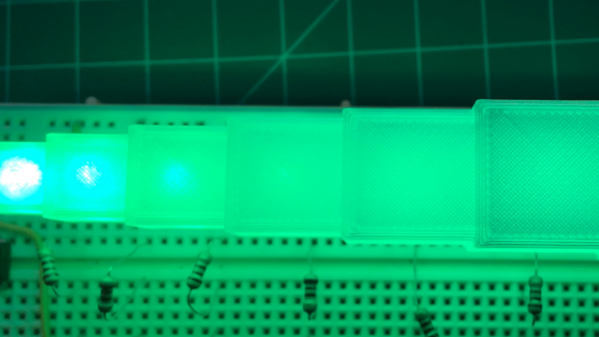
For some problems the Goldilocks approach is the way to go. [Tommy] designed a small array of different LED cover options, and tested each to see what yielded the best results for his printed kit. Some of the biggest takeaways include:
- 100% infill is best for even results (although interesting shadows happen at less than 100% infill.)
- Interesting things happen with 7 to 11 mm of top layers of clear PLA, when illuminated from below with a 5 mm high-brightness LED. An even diffusion of light starts to give way to a circular gradient as the upper layer gets thicker.
- LEDs emit their light mainly upward in a round pattern. Corners will always be darker, even more so if the guide is not round. This effect becomes noticeably more pronounced as the light guide grows in size, putting a practical upper limit on its effective dimensions.
[Tommy] explores these kinds of issues because he designs and builds electronic synth instruments, and they are mostly 3D printed. He explores efficiency and is always happy to share his findings about what works and doesn’t work.
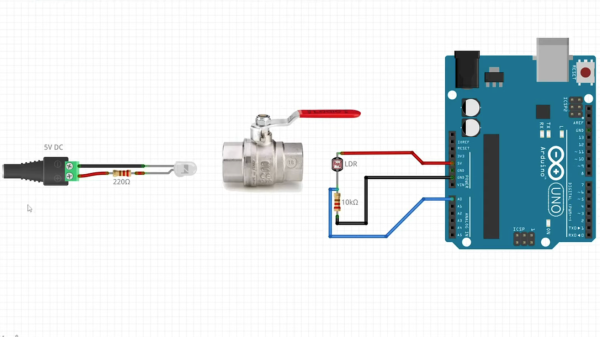
Of course, the usual ways to deal with an overly-bright LED are to limit its current or control its brightness by driving it with a PWM signal. The right approach depends on the application and the scale of the design, and there are actually quite a few ways to crack this nut. Luckily, our own [Inderpreet Singh] is here to tell you all about how best to control LED brightness.
 The program is known as TwinkleFOX, and relies on the popular