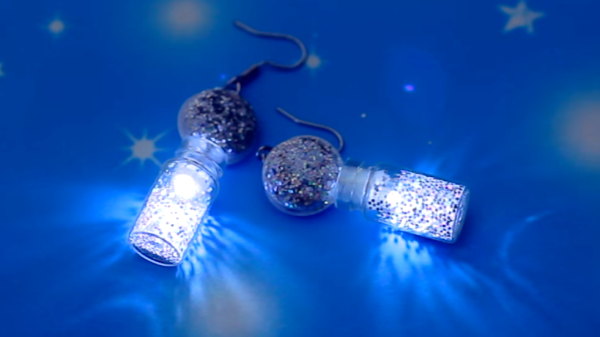
We love seeing a thing get used effectively for other than its intended purpose, and this DIY LED Earrings project is a great example. [IdunnGoddess] liked the idea of making light-up LED earrings powered by a small coin cell, but an enclosure and power connection for the battery were sticking points. The solution? A googly eye after a few minor modifications turned out to be perfect.
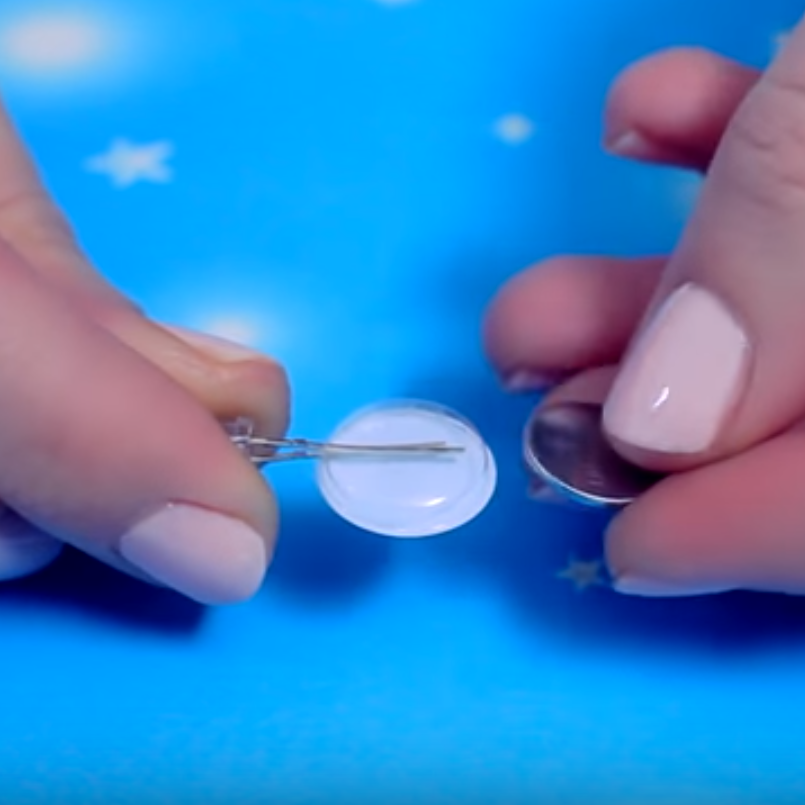
A googly eye resembles a thin, flat, hollow plastic bulb. Choose one that’s just a bit bigger than the coin cell, and cut a slot in one end and a small hole in the other. The LED leads go into the hole, and the coin cell slides into the slot. The result? A lightweight battery holder for an attached LED, and as a bonus the hacked googly eye is a clean and super smooth surface that can easily be painted or decorated to make it part of the design. The video embedded below demonstrates the process and showcases a few sample designs.
Continue reading “Clever Battery Holder Hack Makes Brilliant Earrings”