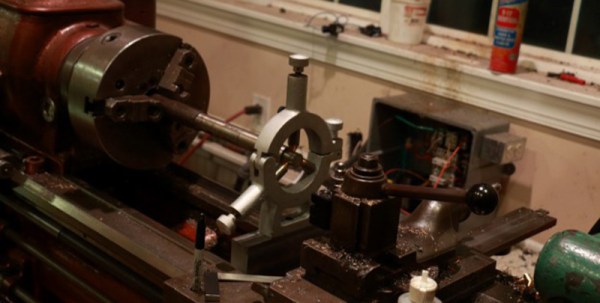
Another day, another interesting YouTube channel. [Chris]’ Clickspring channel and blog is something you don’t really see much these days: machining parts with a lathe, a mill, and no CNC. The project [Chris] is working on now is a clock based on a design by [John Wilding]. It’s very large, and all the parts are constructed out of raw brass and steel stock.
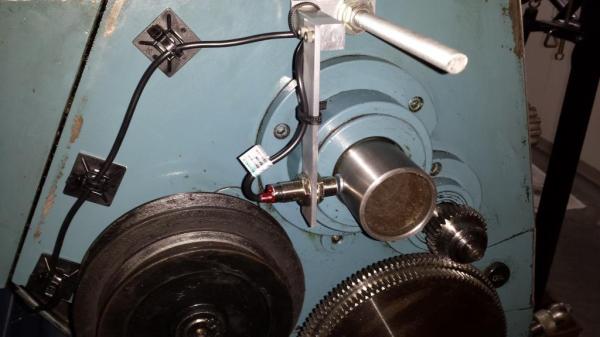
Of course making a clock isn’t just about cutting out some parts on a lathe and turning them on a mill. No, you’re going to need to make the parts to make those parts. [Chris] has already made a tailstock die holder for his lathe, a clamping tool to drill holes in rods, and a beautiful lathe carrier to hold small parts.
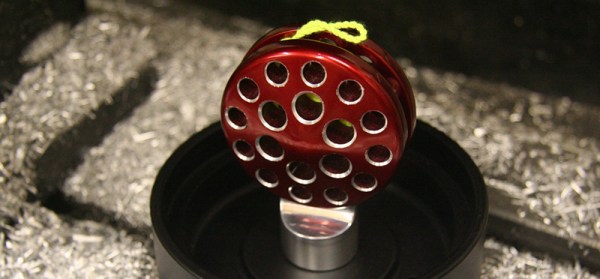
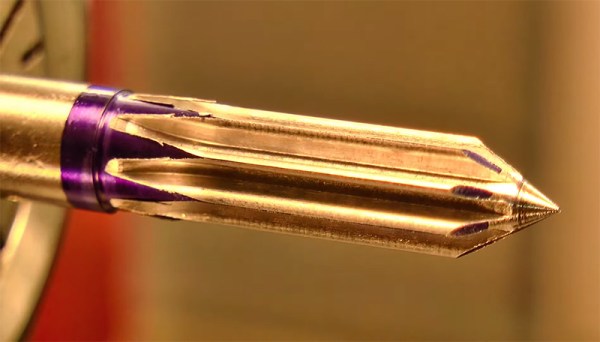
All of this is top-notch work, with custom tin lapping tools to put a mirror finish on the parts, and far more effort than should be necessary going into absolute perfection. The clock project is turning out great, although there are several more months until it will tick its first second.
Selected videos below.
Continue reading “Machining A Skeleton Clock In 10,000 Easy Steps”