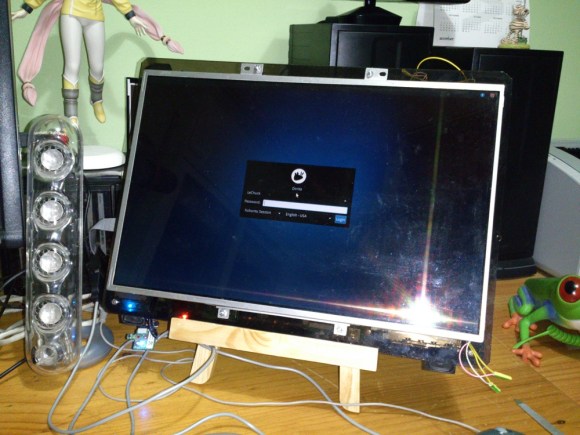
Check out this fantastic Ambilight clone for a computer monitor which [Brafilus] has been working on for a few years. It’s actually the third revision and watching the demo video below left our jaws agape.
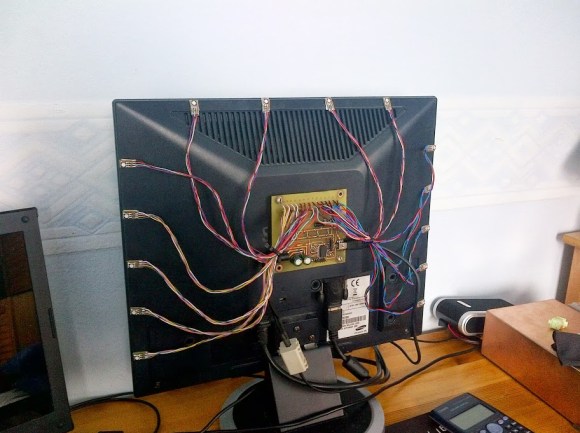
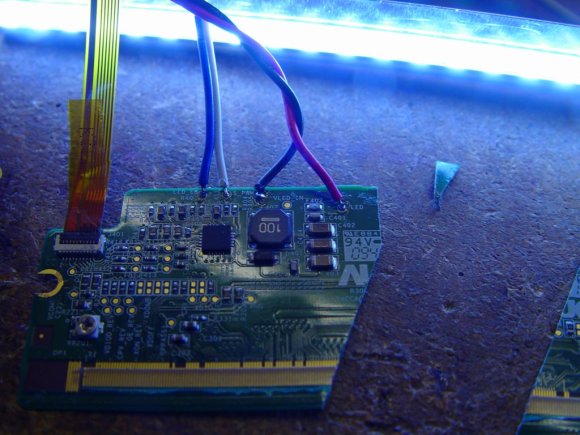
Details are only available as comments on the YouTube page. But he’s given us just enough to be satisfied. His self-etched board hosts a PIC 18F14K50 microcontroller. It is talking to each of the 28 LED pixels which themselves live on tiny hunks of diy PCB as well. He wrote his own PC software in C# to capture the colors around the edges of the screen. He also worked hard to ensure there are plenty of tweaks available for true color matching between the monitor and what your eye sees bouncing off of the wall.
If you’re looking for something like this on your television set go back a couple of days and check out that standalone unit.
Continue reading “Computer Monitor Ambilight Clone Shows Remarkable Performance”
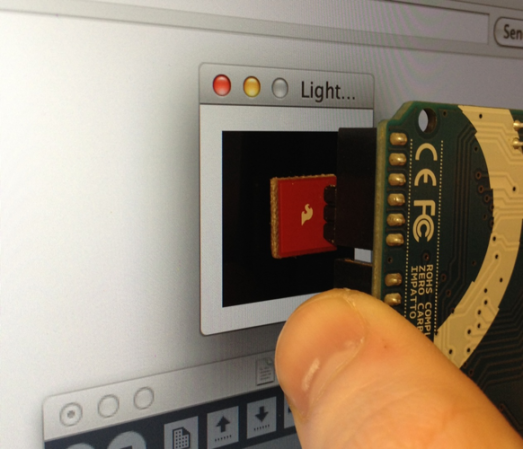 We love the concept of using an LCD screen to transfer data. The most wide-spread and successful method we know of is the combination of a QR code and the camera on a smart phone. But for less powerful/costly devices data can be transferred simply by flashing colors on the screen. That’s what [Connor Taylor] is testing out with this project. He’s using