
A new console challenger has appeared, and it goes by the name Nintendo Switch 2. The company’s latest iteration of the home console portable hybrid initially showed promise by featuring a large 1080p display, though very little official footage of the handheld existed prior to the device’s global release last week. However, thanks to a teardown video from [TronicsFix], we’ve got a little more insight into the hardware.
 The technical specifications of this new console have been speculated on for the last handful of years. We now know NVIDIA is again providing the main silicon in the form of a custom 8x ARM Cortex A78C processor. Keeping the system powered is a 5220 mAh lithium ion battery that according to [TronicsFix] is held in with some seriously strong adhesive.
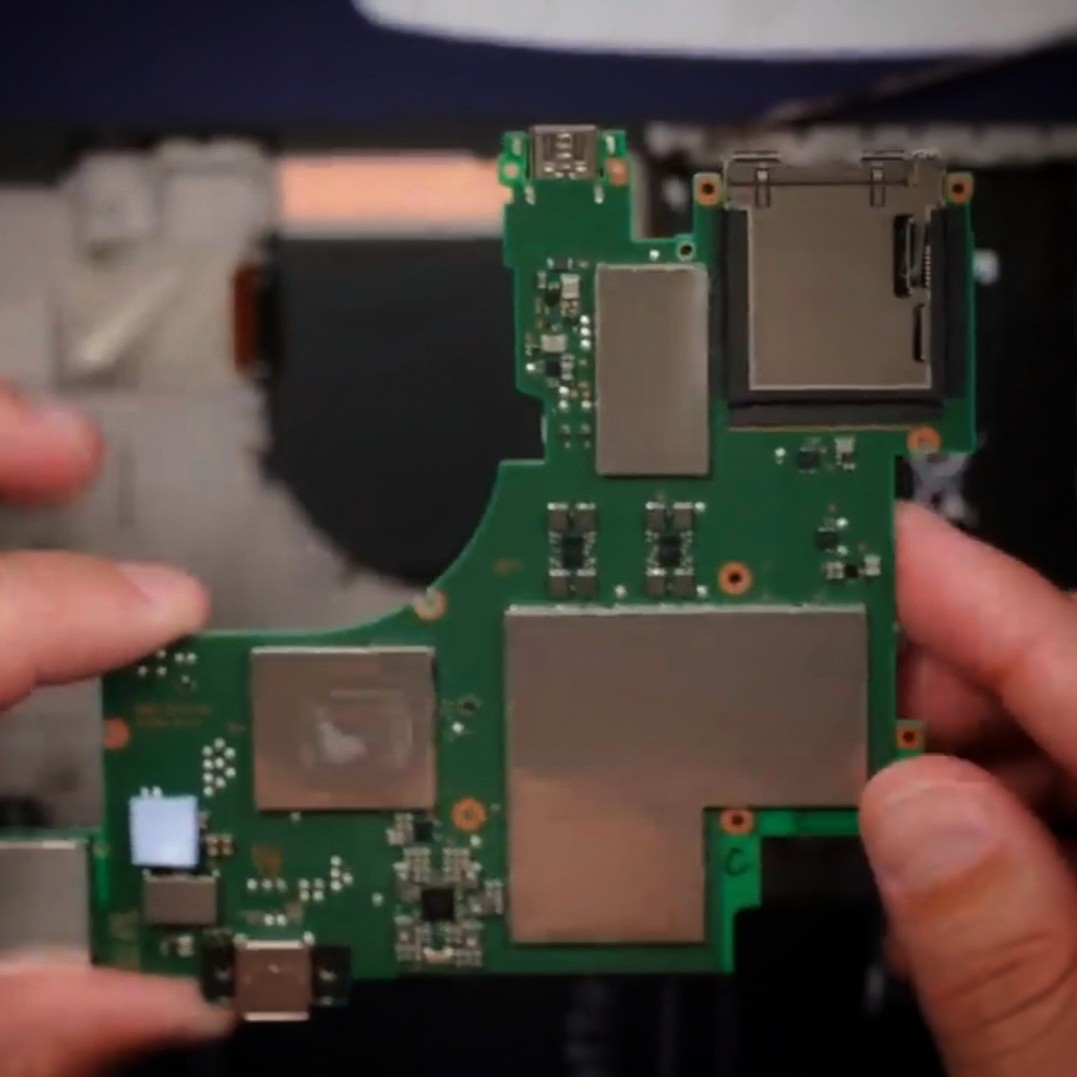
On the plus side for repairability, the onboard microphone and headphone jack are each attached by their own ribbon cable to the motherboard. The magnetic controller interfaces are also modular in design as they may one day prove to be a point of failure from repeated detachment. Speaking of which, [TronicsFix] also took apart the new version of the Joy-Con controller that ships with the system.
Arguably the biggest pain point for owners of the original Nintendo Switch was the reliability of the analog sticks on the diminutive controllers. There were widespread reports of “stick drift” that caused players to lose control as onscreen avatars would lazily move in one direction without player input. For the Switch 2, the Joy-Con controllers feature roughly the same number of dome switch buttons as well as haptic feedback motors. The analog sticks are larger in size on the outside, but feature the same general wiper/resistor design of the original. Many will cry foul of the continued use of conventional analog stick design in favor of hall effect sensors, but only time will tell if the Nintendo Switch 2 will repeat history.


