Roughly the size of a Tic Tac container, this project packs a punch in a compact package. [Matt] sent in this beautifully documented pocket device that brings back great memories of texting on early cellphones.
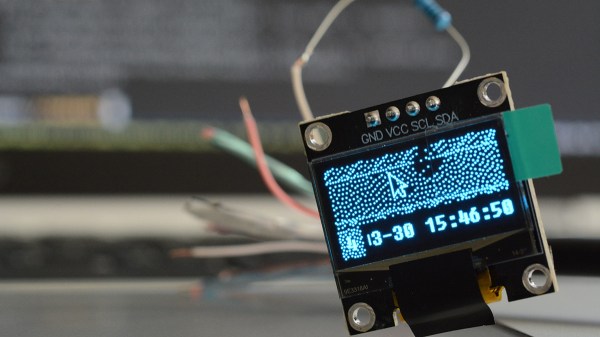
The EclairM0’s firmware is written in TinyGo, a language he hadn’t used before but found perfect for a microcontroller project where storage space is tight. The 14-button input mimics early phone keypads, using multi-tapping and combo key presses to offer various functions. The small SSD1306 OLED display is another highlight. Building on an earlier CircuitPython project, [Matt] optimized the screen’s performance, speeding up its response time for a snappy user experience. The battery picked was only 3 mm thick, however the protection circuity on the battery added another 2 mm so he moved that protection circuity to the main PCB itself to keep it as thin as initially planned.
Weighing just 15 grams, this lightweight device runs on a SAMD21 microcontroller, which supports USB host functionality. This allows the EclairM0 to act as a keyboard, mouse, or even USB peripherals. Housed in a 3D-printed case, the entire project is open-source, with design and firmware files available on GitHub.
We love small handheld projects around here and this well-documented, fun pocket device is no exception, if you want your own he has a page dedicated to helping you build a EclairM0.
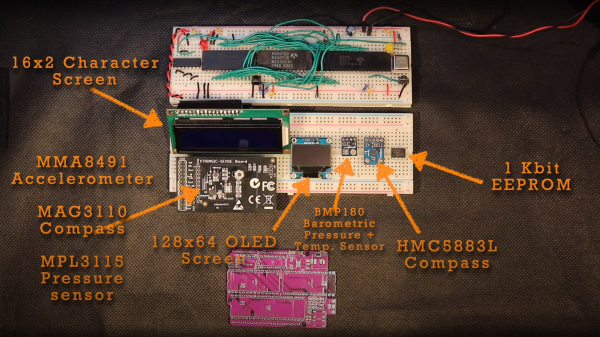
 , setting a bit is simply a logical-OR operation, and resetting a bit is a simple logical-AND operation using the inversion (or one’s complement) bit to reset to form a bitmask. As many will already know, this process is necessary to code for a read or a write I2C operation. A further detail is that I2C uses an open-collector connection scheme, which means that no device on the bus may drive the bus to logical high; instead, they must release the drive by going to the high impedance state, and an external pull-up resistor will pull the bus high. The 6532 RIOT chip (used for I/O on the 65unio) does not have tristate control but instead uses a data direction register (DDR) to allow a pin to be an input. This will do the job just fine, albeit with slightly odd-looking code, until you know what’s going on.