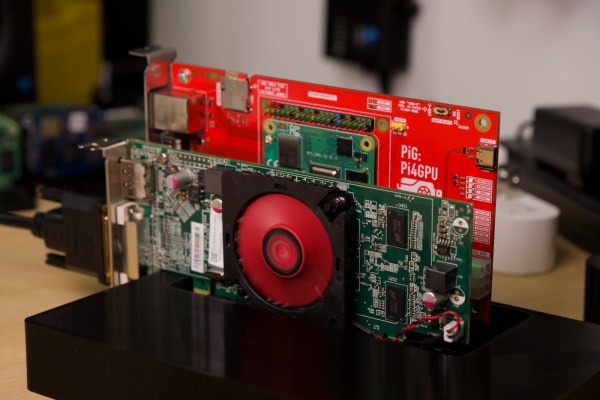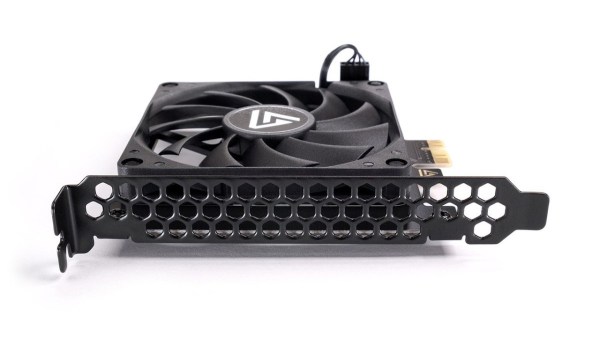
If you ever looked at a PCI to PCIe x16 adapter and wondered what’d happen if you were to stick a modern PCIe GPU in it, the answer apparently is ‘it works’ according to an attempt by [Circuit Rewind]. As long as you accept needing to supply external power with even a low-end GT 1030 card – as the PCI slot cannot provide enough power – and being limited to a single PCIe lane. This latter point isn’t so much of an issue as a single PCIe lane offers more bandwidth than the (shared) PCI bus anyway.
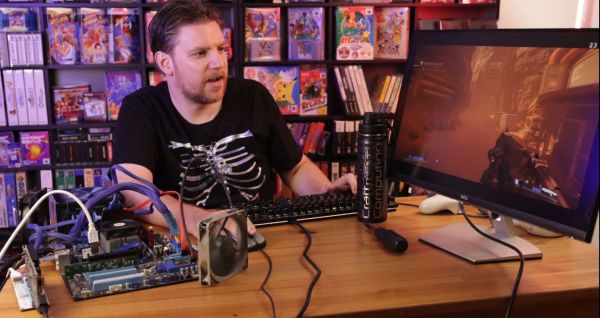
Despite the somewhat improvised setup, the GT 1030 card provided a decent 1080p experience in a range of games, after removing half of the 8 GB of system RAM before the configuration would work, probably due to VRAM mapping issues. Since the mainboard used also offered PCIe, the same card was run in a PCIe x4 slot, as well as in an x1 configuration, both with noticeably higher performance and putting the ‘why’ in ‘try’.
Perhaps unsurprisingly, a RTX 3080 also booted fine with external power and only 4 GB system RAM installed. Despite the PCIe x1 link, the system was able to finish a 3D benchmark and play Doom 2016, but with only 4 GB of system RAM and an old Athlon quad-core CPU, it was a terrible experience. Perhaps the most fascinating lesson to learn from this is that PCI and PCIe are amazingly compatible with only a simple translation bridge, even if high-performance graphics aren’t quite what PCI was meant for. After all, that’s why we got cursed with AGP for many years.
Continue reading “Running A Modern Graphics Card In A 33 MHz PCI Slot”