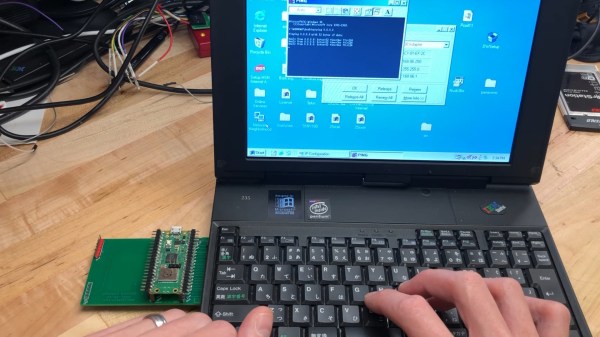
Card's author typing on the IBM PC110's keyboard, with the Pico W-based card plugged into the PCMCIA slot on the left. PC110's screen shows successful ping 8.8.8.8.8.

Pi Pico W Does PCMCIA, Gets This IBM PC110 Online

Bringing modern connectivity to retro computers is an endearing field- with the simplicity of last-century hardware and software being a double-edged sword, often, you bring a powerful and tiny computer of modern age to help its great-grandparent interface with networks of today. [yyzkevin] shows us a PCMCIA WiFi card built using a Pi Pico W, talking PCI ISA. This card brings modern-day WiFi connectivity to his IBM PC110, without requiring a separate router set up for outdated standards that the typical PCMCIA WiFi cards are limited by.

The RP2040 is made to talk PCI ISA using, of course, the PIO engine. A CPLD helps with PCI ISA address decoding, some multiplexing, and level shifting between RP2040’s 3.3V and the PCI 5 V levels. The RP2040 software emulates a NE2000 network card, which means driver support is guaranteed on most OSes of old times, and the software integration seems seamless. The card already works for getting the PC110 online, and [yyzkevin] says he’d like to improve on it – shrink the design so that it resembles a typical PCMCIA WiFi card, tie some useful function into the Pico’s USB port, and perhaps integrate his PCMCIA SoundBlaster project into the whole package while at it.

This is a delightful project in how it achieves its goal, and a pleasant surprise for everyone who’s been observing RP2040’s PIO engine conquer interfaces typically unreachable for run-of-the-mill microcontrollers. We’ve seen Ethernet, CAN and DVI, along many others, and there’s undoubtedly more to come.

We thank [Misel] and [Arti] for sharing this with us!

This Pico-W IoT Starter Project Gets You Into Home Assistant Quick As A Flash

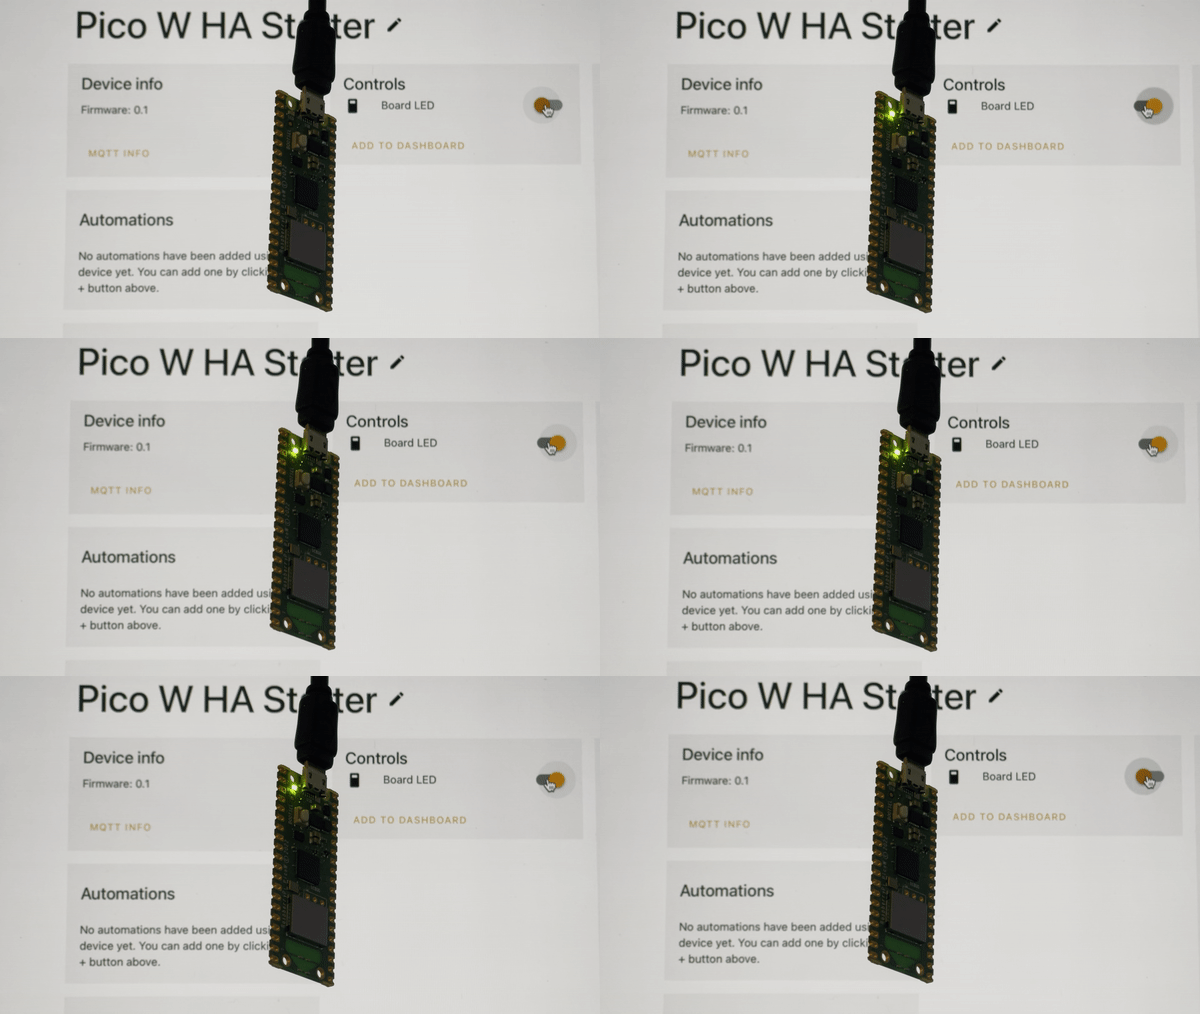
Many of us hacker types with some hardware knowledge and a smattering of embedded experience would like to get into home automation, but there can be quite a learning curve. If you’re looking for a hackable starting point; something to deploy, learn about and then later expand upon, then look no further than the PicoW Home Assistant Starter project from [Danilo Campos].

The project is based upon the arduino-pico core, which supports a whole pile of RP2040-based boards, so you don’t need to restrict yourself to the “official” Pico-W, so long as you have working networking, Wi-Fi or otherwise. Integration is provided by the arduino-home-assistant library, which acts as the bridge between your sensors and other widgets, MQTT, and thence the network beyond. Events and sensor data on the end-point are packaged up with MQTT and published out to the broker via the network provided, all for minimal initial effort. Once you’ve got the basic connectivity to your Home Assistant instance working, there are many code examples in the arduino-home-assistant GitHub page to give you a helping start to connect whatever tickles your fancy.

It turns out we’ve covered HA quite a bit on these fair pages, like for example, these sweet automated window blinds. Another hack uses load cells under the bed legs to detect if someone is in bed or not, and if this isn’t your thing, maybe your idea of a home assistant is a bit more like this one?

Share Screen To RGB Panel With Pi Pico W

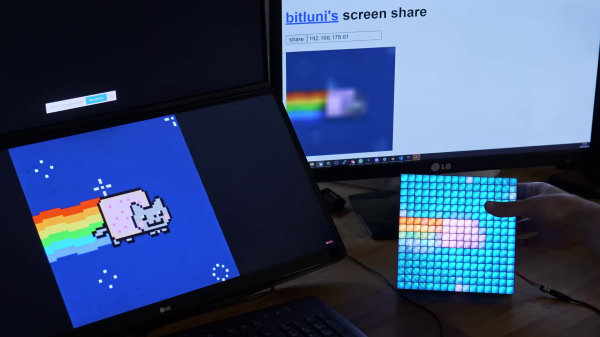
RGB LEDs are great for adding a bit of color to your life, and it’s even more satisfying to use a matrix of them as a graphic display. [bitluni] built an RGB LED display with Pi Pico to which you can share a pixelated version of your PC’s screen.

[bitluni] wanted to gain some experience with MicroPython on the Raspbery Pi Pico W, and had previously used WebSockets to transmit display data over WiFi. Unfortunately, the available MicroPython WebSockets implementation didn’t leave enough RAM for the rest of the code. Instead, he set up a simple HTTP server on the Pico that receives the pixel data as a POST request. This makes for a slow refresh rate but still looks great, especially with the 3D printed rear-projection frame.

To send display data from the computer, [bitluni] uses a simple locally hosted HTML page that takes the Pico’s IP address, and prompts you to select the display or window you want to share. It uses JavaScript to grab the display data, generate the required low-res pixel values, and send the POST request.

This looks like a fun weekend project to add to your lab or home and only costs about $20 in parts. It’s basically a scaled-down version of his giant ping pong ball wall display.

Continue reading “Share Screen To RGB Panel With Pi Pico W”

IOT Garage Door Opener Makes For Excellent Beginner IOT Project

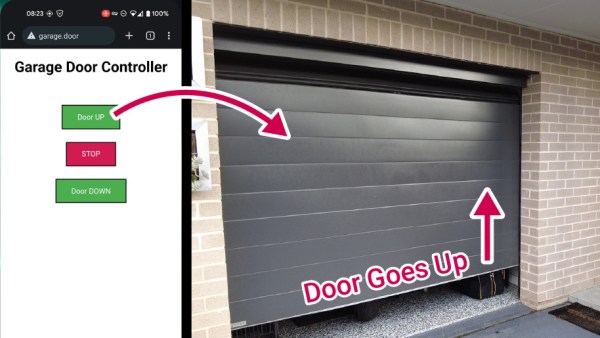
If you live in a home with a garage door opener, you may have experienced one or more inevitable moments. You pull up to your home, you press the button on the garage door opener, and… nothing. Or you can’t find the garage door opener. Or you have to mash the button repeatedly to get a response. Or… you get the idea. Thanks to [Core Electronics] however, you now have the basis for using a much better device to control your own garage door: Your phone. You can see the tutorial on the web or in video format below the break.

[Michael] at [Core electronics] was tired of dealing with the inconsistencies and inconveniences of a poorly built remote for his garage door opener. When he inspected the controller board on the garage door opener itself, he found that it was already configured to allow three buttons to be connected: Up, Down, and Stop. Continue reading “IOT Garage Door Opener Makes For Excellent Beginner IOT Project”