Futuristic 3D Mouse Originally Arduino Powered And 3D Printed

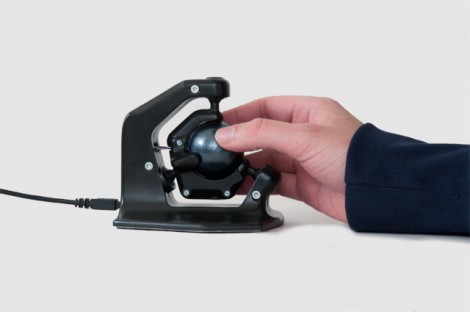
We usually shy away from posting about commercial products. Strap on a bib to protect your shirt from the drool, watching the video after the break will show you why we had to post about this. [Valentin Heun] and his cohorts developed this three-dimensional controller using tools common to the hacker community. The patent-pending device uses a sphere for rotational input but can also be nudged for movement on 3 axes.

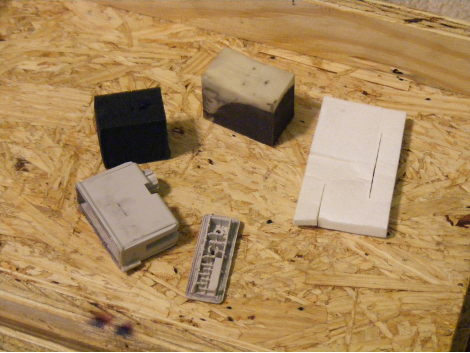
You may remember that [Valentin] as involved with that 10,000 watt flourescent lamp display. His Arduino skills were honed with that installation and used during the development of this mouse. Also joining in the prototyping fun was a 3D printer used to make the parts. From project to production, we figure the skills you use when hacking are breaking down the barriers that inventors have traditionally faced when looking to marked useful products.

This would be fantastic for 3D cad, modelling, etc. But we think it would also go well with Eagle, like the other 3D mouse hack did.

Continue reading “Futuristic 3D Mouse Originally Arduino Powered And 3D Printed”

3D Printing With Visible Light

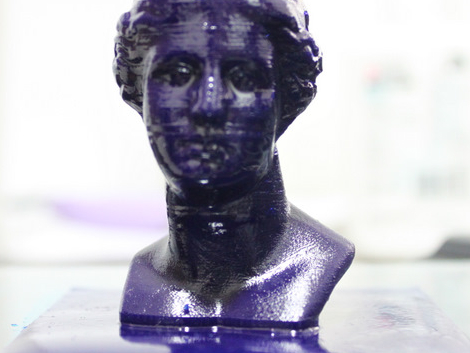
This 3D printer manages some pretty fantastic resolution, and these are just the early results of [Junior Veloso’s] build. He put together a machine that prints objects in resin that cures in visible light. To print, a thin layer of raw liquid resin self-levels across a printing surface and a DLP-based projector shines light from below, onto the portion to be hardened. The z-axis then pulls that layer up and the next to be printed will become the newest bottom layer. Horizontally the printer yields 1024×768 resolution with a layer thickness as small as 0.01 mm. No wonder he’s turning out this kind of quality.

The model above took 5 hours to print, with eight-second exposure for each layer, and 0.1mm layer thickness. There is lots of good information on his blog, from the early planning, to the finished hardware so take some time to learn about this fascinating project.

Update: Thanks to reader [Nave.notnilc] for pointing out that we’ve seen a chemical 3D printing technique before.

Game Boy Printer USB Cable And Software

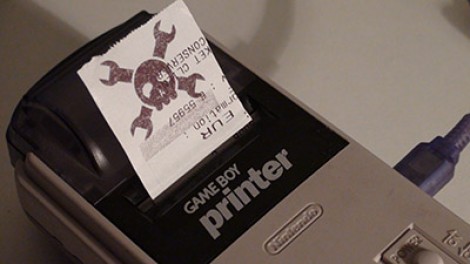
[Furrtek] hooked up his Game Boy printer for use with a PC (translated). The two-part hack started with a cable to attach the device via USB. A Nokia interface cable was used as a base to translate the USB signals into serial, and an ATtiny45 microcontroller added to talk to the printer. He did a great job of free-forming the circuit alterations and fitting it back into the plastic USB plug housing.The next step was to write some software. Using VB6 he coded an application that loads in an image, scales it to fit, and allows you to adjust the contrast that the thermal printer produces. For testing purposes he’s reusing old receipts. See it in action after the break.

Continue reading “Game Boy Printer USB Cable And Software”

Printing From A Famicom Clone Computer

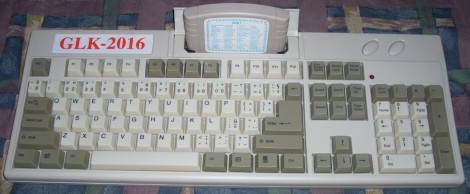
This is an 8-bit computer and Famicom clone that [133MHz] bought for $2. It plays Nintendo games and using an 80-in-1 cartridge it has a rudimentary operating system and set of applications. Seeing a standard DB25 port on the back [133MHz] wondered if he could make the system talk to a printer. His first step was to investigate the electronics inside to find that the connector has a couple of chips that map to the data bus of the CPU and use the same control lines as the cartridge. That means it can be setup to do just about anything in software. After a bit of coding he’s got it printing to a dot-matrix. See for yourself after the break.

Continue reading “Printing From A Famicom Clone Computer”

3D Printing With Chemicals

From the horse’s mouth,

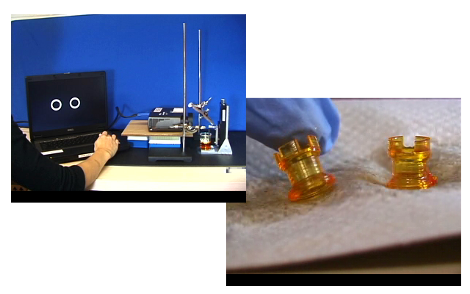
“In this lithography experiment light creates free radicals from phenylbis(2,4,6-trimethylbenzoyl)phosphine oxide which induce polymerization of 1,6-hexanediol diacrylate.”

Or for those without a Chemical Engineering degree, light from a (high resolution) projector interacts with a special liquid, producing a hard polymer on the surface. A platform within the liquid is lowered, taking the layer of polymer with it. Shine the projector again to produce another layer: lather, rinse, repeat. Long story short, an atypical 3D printer using light on a very small scale.

You get the chemicals and lab equipment, we’ll get the laptop and projector, and for goodness sake [Jimmie] stop bumping the table.

[Thanks Tomas]

DTG Using A Stock Printer

[youtube=http://www.youtube.com/watch?v=qc3OrrsnMHs]

Here’s a Direct-to-Garment device that uses a stock printer. [Jeff German] used an Epson R1900 with the stock firmware to get the results seen in the video. His hardware modifications involve adding two buttons to the printer’s circuit board. For DTG beginners this certainly lowers some of the obstacles to getting started. [Jeff] is working on detailed instructions but for now take a look at our own How-to for building a DTG printer.

(mini)How-To: Refill Your DTG Inks

The number one and number two things asked after presentation of our DIYDTG were…
“How does it hold up in the wash?”
and…
“How did you change out the inks?”
While we’ve explained the first several times (regular ink washes out, DTG ink gets a little lighter but survives) we can hopefully answer the second with a tutorial.

Continue reading “(mini)How-To: Refill Your DTG Inks”