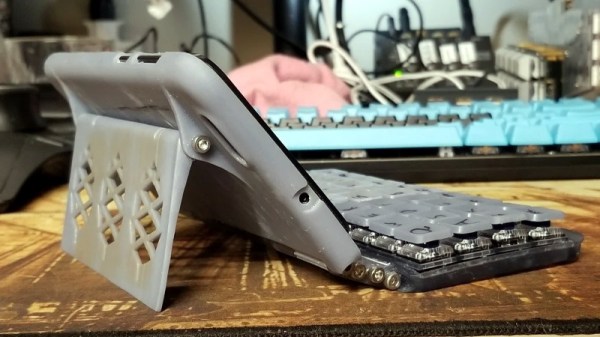
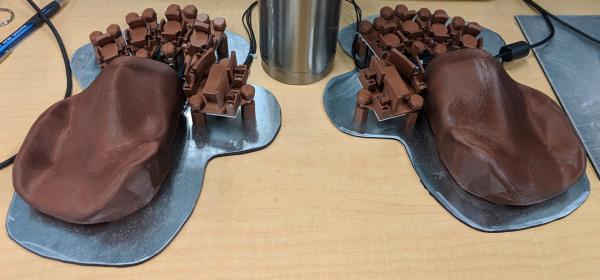
Just when we thought we’d seen the peak of ergonomic, split keyboards, along comes [Peter Lyons] with the Squeezebox — an adjustable, column-staggered, streamlined beauty with 21 keys per hand. Much like the Kinesis Advantage and the Dactyl, the user’s fingers are allowed to dangle comfortably and stay in their naturally curled position, moving as little as possible between keys, rows, and columns. But the Squeezebox goes a few steps farther to reduce finger travel.
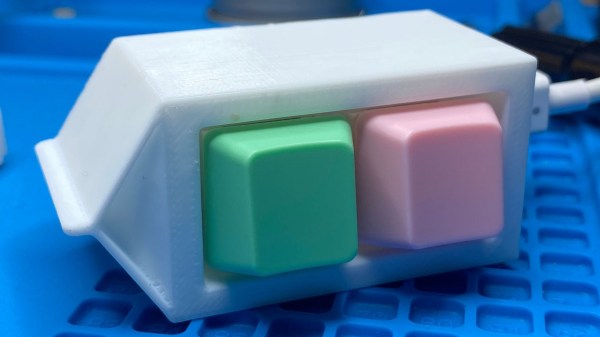
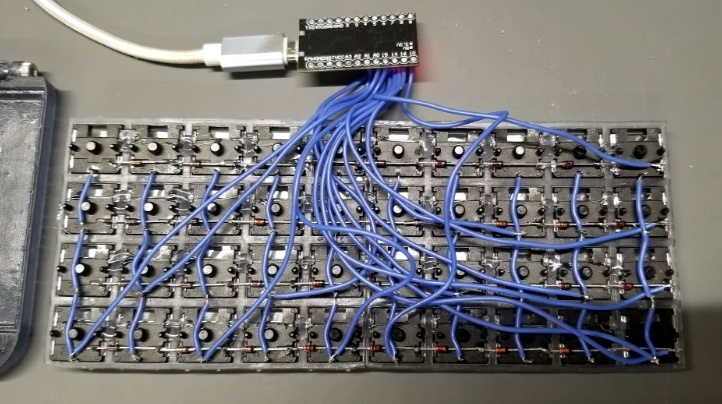
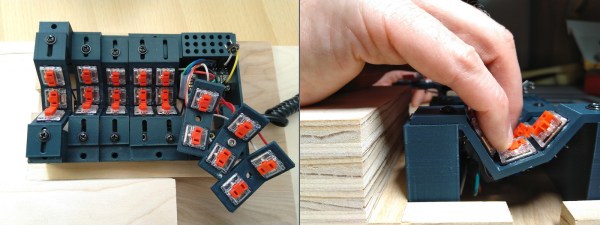
 For starters, each column of keys is adjustable on the fly in the Y-direction by loosening the screw and sliding it until it’s just right. The columns are also adjustable in the Z-direction, but for now, this requires reprinting a few parts. In case you didn’t notice, the grid is pretty tightly packed, and those low-profile Kailh choc switches are naked to the world, mostly because keycaps wouldn’t fit anyway.
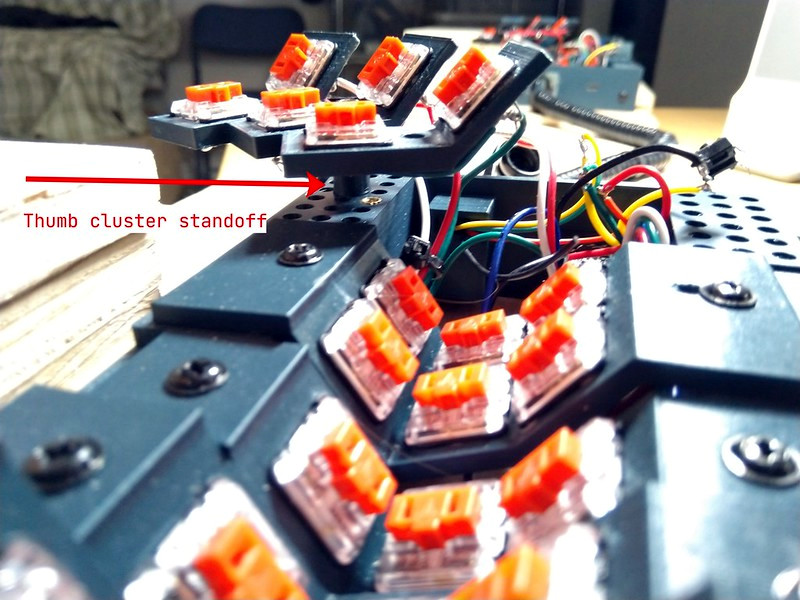
At that angle, there’s no reaching required at all between the middle and bottom rows. The 100° corner that they form both invites and supports chording — that’s pressing multiple keys simultaneously to do some action. There’s no real need to reach for the top row, either, because [Peter] merely moves his finger upward in the Z-direction a little bit to hit those. The similarly-angled thumb clusters are chord-able as well, and their position relative to the mainland is adjustable thanks to a grid of holes that are meant for threaded inserts. Genius!
For the next version, [Peter] plans to bring the three sets of thumb cluster switches closer together, and arrange them like a tri-fold science fair display board. Be sure to check out the super cool but somewhat impossible-to-solder prototypes in the build log, and stay for more stuff in the huge build gallery. Typing demo is after the break.
Still too much travel for your taste? How about a 5-way for each finger?

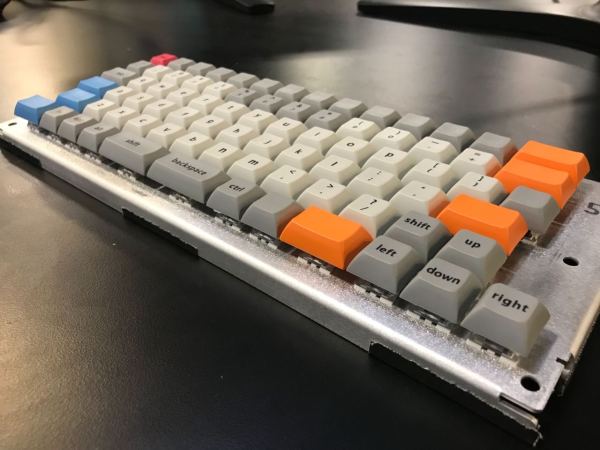
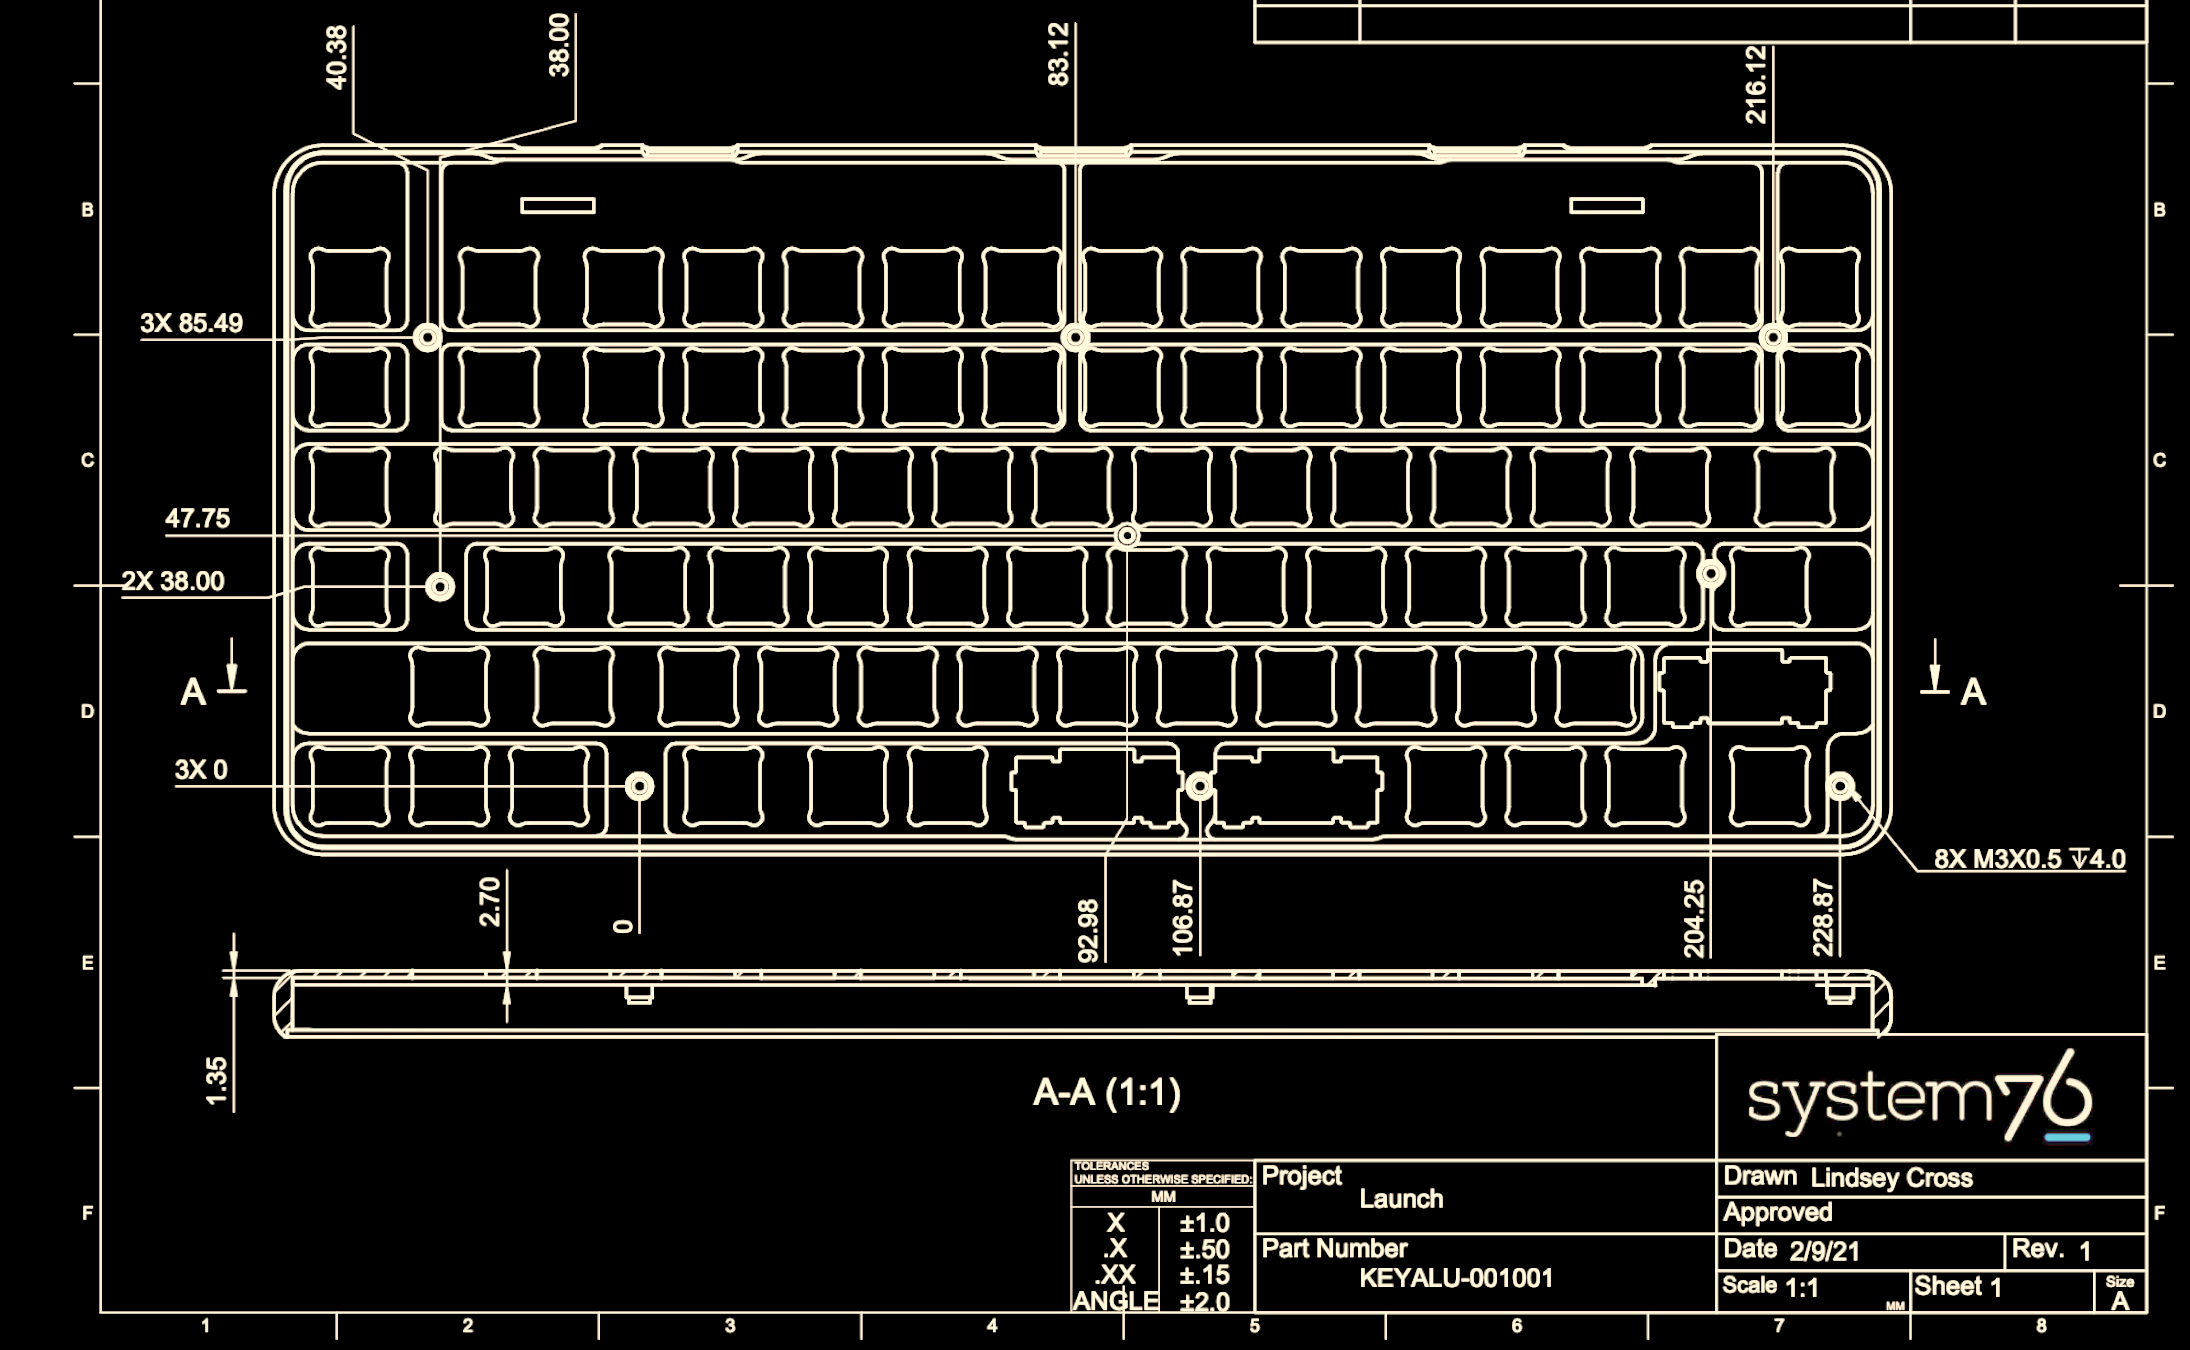
 Feature wise all the usual hallmarks of a well designed keyboard are here. The Launch uses hostswap sockets to make it easy to install the usual Cherry MX compatible switch options, and includes per-key RGB backlighting courtesy of SK6805 LEDs. The ATmega32U4 runs the popular and extremely capable QMK firmware instead of something bespoke, so it should be easy to customize to the user’s desire.