Often times we as hackers don’t know what we’re doing, and we sally forth and do it anyway. Here at Hackaday, we think that’s one of the best ways to go about a new project, and the absolute fastest way to learn a whole lot as you go. Just ask [Aaron Rasmussen] regarding this spherical, standing 5×6 dactyl manuform keyboard build, which you can see in a three-part short video series embedded after the break.
 [Aaron] gets right down to it in the first video. He had to get creative right away, slicing up the dactyl manuform model to fit on a tiny print bed. However, there’s plenty of room inside the sphere for all that wiring and a pair of Elite-C microcontrollers running QMK. Be sure to turn on the sound to hear the accompanying voice-overs.
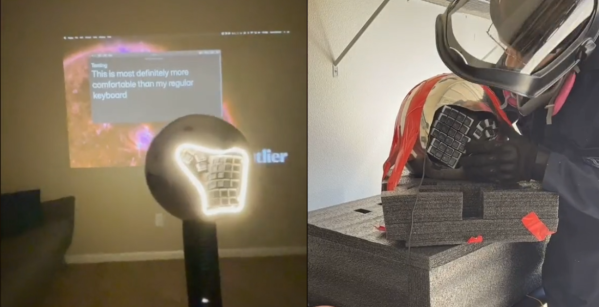
The second video answers our burning question: how exactly does one angle grind a slippery sphere without sacrificing sheen or shine? We love the solution, which involves swaddling the thing in duct tape and foam.
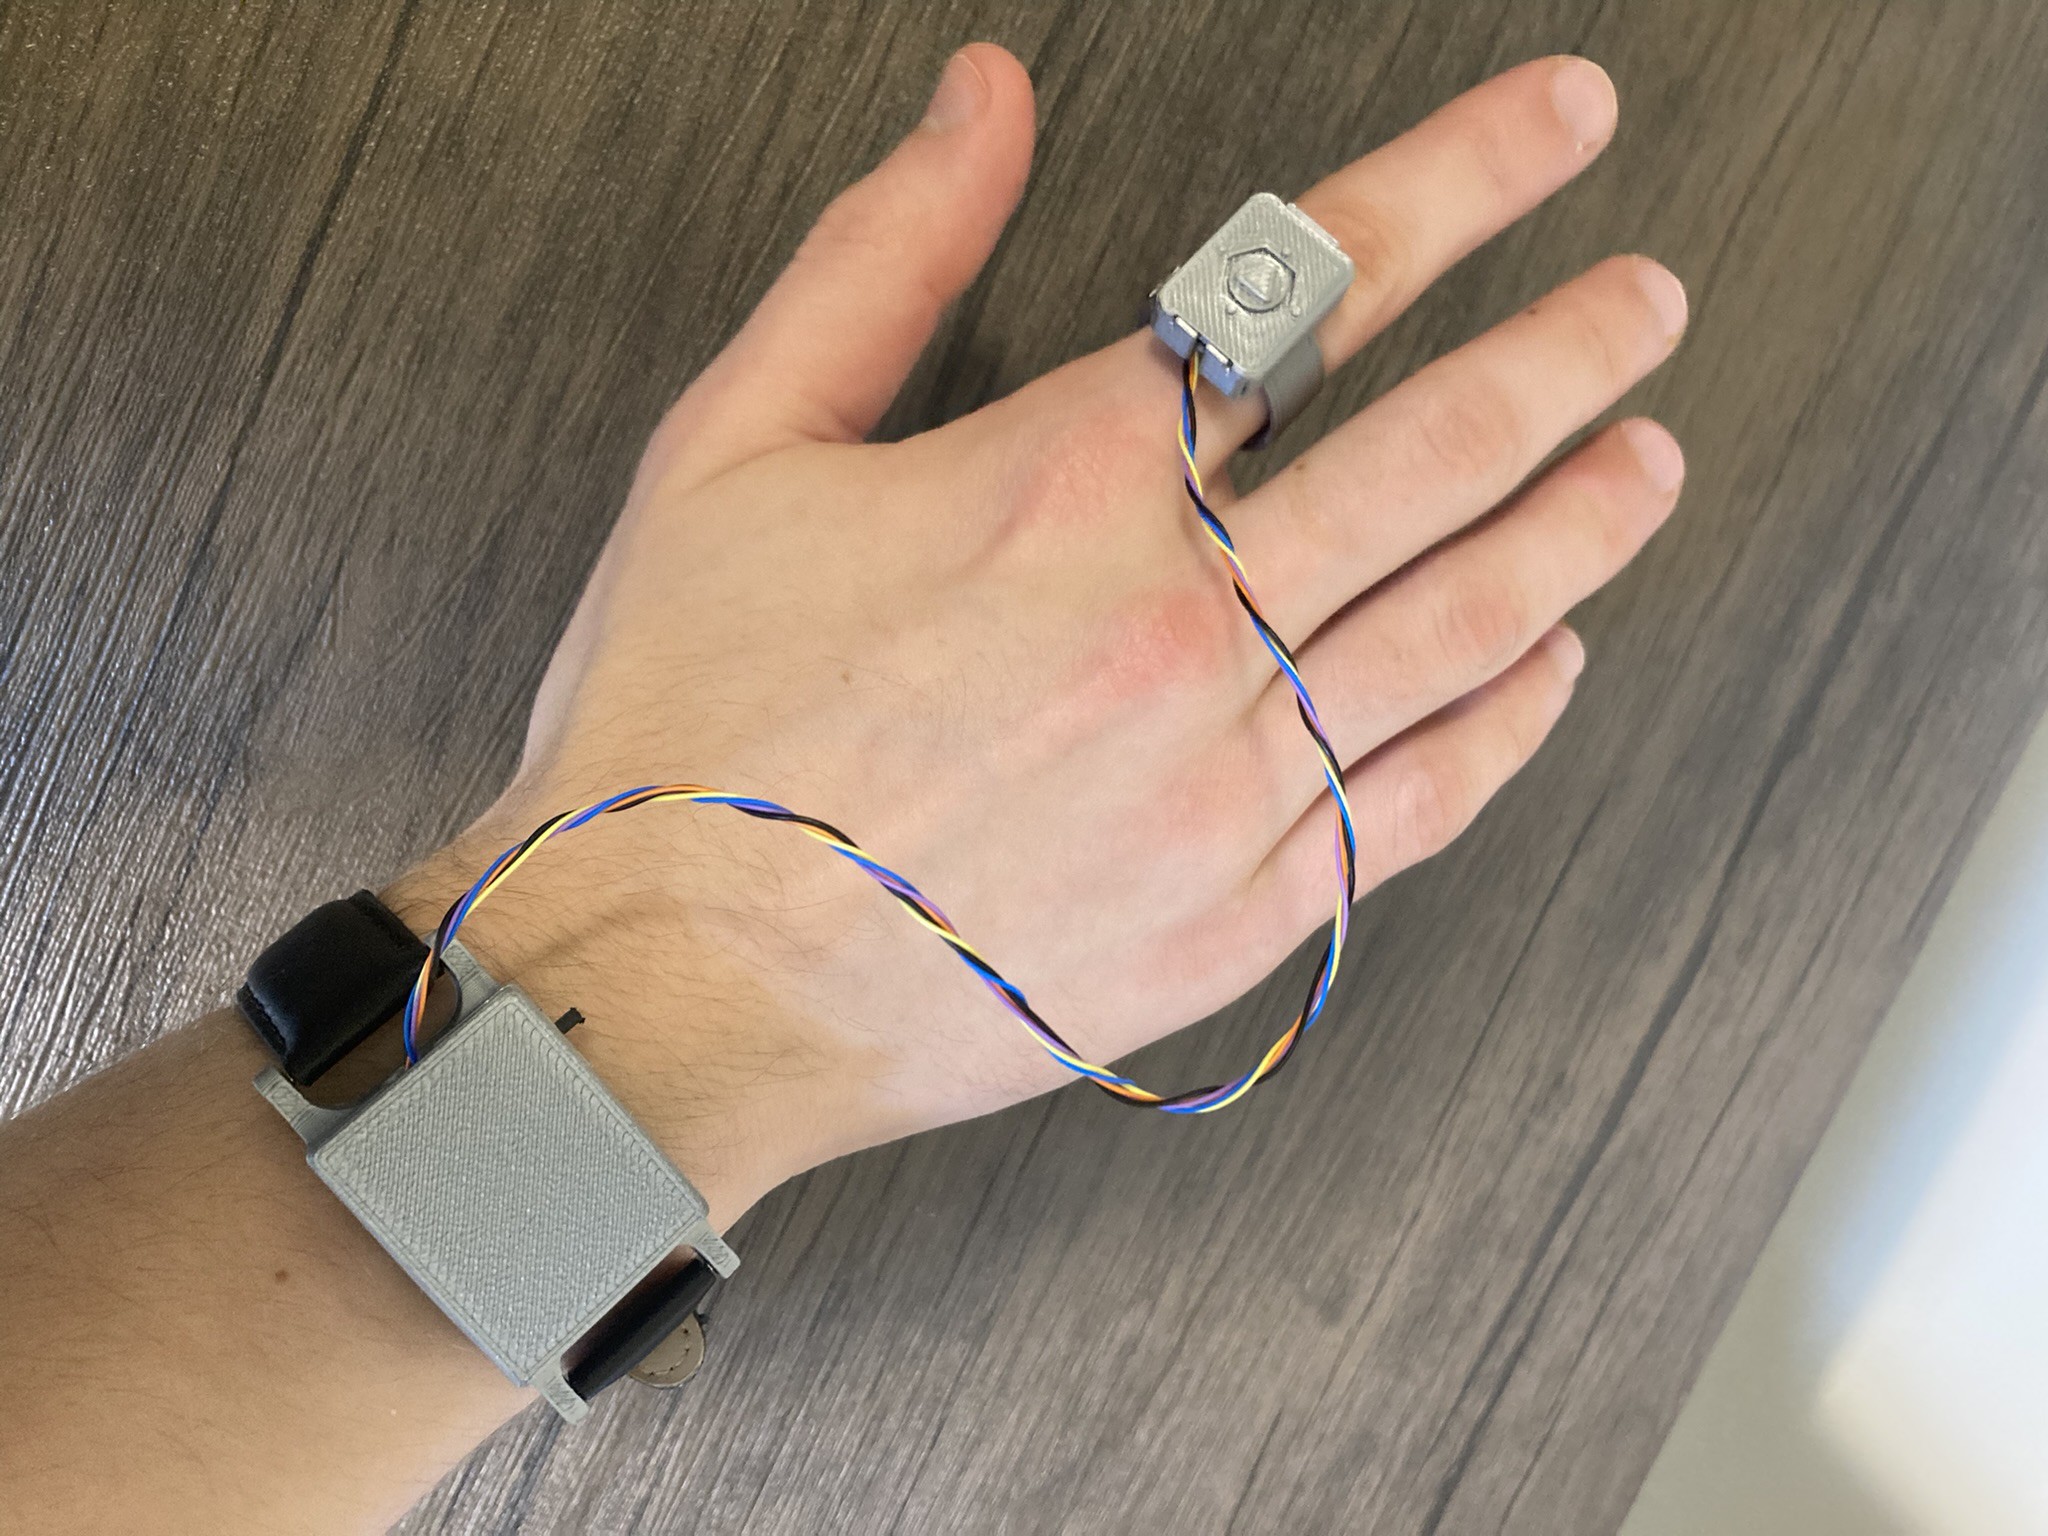
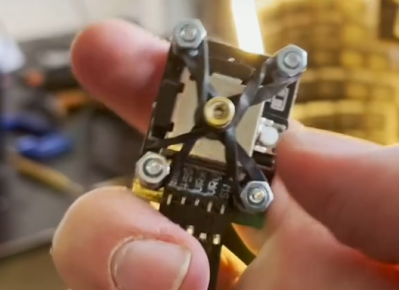
You may be wondering how [Aaron] is gonna use any kind of mouse while standing there at the pedestal keyboard. While there is space for a mouse to balance on top, this question is answered in the third video, where [Aaron] learns the truth behind the iconic ThinkPad nubbin and applies this knowledge to build a force-feedback joystick/trackpoint mouse. Awesome answer, [Aaron]!
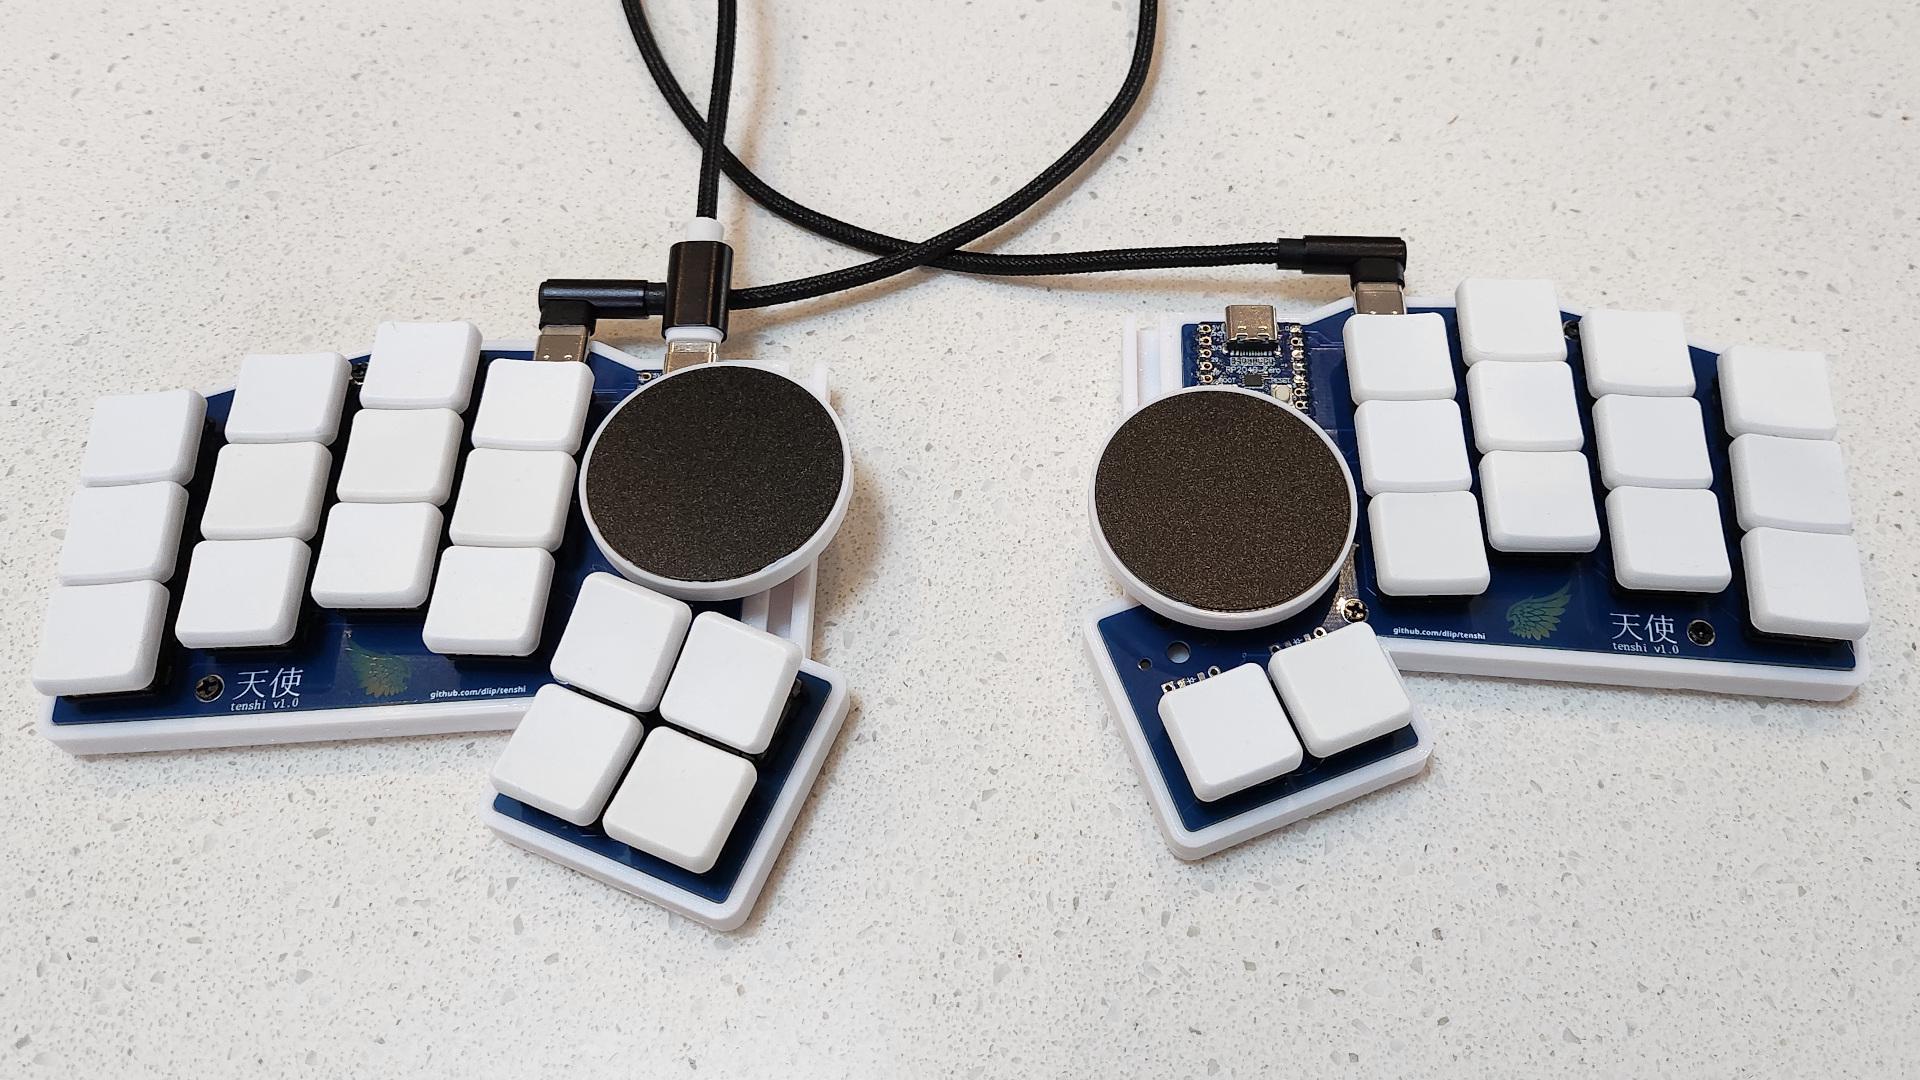
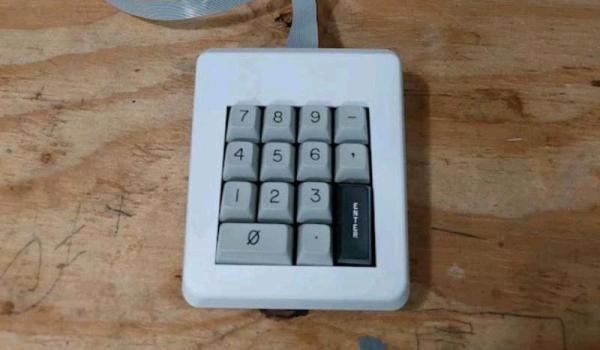
Not ready to go full-tilt, sci-fi prop ergo? Dip your toe in the DIY waters with a handy macropad.
Continue reading “Spherical Keyboard Build Leaves Hacker Well-Rounded” →