ESP32 Video Input Using I2S

Computer engineering student [sherwin-dc] had a rover project which required streaming video through an ESP32 to be accessed by a web server. He couldn’t find documentation for the standard camera interface of the ESP32, but even if he had it, that approach used too many I/O pins. Instead, [sherwin-dc] decided to shoe-horn a video into an I2S stream. It helped that he had access to an Altera MAX 10 FPGA to process the video signal from the camera. He did succeed, but it took a lot of experimenting to work around the limited resources of the ESP32. Ultimately [sherwin-dc] decided on QVGA resolution of 320×240 pixels, with 8 bits per pixel. This meant each frame uses just 77 KB of precious ESP32 RAM.

His design uses a 2.5 MHz SCK, which equates to about four frames per second. But he notes that with higher SCK rates in the tens of MHz, the frame rate could be significantly higher — in theory. But considering other system processing, the ESP32 can’t even keep up with four FPS. In the end, he was lucky to get 0.5 FPS throughput, but that was adequate for purposes of controlling the rover (see animated GIF below the break). That said, if you had a more powerful processor in your design, this technique might be of interest. [Sherwin-dc] notes that the standard camera drivers for the ESP32 use I2S under the hood, so the concept isn’t crazy.

We’ve covered several articles about generating video over I2S before, including this piece from back in 2019. Have you ever commandeered a protocol for “off-label” use?

Continue reading “ESP32 Video Input Using I2S”

Cool New Hardware Spectacular

press release

It should come as no surprise the Hackaday tip line is regularly flooded with press releases. Everything from an infographic comparing Call of Duty 3 to Battlefield 3 (yes, totally serious), announcements that a company we’ve never heard of is getting a new CFO, to the business proposals from hat box manufacturers that wind up in our inbox on a nearly weekly basis.

With the Hackaday crew sifting though hundreds of these emails a month, you’d figure the PR people would hit gold once in a while, right? Apparently not. The coolest stuff we get in our email is usually from an engineer working on a project and doing a PR rep’s job for them. We thank them for that, so here’s two really cool pieces of hardware that showed up in the tip line recently.

Continue reading “Cool New Hardware Spectacular”

Driving A Nokia QVGA Screen With Arduino (or Any UC)

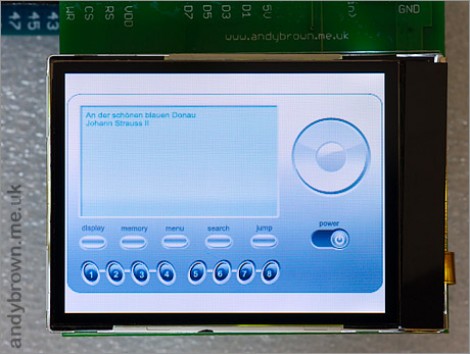
This is a Nokia 6300 screen. It’s a 320×240 display that has about 2″ of diagonal viewing area and boasts 24-bit QVGA TFT technology. It’s going to look fantastic in your next project and it won’t be hard to get up and running thanks to the hardware and software guide which [Andy Brown] put together. He chose this display because of its features, but also because it’s really easy to source and can be had for $5-7 delivered. The guide is aimed at working with the Arduino MEGA, but we’re sure you can port it for just about any microcontroller you’d like.

Much like the FPGA PSP display we just looked at, [Andy] chose to design his own PCB to host the LCD. This makes it a snap to attach the LCD — literally, since he managed to source the correct snap-in connector. The board also hosts a constant-current LED driver which takes care of the backlight, and allowed him to build in a level converter (since the screen communicates at 3.3V but Arduino uses 5V logic).

The software tutorial is lengthy but impressive. We’re surprised at the performance he gets out of the AVR chip. See the screen cycle through a set of demos after the break.

Continue reading “Driving A Nokia QVGA Screen With Arduino (or Any UC)”

Reverse Engineering A Nokia LCD

LCD displays taken from old Nokia phones have been a staple of the hardware makers for years now, so we’re very happy to see [Andy] reverse engineering a full color QVGA display so we can move our grayscale projects over to a full-color display.

The screen in a Nokia 2730, 5000, and 7100 cell phone is a wonder of technology – its 18-bit color with a very high-resolution piqued [Andy]’s interest. He bought a second-hand Nokia 2730 off of eBay and started taking it apart. After checking out the schematics for the phone, [Andy] had a few breakout boards made; especially useful since he found a few connectors as well.

With a great deal of Googling, [Andy] found another lost soul who successfully broke into a similar LCD display and discovered it was command-compatible with a Magnachip LCD controller. The only way forward was to send a few of these commands over to the display and watch what happens.

[Andy] managed get pixels drawn on the screen, and found a few interesting features: hardware scrolling is enabled, as is changing between portrait or landscape orientations. From a second-hand phone on eBay, [Andy] now has a very nice QVGA display. We’re calling this a win, but you can judge the video after the break for yourself.

Continue reading “Reverse Engineering A Nokia LCD”

Cramming More Pixels Into A Thinkpad

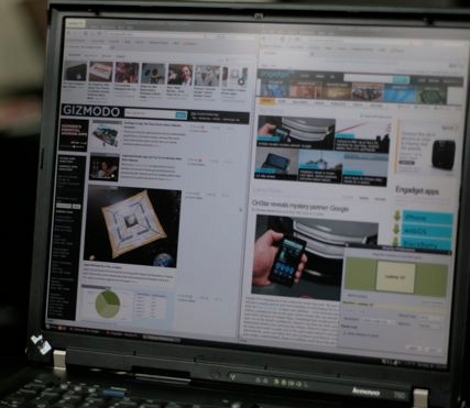
Not willing to settle for 1400×1050 on his Thinkpad, [Lawrence Sheed] set out to upgrade the LCD screen. He ordered a 15″ replacement screen that brought the eye candy up to an impressive 2048×1536 QXGA format. The replacement fits perfectly for a nice factory look. Other than some delicate disassembly you might need to flash the EDID but in [Lawrence’s] case it wasn’t necessary. If you’re going to haul around a full-blown laptop it might as well have some killer resolution and now you know how to make that happen.

Touchscreen Picture Frame

touchscreen_picture_frame

Circuit Ideas Design has posted a digital picture frame project based on their 240×320 16-bit color QVGA display. We made our own digital frame from a smaller screen a while back and this is pretty much the same implementation except with a larger screen and built around the AVR family of microcontrollers rather than PIC controllers.

The thing that piqued our curiosity was the five icons silk screened on one end of the display. That’s right, this is a touch screen. The board also has a built in SD slot and a bit of flexibility for connecting to a microcontroller. It can be controlled from a 40-pin header, or from headers that are designed to work as an Arduino shield. We’d love to get our hands on one but we were unable to figure out what currency the list price was in. Has anyone used this board yet?