Still can’t get your hands on a Pi Zero? We know. Why not de-solder a few headers from a Raspberry Pi 2 to fit in your next project instead? Using a pair of 2.5″ HDD enclosures, [nodenet] made a mini linux laptop using the Raspberry Pi 2 — It even has a touch screen, and features a 1000mAh battery!
All in all it cost him about $120 for all the components, but before you 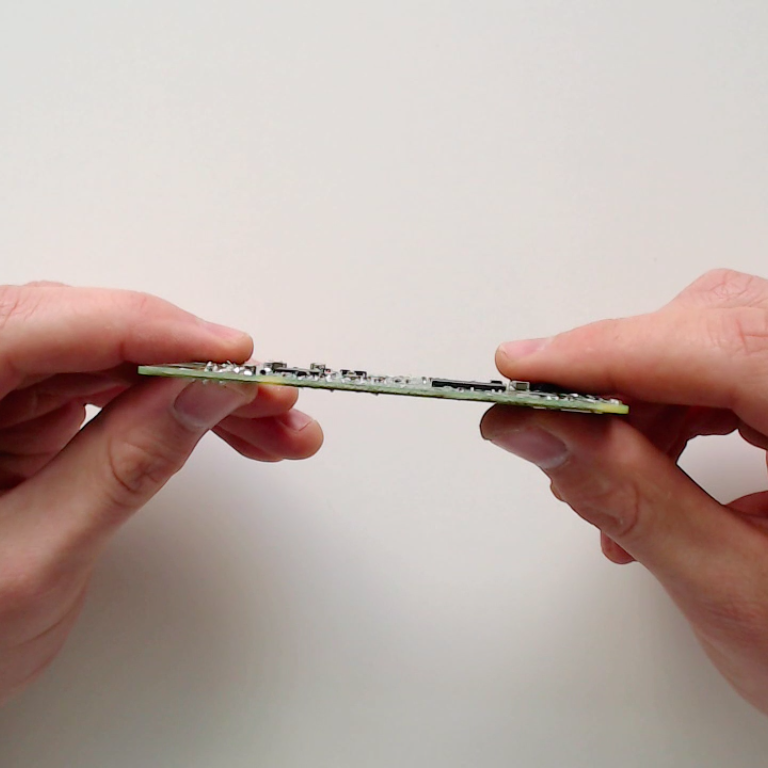 rush out to make your own, you will need pretty good skills with a soldering iron to successfully downsize your Raspberry Pi 2. The modifications require removing both USB ports, the Ethernet plug, the GPIO pins, the HDMI port, the A/V jack and the camera connectors.
He used a combination of a mini hacksaw, and a soldering iron to remove all the components — what you’re left with his a business card sized computer — but the real fun part is re-attaching all the components with leads.
Continue reading “Modifying A Raspberry Pi 2 To Fit In Small Places”