The original Game Boy was the greatest selling handheld video game system of all time, only to be surpassed by one of its successors. It still retains the #2 position by a wide margin, but even so, they’re getting along in years now and finding one in perfect working condition might be harder than you think. What’s more likely is you find one that’s missing components, has a malfunctioning screen, or has had its electronics corroded by the battery acid from a decades-old set of AAs.
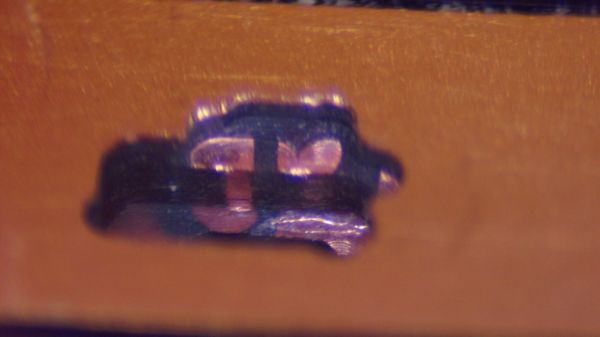
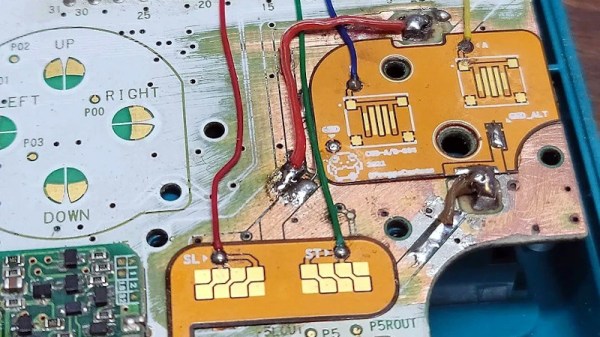
That latter situation is where [Taylor] found himself and decided on performing a full restoration on this classic. To get started, he removed all of the components from the damaged area so he could see the paths of the traces. After doing some cleaning of the damage and removing the solder mask, he used 30 gauge wire to bridge the damaged parts of the PCB before repopulating all of the parts back to their rightful locations. A few needed to be replaced, but in the end the Game Boy was restored to its former 90s glory.
This build is an excellent example of what can be done with a finely tipped soldering iron while also being a reminder not to leave AA batteries in any devices for extended periods of time. The AA battery was always a weak point for the original Game Boys, so if you decide you want to get rid of batteries of any kind you can build one that does just that.