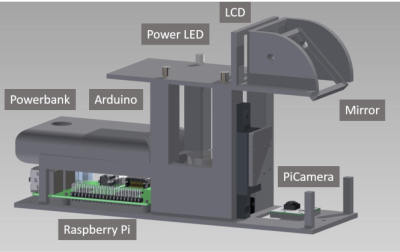
Scanning electron microscopes are one of those niche instruments that most of us don’t really need all the time, but would still love to have access to once in a while. Although we’ve covered a few attempts at home-builds before, many have faltered, except this project over on Hackday.IO by user Vini’s Lab, which appears to be still under active development. The principle of the SEM is pretty simple; a specially prepared sample is bombarded with a focussed beam of electrons, that is steered in a raster pattern. A signal is acquired, using one of a number of techniques, such as secondary electrons (SE) back-scattered electrons (BSE) or simply the transmitted current into the sample. This signal can then be used to form an image of the sample or gather other properties.
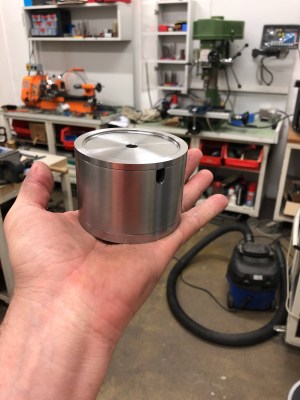
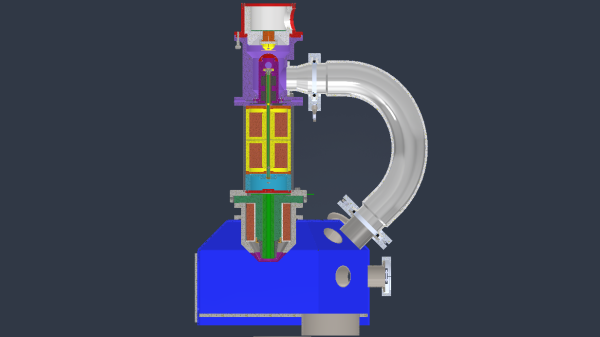
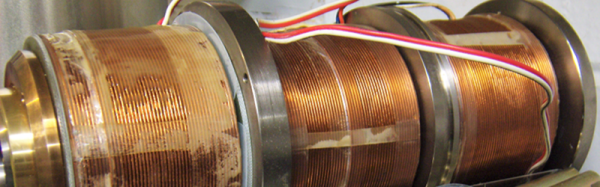
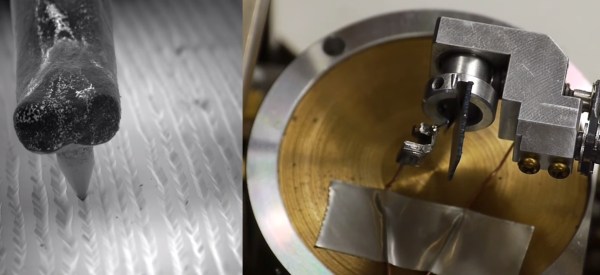
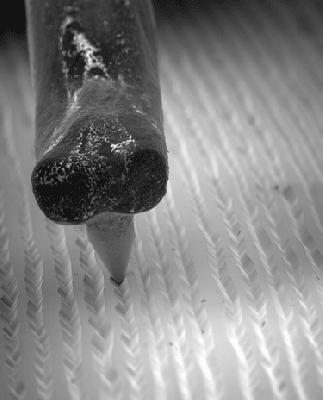
The project is clearly in the early stages, as the author says, it’s a very costly thing to build, but already some of the machined parts are ready for assembly. Work has started on the drive electronics for the condenser stigmator. This part of the instrument takes the central part of the rapidly diverging raw electron beam that makes it through the anode, and with a couple of sets of octopole coil sets, and an aperture or two, selects only the central portion of the beam, as well as correcting for any astigmatism in the beam. By adjusting the relative currents through each of the coils, a quadrupole magnetic field is created, which counteracts the beam asymmetry.
Scanning control and signal acquisition are handled by a single dedicated card, which utilises the PIO function of a Raspberry Pi Pico module. The Pico can drive the scanning operation, and with an external FTDI USB3.0 device, send four synchronised channels of acquired sample data back to the host computer. Using PCIe connectors and mating edge connectors on the cards, gives a robust and cost effective physical connection. As can be seen from the project page, a lot of mechanical design is complete, and machining has started, so this is a project to keep an eye on in the coming months, and possibly years!
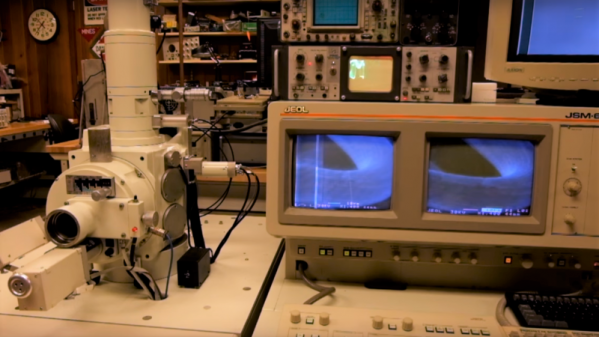
We have seen a few SEM hacks, here’s a teensy powered SEM hack from [Ben Krasnow] and here’s another attempt. For such a conceptually simple device, with such immense usefulness, its does seem a bit remiss that there aren’t more such projects out there.


 . Vinyl is an insulator. [Ben] dealt with this by using his vacuum chamber to evaporate a thin layer of silver on the vinyl.
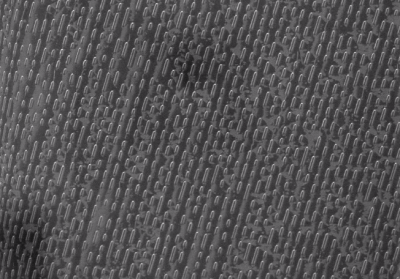 [Ben] wasn’t done though. He checked out a few other recording formats, including CD and DVD optical media, and


