If you’re used to thinking about 3D printing in Cartesian terms, prepare your brain for a bit of a twist with [Joshua Bird]’s 4-axis 3D printer that’s not quite like anything we’ve ever seen before.
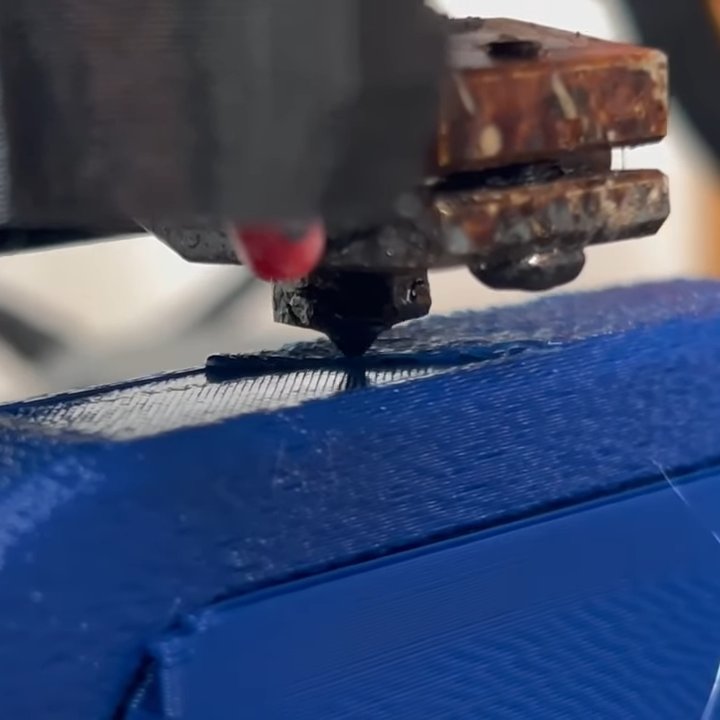
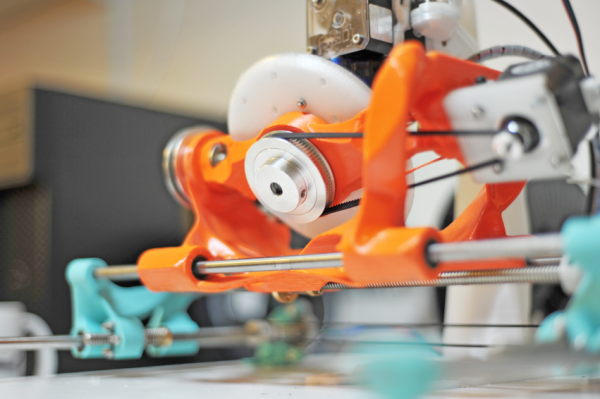
The printer uses a rotary platform as a build plate, and has a linear rail and lead screw just outside the rim of the platform that serves as the Z axis. Where things get really interesting is the assembly that rides on the Z-axis, which [Joshua] calls a “Core R-Theta” mechanism. It’s an apt description, since as in a CoreXY motion system, it uses a pair of stepper motors and a continuous timing belt to achieve two axes of movement. However, rather than two linear axes, the motors can team up to move the whole print arm in and out along the radius of the build platform while also rotating the print head through almost 90 degrees.
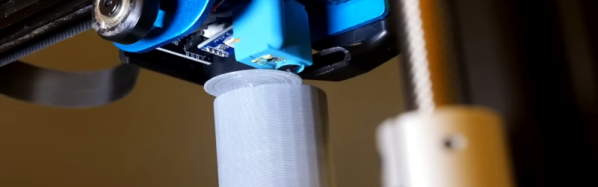
The kinematic possibilities with this setup are really interesting. With the print head rotated perpendicular to the bed, it acts like a simple polar printer. But tilting the head allows you to print steep overhangs with no supports. [Joshua] printed a simple propeller as a demo, with the hub printed more or less traditionally while the blades are added with the head at steeper and steeper angles. As you can imagine, slicing is a bit of a mind-bender, and there are some practical problems such as print cooling, which [Joshua] addresses by piping in compressed air. You’ll want to see this in action, so check out the video below.
This is a fantastic bit of work, and hats off to [Joshua] for working through all the complexities to bring us the first really new thing we’ve seen in 3D printing is a long time.
Continue reading “Unique 3D Printer Has A Print Head With A Twist”