It always seemed to us that the Z-axis on a 3D printer, or pretty much any CNC machine for that matter, is criminally underused. To have the X- and Y-axes working together to make smooth planar motions while the Z-axis just sits there waiting for its big moment, which ends up just moving the print head and the bed another fraction of a millimeter from each other just doesn’t seem fair. Can’t the Z-axis have a little more fun?
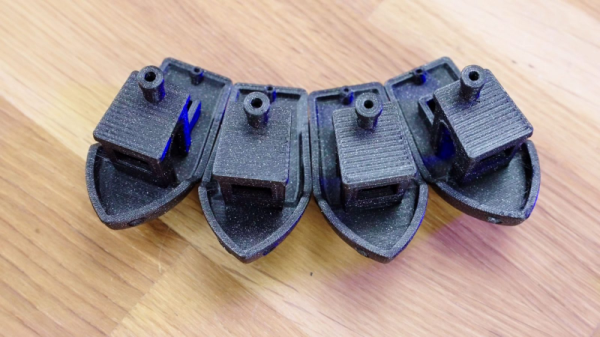
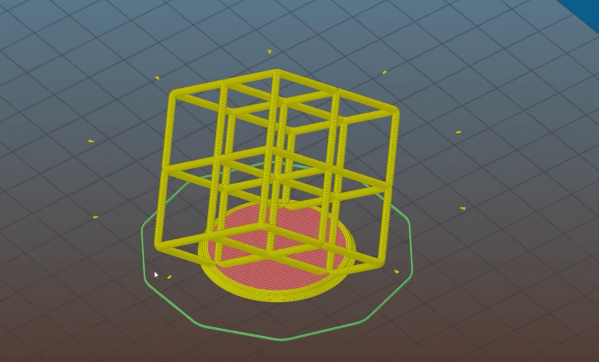
Of course it can, and while non-planar 3D printing is nothing new, [Stefan] over at CNC Kitchen shows us a literal twist on the concept with this four-axis non-planar printer. For obvious reasons, it’s called the “RotBot,” and it comes via the Zurich University of Applied Sciences, where [Michael Wüthrich] and colleagues have been experimenting with different slicing strategies to make overhang printing more manageable. The hardware side of things is actually pretty intuitive, especially if you’ve ever seen an industrial waterjet cutter in action. They modified a Prusa printer by adding a rotating extension to the print head, putting the nozzle at a 45° angle to the print bed. A slip ring connects the heater and fan and allows the head to rotate 360°, with the extruder living above the swiveling head.
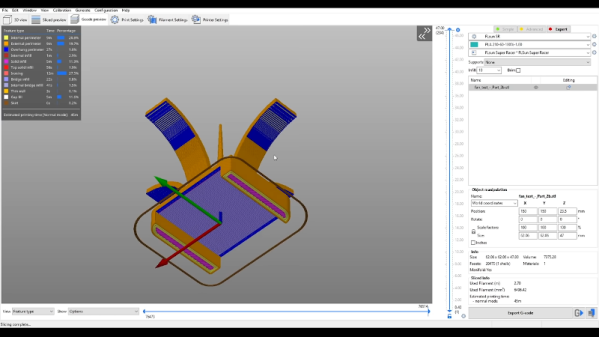
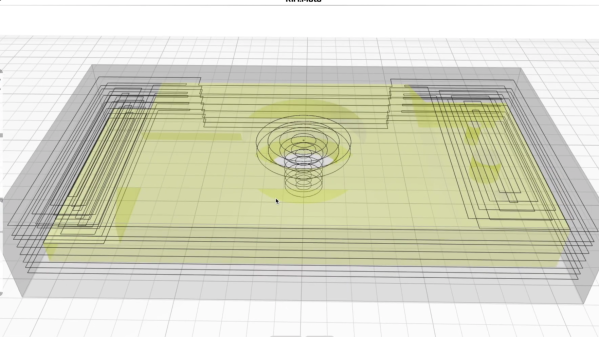
On the software side, the Zurich team came up with some clever workarounds to make conical slicing work using off-the-shelf slicers. As [Stefan] explains, the team used a “pre-deformation” step to warp the model and trick the slicer into generating the conical G-code. The G-code is then back-transformed in exactly the opposite process as pre-deformation before being fed to the printer. The transformation steps are done with a bit of Python code, and the results are pretty neat. Watching the four axes all work together simultaneously is quite satisfying, as are the huge overhangs with no visible means of support.
The academic paper on this is probably worth a read, and thankfully, the code for everything is all open-sourced. We’re interested to see if this catches on with the community.
Continue reading “RotBot Adds An Extra Dimension To 3D Printing, With A Twist”